
Beginner / Focused workshop
Watercolor Brush Control: 5 Essential Round-Brush Strokes
Practise five useful round-brush marks while learning how water load, pressure, angle, and speed change a watercolor stroke.
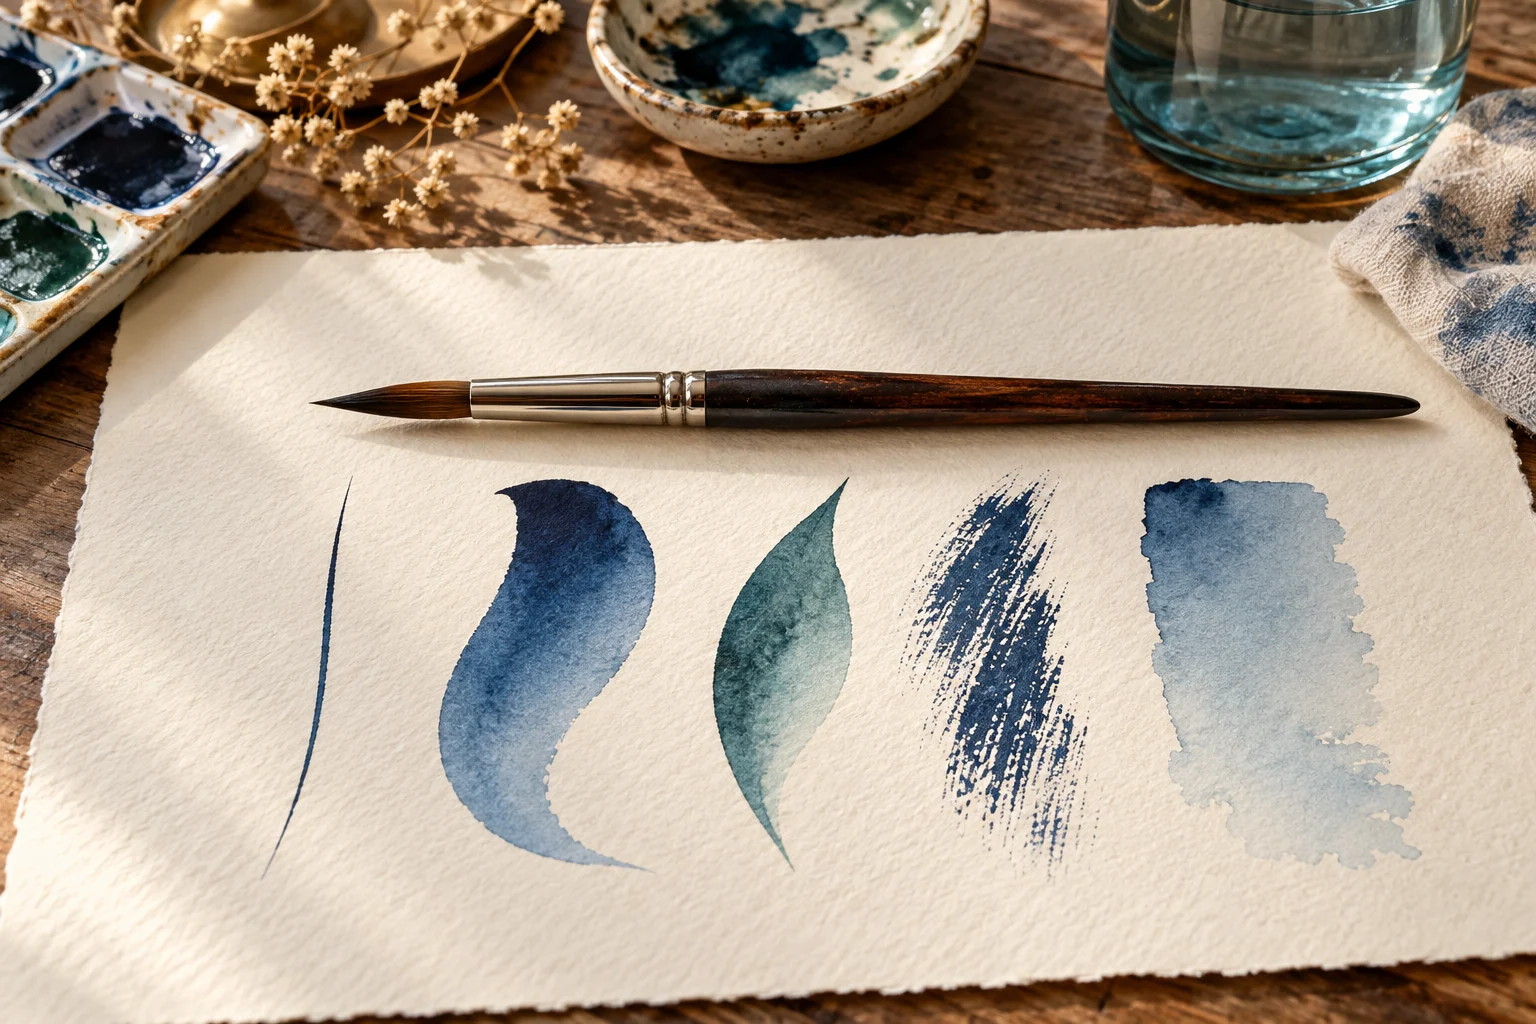
Set up one focused study.
Keep the first attempt small enough to repeat once. Compare decisions instead of judging talent.
- Level
- Beginner
- Practice time
- 30–40 minutes
- Skill focus
- Brush load, pressure, angle, release
- Success looks like
- Make a clean practice sheet containing a fine line, broad stroke, tapered stroke, dry-brush mark, and connected wash.
Materials
- Watercolor paper
- One pointed round brush
- One dark transparent color
- Palette
- Two water jars and cloth
Make a clean practice sheet containing a fine line, broad stroke, tapered stroke, dry-brush mark, and connected wash.
Load the brush deliberately
A brush can be wet, damp, paint-rich, or almost dry. Touch it to a scrap before every exercise and describe the load. Control begins with knowing what is in the hairs before the brush reaches the page.
Prepare enough paint that you can repeat a mark without remixing after every stroke.
Use the point for a continuous fine line
Hold the brush more upright and let only the point touch. Pull from the arm rather than squeezing the handle. Aim for an even line before attempting decorative variation.
If the line breaks, test whether the brush is too dry or the movement too slow before pressing harder.
Use the belly for a broad stroke
Lower the handle and allow more of the brush belly to contact the paper. Keep the movement continuous so the stroke does not become a row of separate dabs.
Compare one stroke made with a wet brush and one with a paint-rich but less watery brush.
Press and lift for a tapered mark
Begin on the point, increase pressure through the middle, then reduce pressure and lift toward the tip. Practise slowly before using the mark as a leaf or petal.
The taper comes from a controlled release, not from drawing a pointed outline around a filled shape.
Separate dry brush from accidental dryness
Blot the brush, use less water, and drag the side lightly across the paper so the texture breaks the mark. Intentional dry brush has a clear direction and placement.
Finish by connecting several wet strokes into one small wash. The contrast shows why brush control is not one universal grip but a set of decisions.
Diagnose the decision—not your talent.
Common mistakes
Gripping close to the ferrule
Relax the hand and move from farther back when the mark needs flow.
Adding pressure when the brush is empty
Reload or adjust moisture before forcing the hairs into the paper.
Repeating a stroke until it turns muddy
Make one mark, let it dry, then diagnose the load and motion.
Self-check
- The fine line is continuous.
- The broad stroke uses the belly of the brush.
- The tapered stroke ends cleanly.
- The dry-brush texture was intentional.
Technical references
LUREXEN independently synthesised this lesson from observation practice and the following education pages. Links are provided for verification; they are not sponsorships.