Coloring / Beginner
Add a Soft Colored-Pencil Background to a Coloring Page
Build a quiet background that fades into white, keeping the subject clear without filling every empty corner.

Decide what the background should do
A background does not have to become a second detailed picture. On a coloring page, a restrained pencil fade can separate a pale subject from the paper or connect several objects without competing with them. The goal here is one soft field of color that becomes lighter as it moves away from the subject.
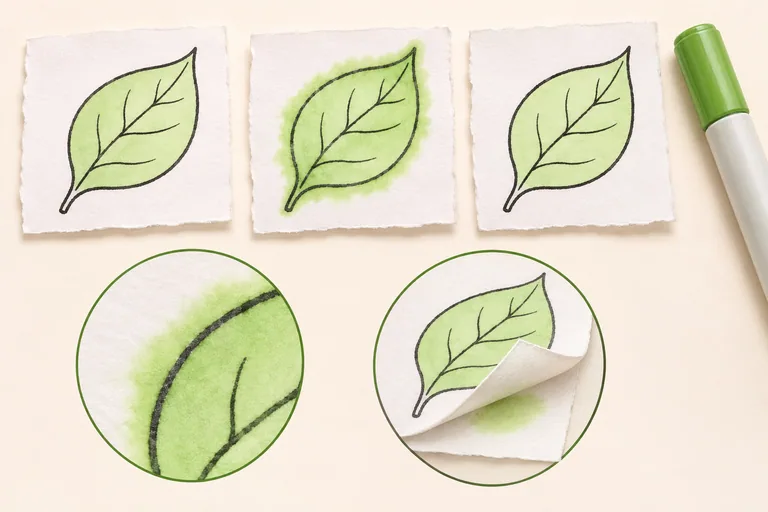
Choose a page you are allowed to color, one pale colored pencil and a scrap of the same paper. A quiet blue, muted green or warm gray can work, depending on the subject. Test the color beside the colors already on your page. The three images above are proposed visual examples, not photographs of a tested pencil brand.
Plan the fade before making a dark edge
Pick a limited area for the background, such as the space beside a cottage roof or behind a group of leaves. Decide where it will return to untouched white. You can make a faint planning mark on a separate thumbnail rather than outlining a large boundary on the actual page.
A halo is optional. Avoid tracing a thick band around every shape: it can make the subject look like a sticker. Let the background reach a little farther in some places and disappear sooner in others. Keep enclosed spaces, such as a cup handle opening, consistent with the surrounding background when that makes spatial sense.
Use a light touch and overlapping passes
Hold the pencil at a shallow angle where the drawing gives you room. Faber-Castell describes light pressure and a shallow angle as a way to create an even shaded area without obvious individual strokes. Use the side of a usable point for open areas, then adjust the grip carefully near detailed outlines.
Start lighter than the final effect you want. Make small overlapping movements rather than long isolated stripes. Lift pressure as you move toward the planned white area. Turn the paper if that helps you approach a leaf or roof edge without dragging color into the subject. A clean sheet beneath your working hand can reduce accidental graphite or pigment transfer.
Strengthen only the part that needs separation
Step back after the first pale layer. If the subject already reads clearly, stop there. If a white flower or pale wall disappears, add another light pass in a small adjacent background area. Darkening the entire background is rarely necessary to solve one weak boundary.
Keep the transition broad enough that it does not turn into a hard stripe. Compare the effect at arm's length, not only close to the paper. You should still notice the colored subject before the background. Avoid pressing hard to force the paper grain closed; that is a different surface effect from the soft fade used in this exercise.
Handle tight spaces deliberately
Small gaps between leaves need less color than you may expect. Use a sharp point lightly and leave inaccessible tiny spaces alone if filling them would damage the outline. Match the overall value rather than trying to reproduce identical pencil marks in every gap.
If a background patch looks streaky, test a lighter overlapping pass on the scrap before returning to the page. Do not immediately add solvent or water: ordinary colored pencils, printer inks and paper surfaces vary. This lesson does not require either liquid or a special blending tool.
Know when the background is finished
Check three things: the main subject remains clear, the fade returns to white without a dark outer boundary, and the background color relates to the rest of the page. Leave some open paper. You can compare a second copy with a different background color without changing the first one.
For palette planning, continue with choosing three colors before filling every shape. This background exercise changes the space around the subject; it does not require adding more decorative objects.