Beginner / Studio practice
Masking Fluid for Watercolor: Test, Paint and Remove
Learn a small masking-fluid test before a painting: check the paper, preserve selected whites, dry between stages and remove the mask gently.
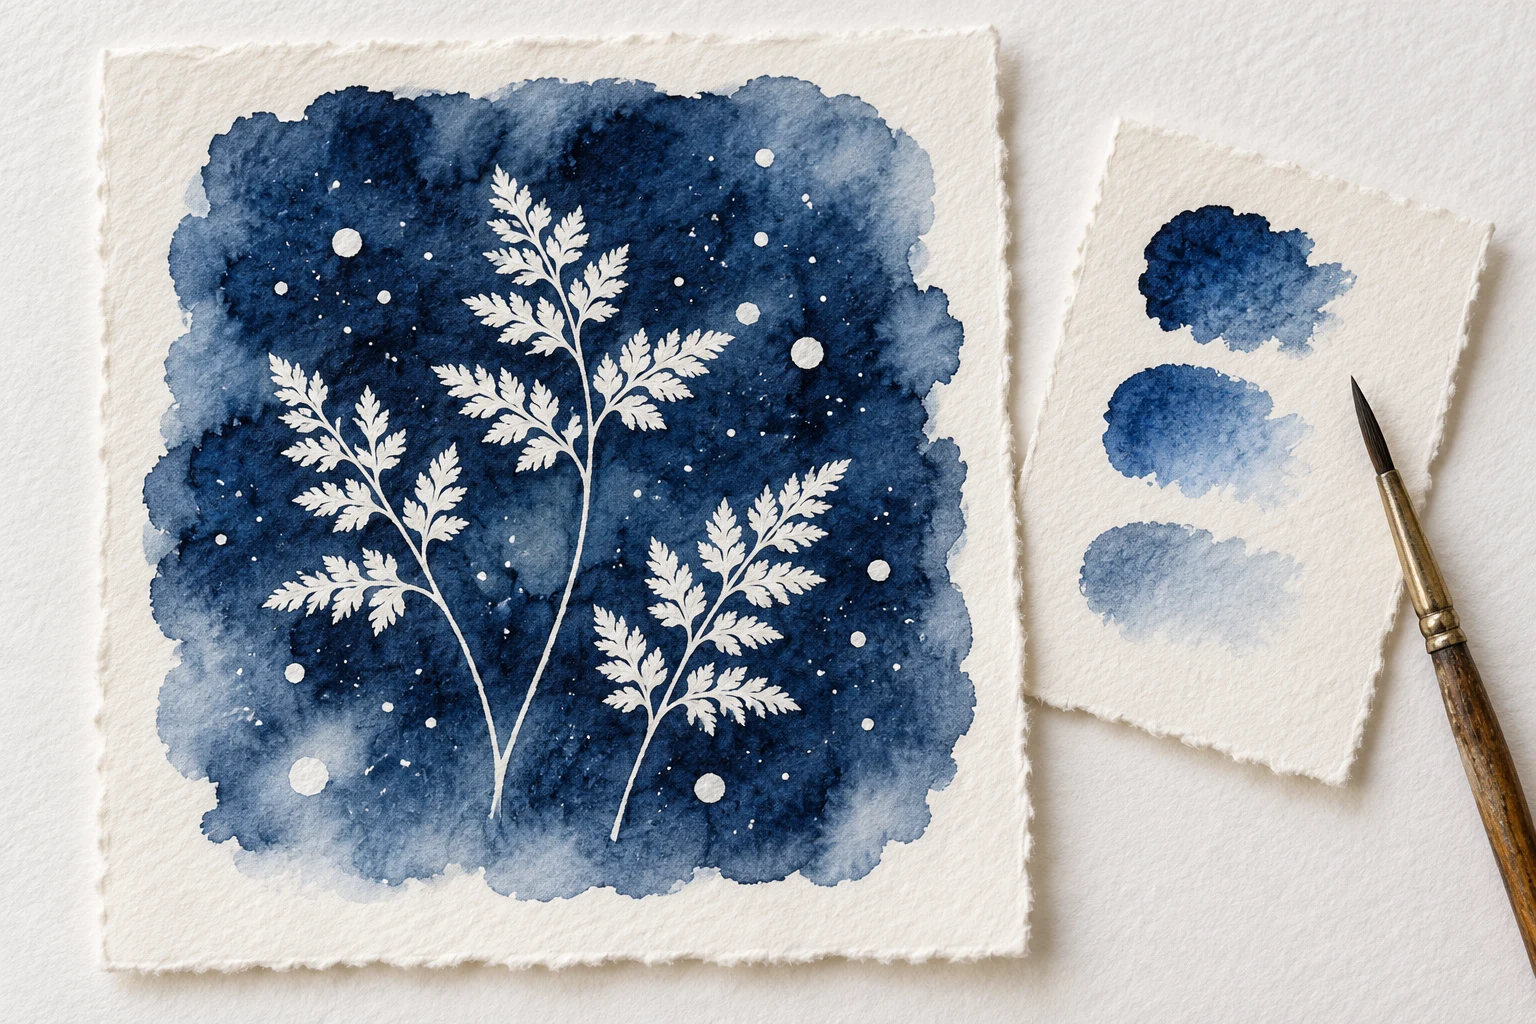
One focused, repeatable study.
Keep the first attempt small enough to repeat. Your own subject, paper and materials are the reference.
- Level
- Beginner
- Practice time
- 25–35 minutes, plus drying
- Skill focus
- Paper compatibility, selective reserves and careful removal
- Success looks like
- Complete a small offcut test that preserves three clean white shapes without visibly damaging the paper.
Materials
- Removable watercolor masking fluid and its current product instructions
- The same watercolor paper planned for the painting, plus an offcut
- An old dedicated applicator, one watercolor brush and a blue paint
- Water, a cloth and a clean dry work surface
Complete a small offcut test that preserves three clean white shapes without visibly damaging the paper.
Test the whole process on an offcut
Masking fluid temporarily protects paper from a wash. Its usefulness depends on the fluid and the surface working together. Before using it on an important painting, take an offcut from that same sheet. A successful test on another paper does not establish compatibility.
Check that the bottle describes a removable mask, not a permanent masking medium. Follow its handling and cleanup instructions. The Winsor & Newton sources below explain the general material method; this three-shape exercise is an original way to evaluate your own combination, not a guarantee against damage.
Reserve only three small shapes
On completely dry paper, plan a small dot, a short line and a simple leaf silhouette with room between them. Apply a modest amount using a tool reserved for masking. Keep your valued watercolor brushes out of this step: dried masking fluid can be difficult to remove from their hairs.
The three shapes let you compare a tiny reserve, a narrow edge and a broader area without committing a whole composition. Let the fluid dry as instructed before painting. If your paper is soft-sized or unsuitable according to the product guidance, choose another surface rather than treating the test as permission to ignore that limitation.
Carry one wash across the dry mask
Prepare enough diluted blue for one small rectangle around the shapes. Once the mask is dry, pass the wash across it with a few unhurried strokes. Avoid repeatedly pushing the brush into its edges. Include an unmasked strip nearby so you can compare the ordinary paint surface.
Leave the wash alone until fully dry. A dry-looking rim does not establish that the center has finished drying. Do not add a universal timer to your notes: paper, wash load and conditions vary. Use the product instructions and the actual state of the test.
Remove gently and stop if fibers lift
When the painted area is dry, begin at an edge and remove the mask gently using the method recommended for your product. Keep the test flat and work gradually. If the paper starts to fuzz, lift or tear, stop instead of rubbing harder to rescue a perfect white shape.
Remove the mask promptly once the painting stage is ready, within the manufacturer guidance; do not leave it indefinitely for convenience. Look for residue around the dot and along the line. Clean the application tool as directed immediately after application, before any material dries onto it.
Compare the reserve with untouched paper
Check the three shapes in ordinary light. Are their edges clear? Does the surface look like the untouched margin, or has it become rough or discolored? Write down the paper, fluid and any difficulty. Do not assume a clean-looking white reserve proves every later layer will behave normally.
Try a light wash on a spare part of the tested area only if the surface remained sound and the product permits it. That gives a more useful result than judging the white alone. If the material combination failed, keep the offcut as a warning and use painting-around methods for the planned study.
Use the test to simplify a painting
Choose one small accent to preserve in a future study. Leaving every highlight masked can produce a busy collection of hard white shapes. Decide which reserves need a crisp boundary and which could be painted around, softened later or left less explicit.
Repeat the offcut test when the paper or product changes. The success criterion is controlled preservation with a surface you can still use. It is not a perfectly sharp edge at any cost. Continue with the white-flower lesson to compare masking with a deliberately unpainted reserve.
Change one decision, not everything.
Common mistakes
Masking goes onto damp paper
Use a dry, compatible offcut and follow the product instructions.
A valuable brush becomes the applicator
Use a dedicated old tool and clean it promptly as directed.
Removal starts to lift the surface
Stop; do not rub harder or hide the damage with paint.
Think it through
Try answering these questions in your own words, then open each answer to compare. Use the self-check below to review your actual study.
How do I check that the masking product is suitable?
Read the product’s own instructions to confirm that it is a removable masking fluid and suitable for your intended use. Test removal on the same paper before using it in a study.
Practice step: Check the product label
Why test the entire masking process first?
Masking fluid temporarily protects paper from a wash. Its usefulness depends on the fluid and the surface working together. Before using it on an important painting, take an offcut from that same sheet. A successful test on another paper does not establish compatibility.
Practice step: Test the whole process on an offcut
Review your own study
Tick what you can observe in your work. If a point is unclear, open its practice reminder. Choose one point to focus on next.
Tick a point only when you can observe it in your study.
Choose one focus for your next attempt using the circle beside a point.
This is your own reflection, not an assessment of your artwork. Choices are not saved or uploaded and reset when this page reloads.
Further learning and source context
This is an original LUREXEN exercise. The sources below provide material or concept context; they do not document the exact study pictured above. No publisher artwork was reused.
- Winsor & Newton: How to use Art Masking Fluid ↗ — Application, drying stages and tool care; undated guide, checked 19 October 2026.
- Winsor & Newton: Colourless Art Masking Fluid guidance ↗ — Product-specific surface limitations; check the instructions for your own fluid.