
Beginner / Original practice lesson
Paint White Flowers in Watercolor: Paper, Shadows and Masking Choices
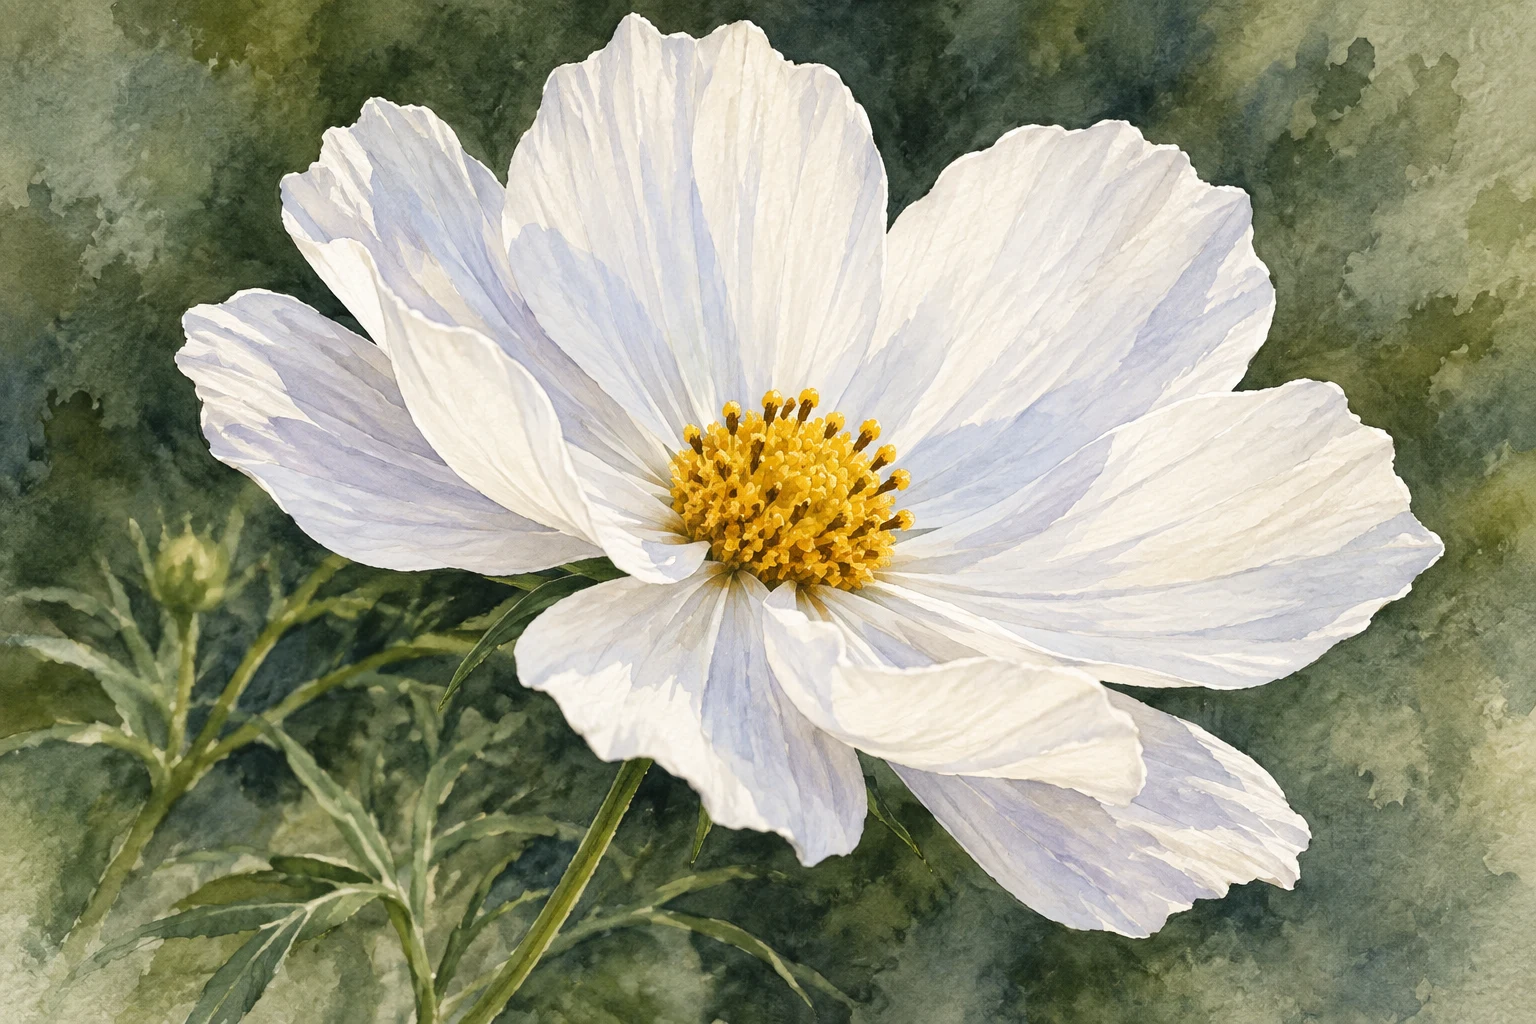
Describe a white flower through reserved paper, pale petal shadows and a selective background—not a dark outline around every petal.
The idea to understand
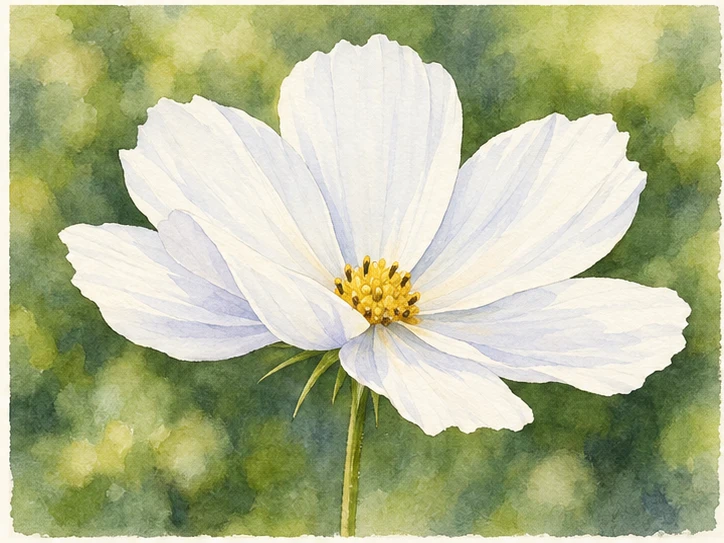
White petals are not featureless. Their folds and overlaps create small shifts of value, while surrounding color makes the light silhouette visible. Choose one flower with a readable center and a manageable number of petals. This is a light-and-shape exercise, not a demand to reproduce every botanical detail.
What you need
Watercolor paper, pencil, a round brush, a pale neutral mixture, green paint and an observed white flower or your own photograph. Masking fluid is optional.
See the study develop
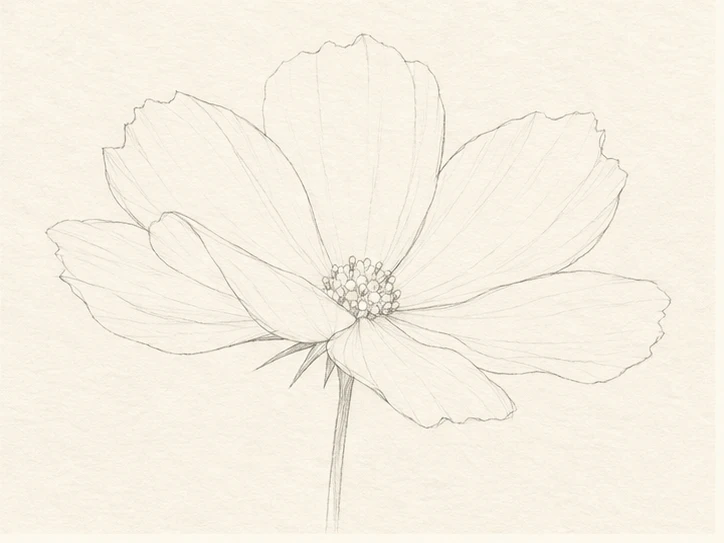
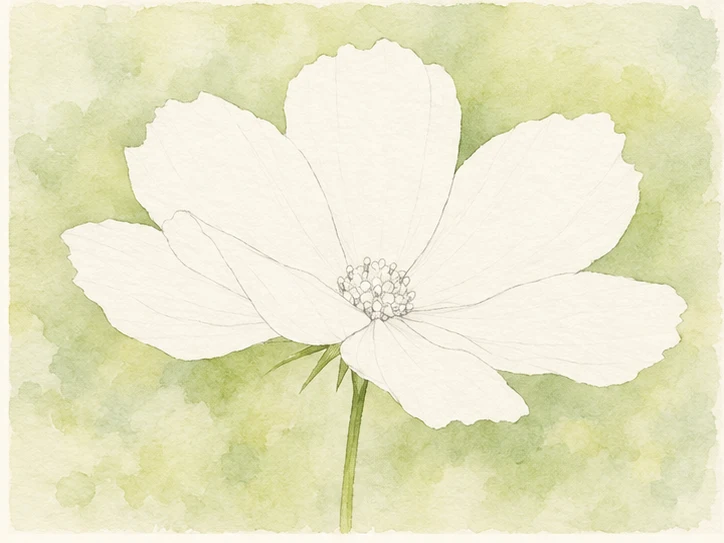
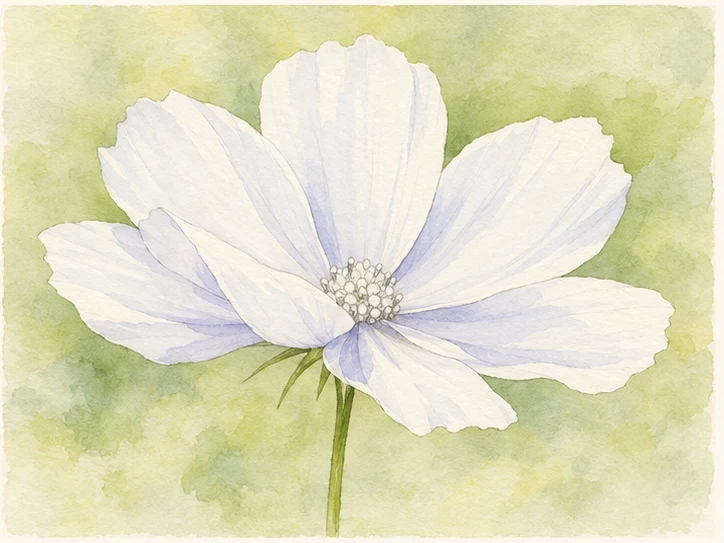
Four original AI-assisted illustrative stages, not photographs of a recorded demonstration. Compare the changing shapes and values; use your own observation and material tests.
Your practice sequence
Map the overlaps
Draw the flower lightly. Mark which petals sit in front and identify the brightest areas. Group the shadows into three or four broad shapes. Keep those groups smaller than the reserved light areas.
Choose a reservation method
For a first study, simply paint around the flower. If using masking fluid, test it on spare paper, follow its label and use an expendable applicator. Apply to dry paper and let the mask dry before painting. It is a tool, not a requirement.
Paint the surrounding field
Place a restrained green background around selected petals. Vary the background depth instead of making one dark ring. Let some outer edges disappear where the background stays pale. Dry the wash completely before removing any mask.
Build pale petal shadows
Use a dilute blue-gray or violet-gray mixture beneath overlaps and near the center. Leave generous untouched paper. Add a modest yellow center and only a few sharper accents. Soften a shadow if it divides a petal too abruptly.
Check your result
Does the flower still read as white from a distance? Can you tell which petals overlap? Are the darkest values mostly outside the light petals or in small central accents? Compare the result with your original shadow plan.
If the study is not working yet
If the flower looks gray, reduce shadow coverage in the next study. If petals look outlined, replace continuous lines with short overlap accents. If masking pulls paper fibers, stop and test a different paper or work without it.
A useful second attempt
Paint the same flower without masking. Compare edge quality and decide where the extra tool genuinely helped.
Further reading
Winsor & Newton: using Art Masking Fluid ↗. This is supporting reading; the exercise above is an original LUREXEN practice plan. Publisher images have not been reused.
Continue with a related lesson
How to Paint Watercolor Lemons: Light, Layers & Shadows
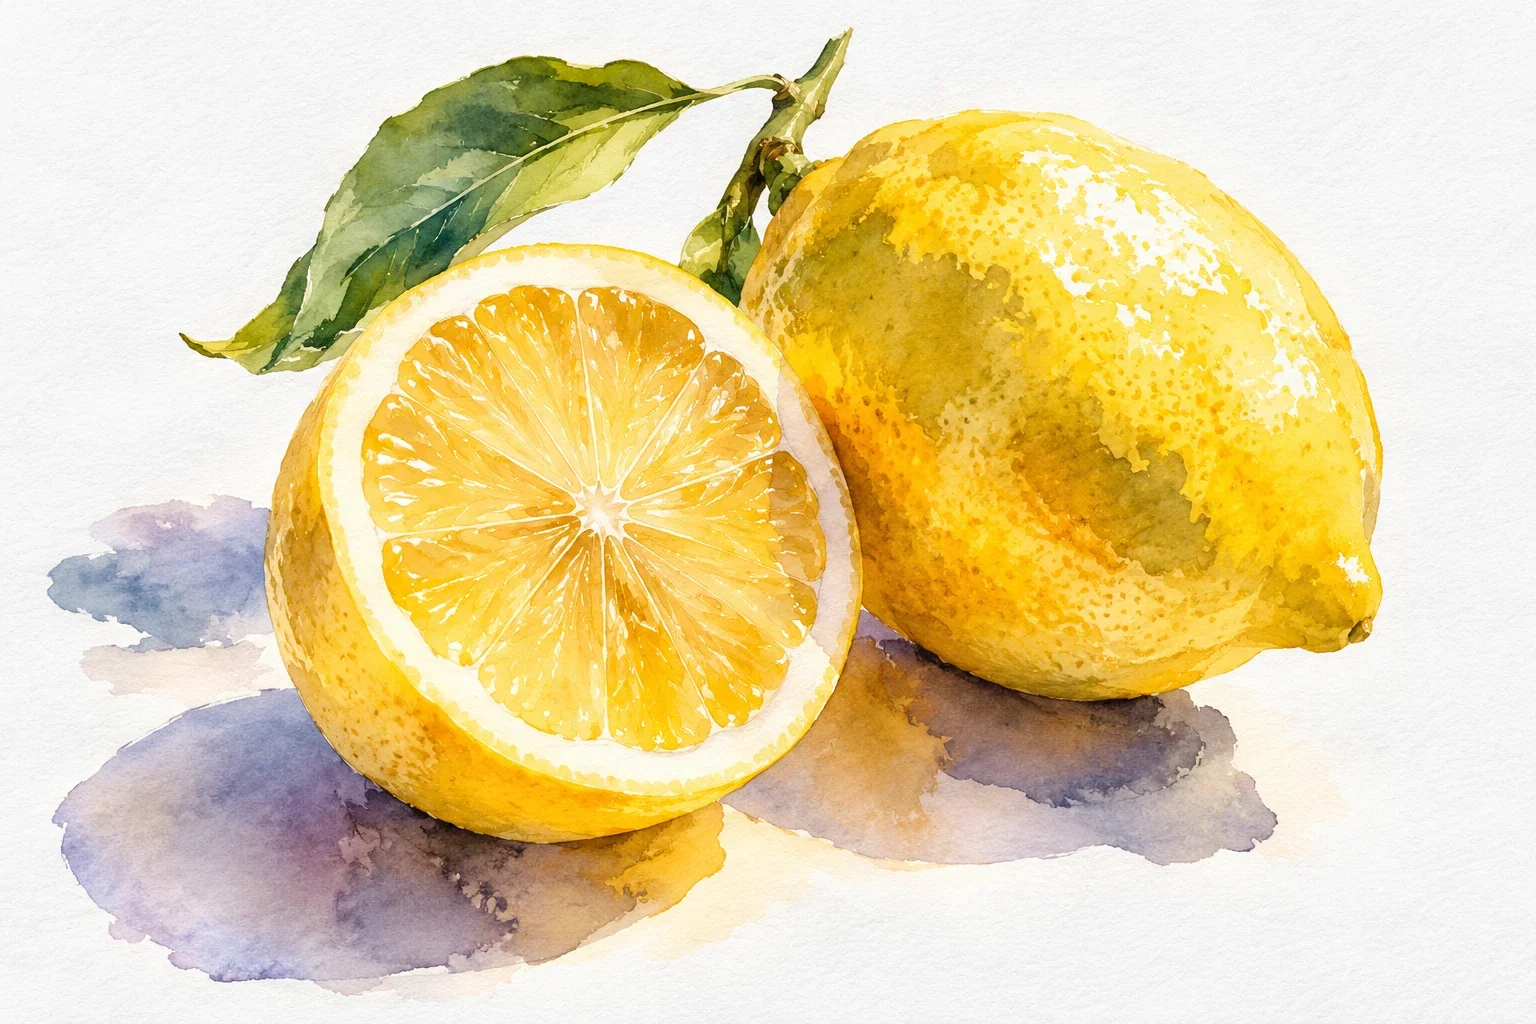
Paint one small lemon to learn how light, transparent layers, and shadows work together. You will plan the highlight, build a rounded form, and avoid the two habits that often dull yellow: a crowded mixture and repeated brushing.
4 min read Read the lesson →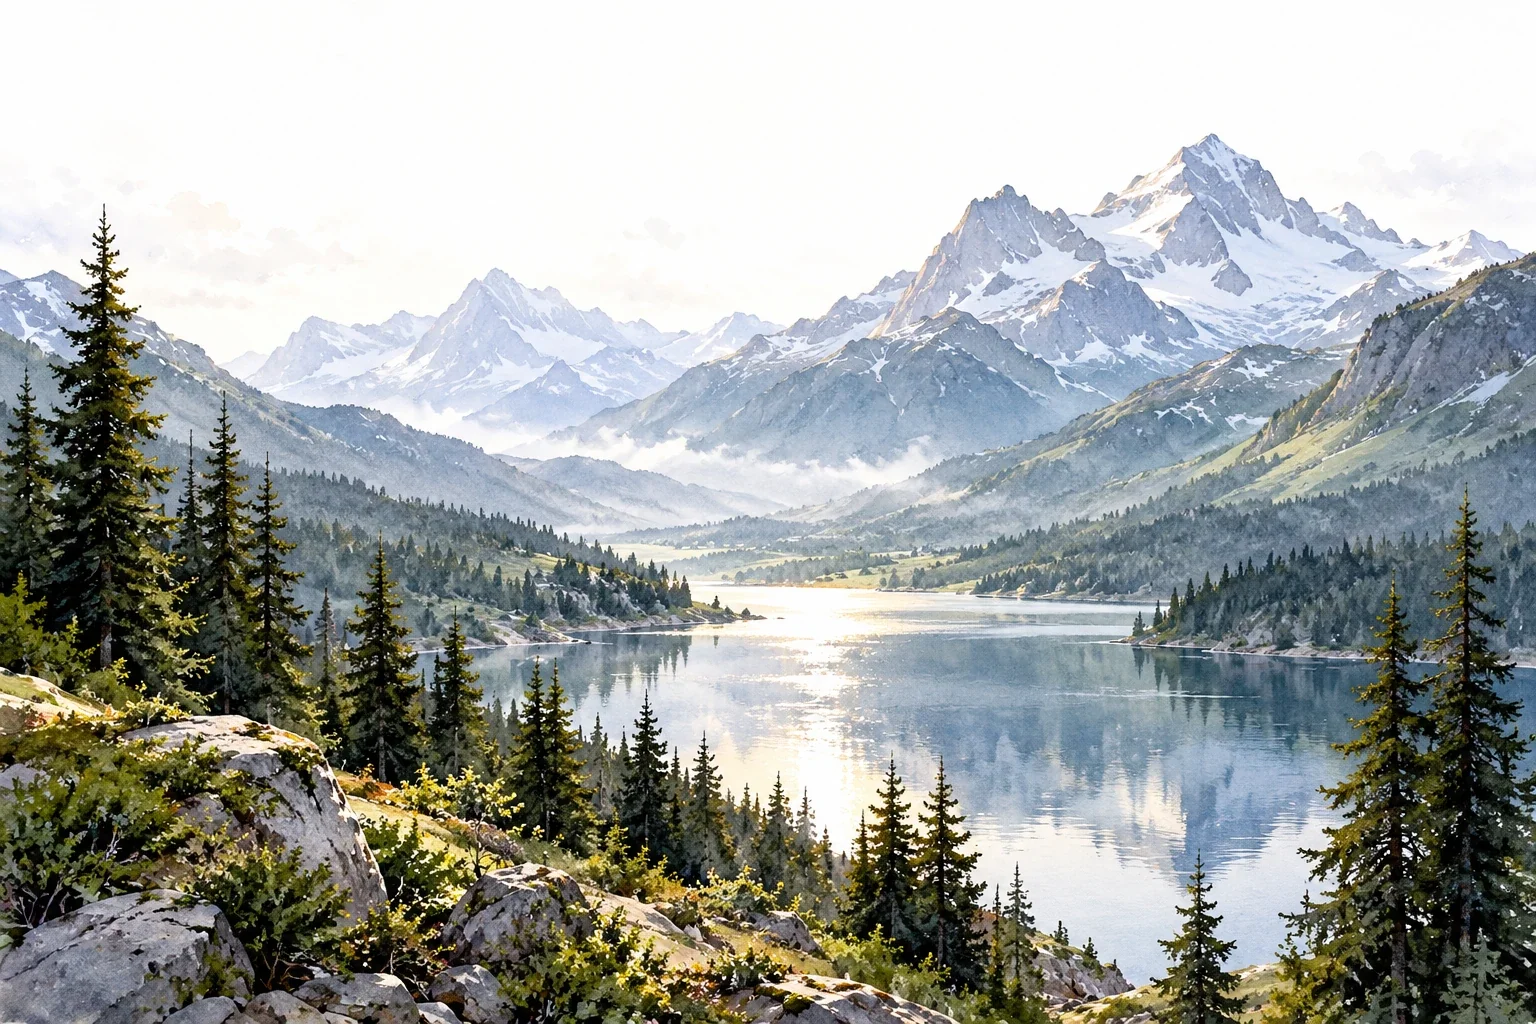
Creating Depth in Watercolor Landscapes
A landscape can look flat even when its individual trees and mountains are carefully painted. This guide shows how to organize depth through overlap, value, edges, and a focal area before investing time in detail.
3 min read Read the lesson →