
Beginner / Step-by-step lesson
How to Paint Watercolor Lemons: Light, Layers & Shadows
Paint one small lemon to learn how light, transparent layers, and shadows work together. You will plan the highlight, build a rounded form, and avoid the two habits that often dull yellow: a crowded mixture and repeated brushing.
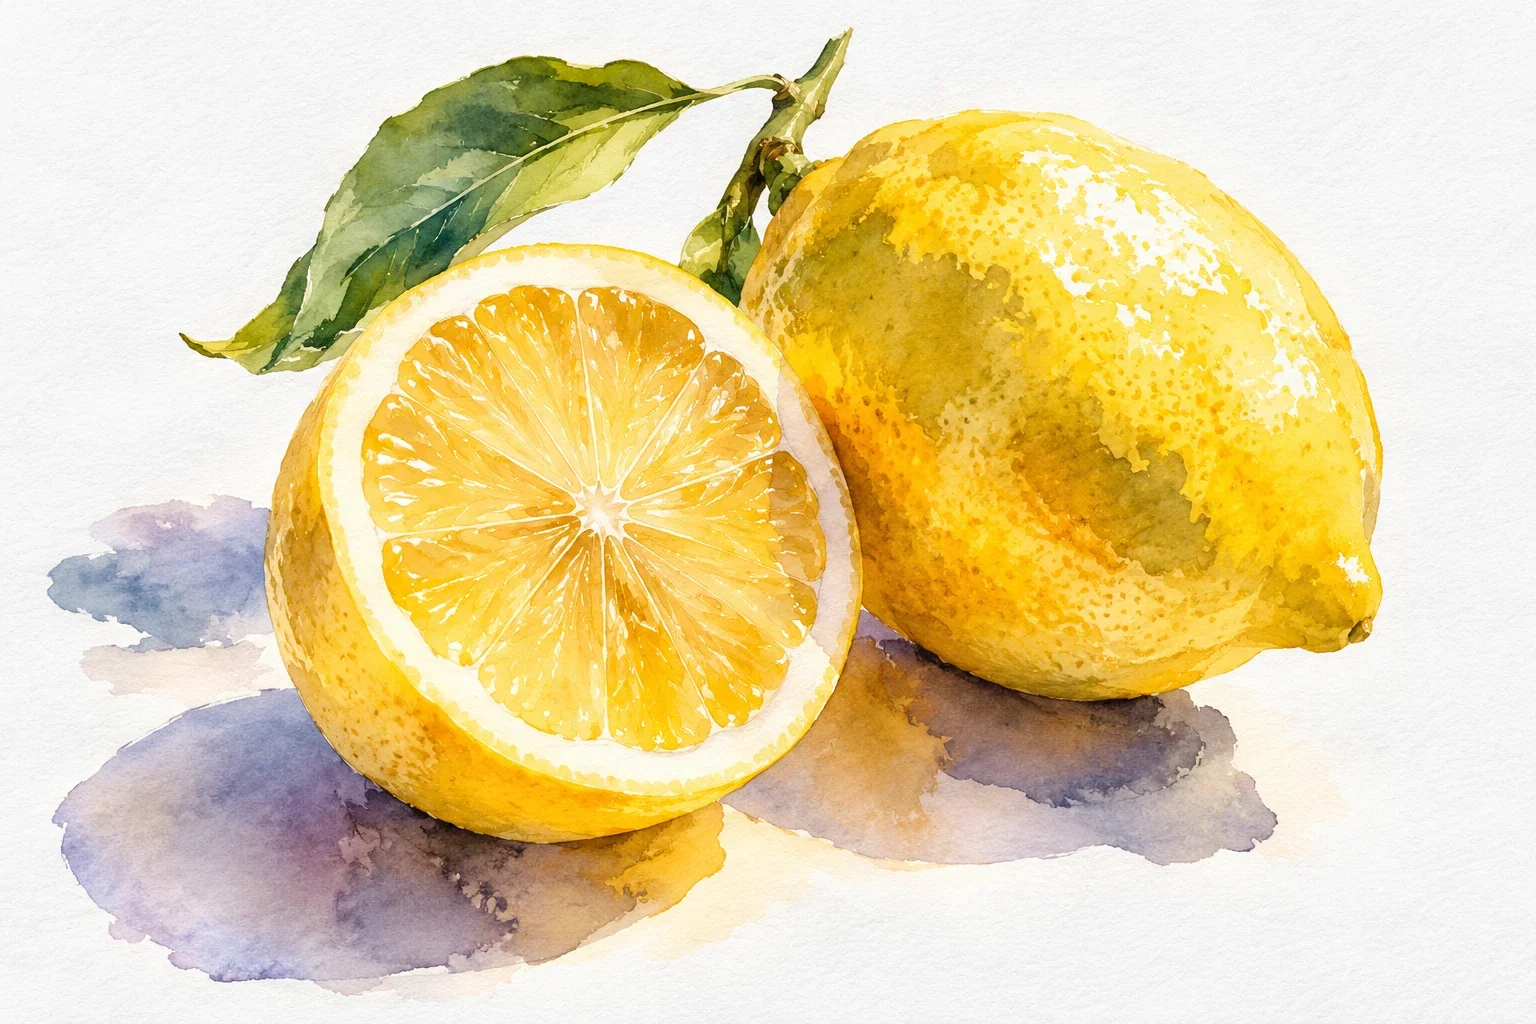
Paint a lemon with a reserved highlight, a controlled shadow glaze, and a connected cast shadow.
Set up one manageable study
Place one lemon on a plain light surface beside a window or lamp. Choose a position where you can distinguish the lit side from the shadow side. Keep the fruit and your viewpoint still. Work at postcard size: large enough for a comfortable brushstroke, small enough to compare the whole shape at once.
Use watercolor paper, a round brush, yellow paint, a cooler color for shadow tests, a pencil, clean water, and a cloth. Paint a pale yellow swatch on a spare strip of the same paper. Check whether your paint remains transparent when diluted; the color name alone does not tell you its opacity.
Plan the light before the color
Sketch the outline lightly, checking the fruit's tilt and the difference between its two ends. Mark a modest highlight. Next, locate the darker side of the fruit and its cast shadow on the table. These are different shapes: the form shadow describes the lemon's curvature; the cast shadow describes its relationship to the surface.
Keep the highlight smaller than you think you need, then compare it with the subject. An oversized white patch can read as a hole. Lighten a heavy pencil line now, because a transparent yellow wash will leave it visible. Do not draw pores or surface texture yet.
Lay the first wash, then let it settle
Mix enough pale yellow to cover the fruit without stopping halfway. Load the brush without leaving it dripping. Paint the silhouette in connected strokes, working around the highlight. If a bead of water gathers at the bottom, touch it with a clean, slightly drier brush to remove the excess.
Leave the wash alone as it dries. The first layer does not need to describe every shadow; its job is to establish a luminous yellow shape. If you keep correcting a partly drying edge, fresh water may spread unevenly or disturb the passage. Judge the dry result rather than the glossy wet color.
Give the lemon form with one glaze
A glaze is a transparent layer applied over a dry layer. Test stronger yellow beside a second mixture containing a tiny amount of your cooler paint. Choose a shadow mixture that looks darker and quieter without losing its yellow character. Different pigments produce different results, so test rather than following a fixed recipe.
Apply that mixture to the shadow side after the first wash dries. While the new passage is still workable, soften its inner boundary with a clean damp brush if the subject shows a gradual turn. Leave some edges sharper where appropriate. Stop after a considered pass instead of scrubbing a transition into place.
Ground the fruit and diagnose the result
Paint the cast-shadow shape you actually see. Connect it to the fruit at the contact point; a white gap can make the lemon appear suspended. Compare edge softness near and far from the fruit instead of imposing a uniform outline. Add a small darker contact accent only where it helps explain the observed light.
- Flat fruit: compare the lit and shadow sides. Strengthen their difference on a separate test before changing the painting.
- Dull yellow: test a fresh two-layer swatch with clean water. Check contamination and overworking.
- Dark rim: compare brush loads; excess water may have collected along the edge.
Practice a comparison, not a perfect copy
Paint two small lemons under the same light. Use the same first wash and highlight plan, but make the second shadow slightly cooler. After both dry, compare which feels rounder and which still reads clearly as yellow. Write one specific observation, such as “the cooler shadow separates better, but the contact accent is too wide.”
Keep the more successful relationship for your next fruit study. You do not need white paint, elaborate texture, or a product purchase to complete this exercise. For more control over broad passages, continue with the watercolor washes workshop. For the layer principle, see Jenna Rainey's glazing explanation.
A useful next lesson

Watercolor Washes for Beginners: Flat, Graded & Wet-on-Wet
A wash succeeds when your brush load, paint supply, and paper moisture work together. Make three small tests to learn when to connect strokes, when to dilute the mixture, and when to let damp paper move the color.
4 min read Read the lesson →
How to Mix Watercolor Colors Without Losing Clarity
When a watercolor mixture disappoints, adding another color is not always the answer. Learn to distinguish hue, value, and saturation, then build a small mixing record that helps you make a specific correction.
4 min read Read the lesson →