
Beginner / Original practice lesson
How to Paint Watercolor Clouds: Preserve Light, Shape Soft Edges
Paint a small coastal sky by planning white shapes first, then choosing where cloud edges should dissolve and where they should stay clear.
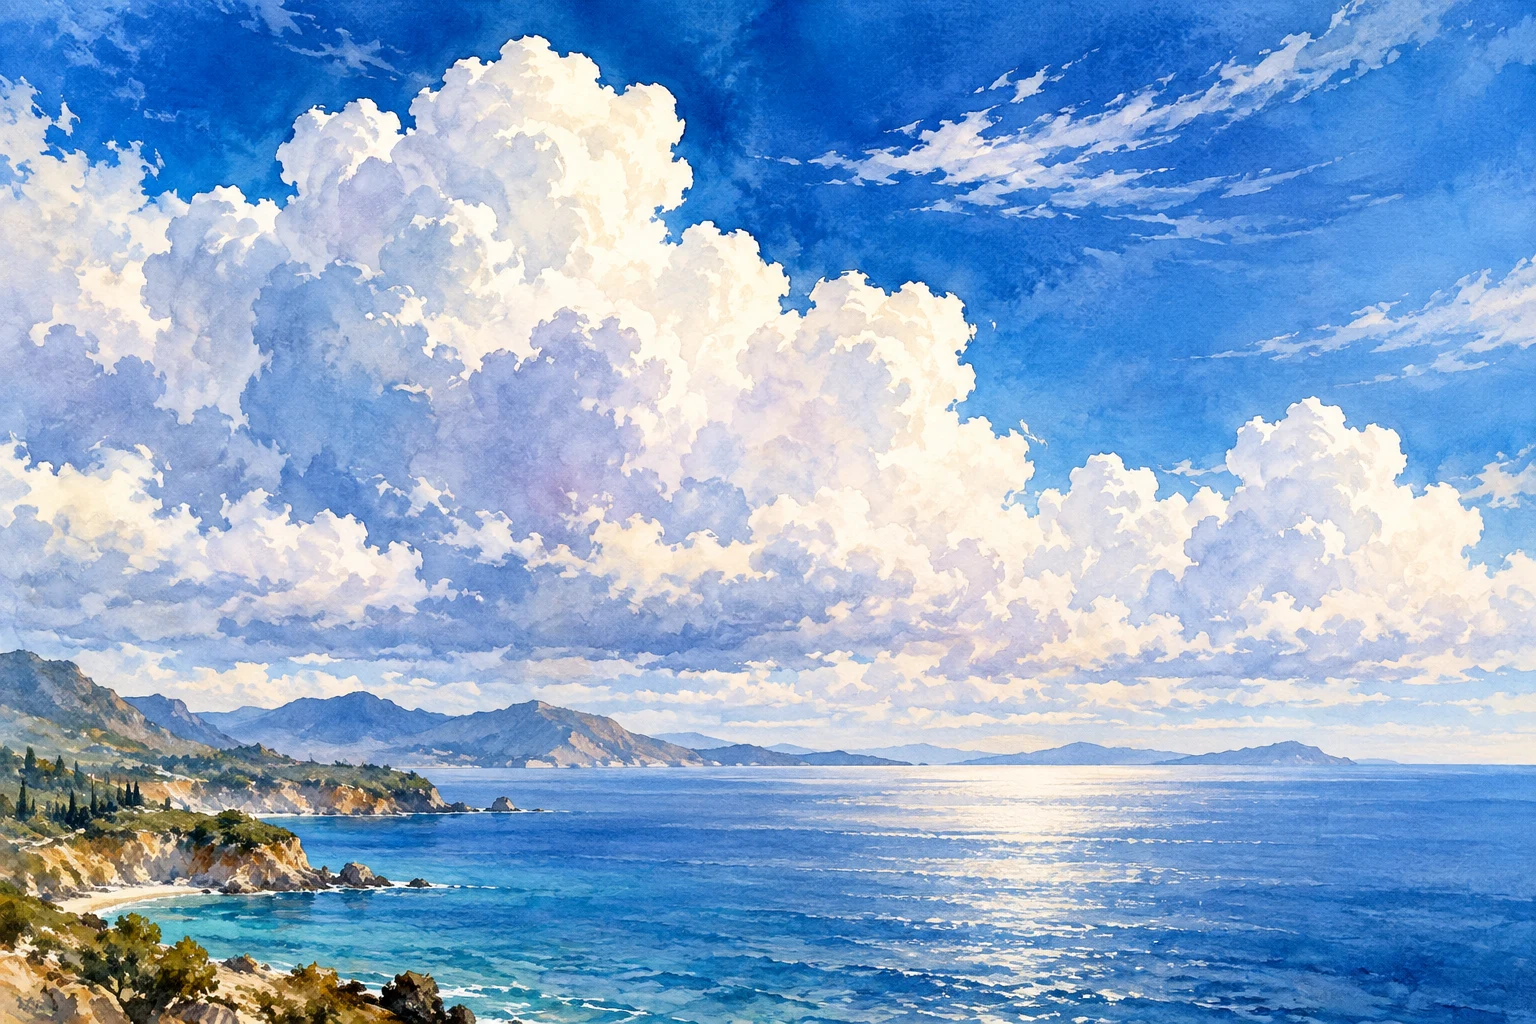
The idea to understand
A cloud is not a white outline filled with gray. Its light comes from the paper; its volume comes from a few shadow shapes. Begin with one large cloud rather than a sky crowded with equally important puffs. Your goal is a readable light shape, not a perfect meteorological portrait.
What you need
Watercolor paper, a medium round brush, two water jars, tissue, blue paint and a small amount of a warm neutral. Use a scrap of the same paper for testing.
See the study develop
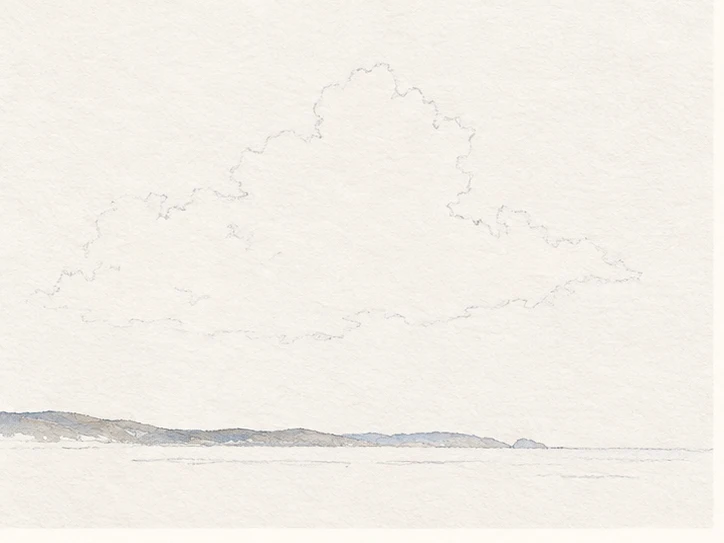
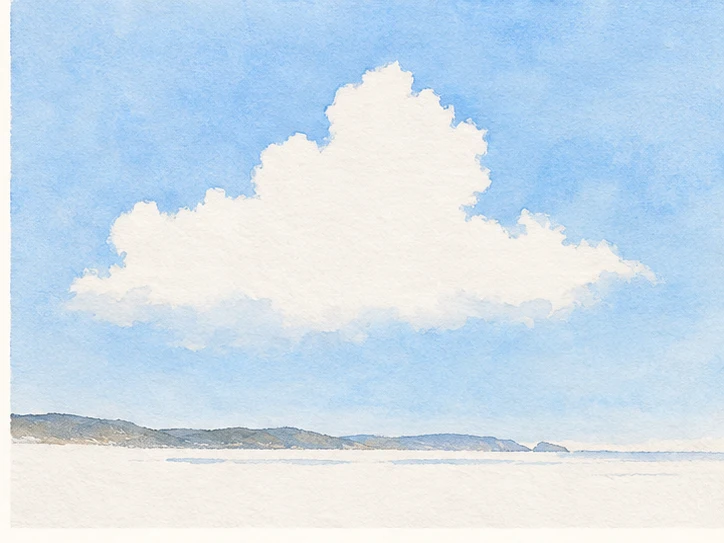
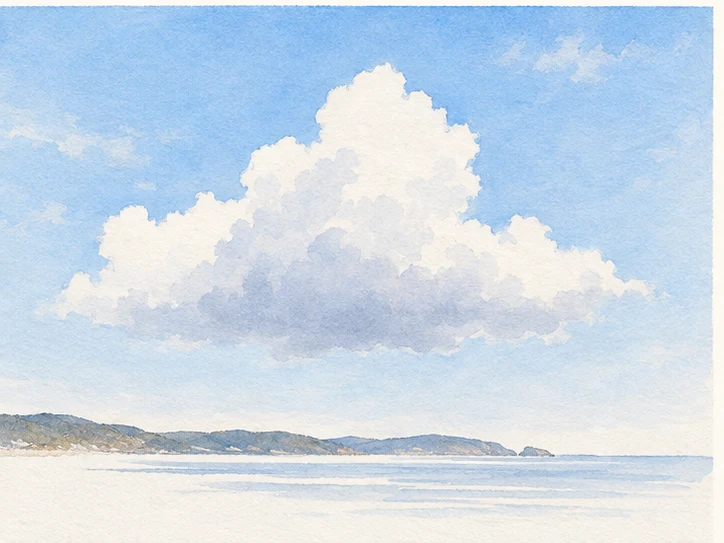
Four original AI-assisted illustrative stages, not photographs of a recorded demonstration. Compare the changing shapes and values; use your own observation and material tests.
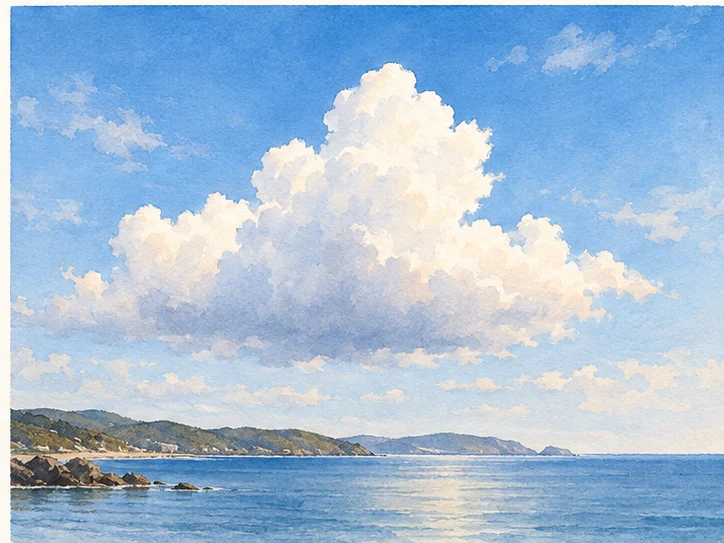
Your practice sequence
Plan the light
Draw a postcard-sized rectangle. Reserve its lower fifth for a quiet horizon. Sketch one broad, irregular cloud and a much smaller companion. Keep the pencil light and avoid drawing every bump. Decide which upper edge catches the strongest light.
Test three edges
On scrap paper, put blue beside a white shape on dry paper, on damp paper and on wetter paper. Observe the difference after drying. Choose the condition that gives a soft edge without losing the white shape entirely.
Connect the sky
Work around the brightest part of the cloud with a generous, connected blue wash. Soften only selected edges with a clean damp brush. Leave other edges alone. Do not chase every bloom while the paper is partly drying.
Suggest volume
When dry, place one pale blue-gray shadow under the cloud. Keep it lighter than the surrounding sky. Add a small horizon accent, then stop. If you want to lift a light, test your pigment and paper first: removal varies and may not return clean white.
Check your result
View the study from across the room. Is there one clear light cloud? Can you find both a soft edge and a definite edge? Does the cloud still look luminous without a dark outline? Record the paper moisture used for your most convincing edge.
If the study is not working yet
If clouds resemble cut-out stickers, soften a few edges in the next study rather than outlining them all. If the white disappears, reserve a larger area at the start. If lifting damages the surface, stop scrubbing and use the result as a material test.
A useful second attempt
Repeat the same sky with a longer, flatter cloud. Change the edge pattern, not the entire palette, so you can judge what the change did.
Further reading
Winsor & Newton: lifting watercolor ↗. This is supporting reading; the exercise above is an original LUREXEN practice plan. Publisher images have not been reused.
An optional practice companion
Watercolor Skies & Clouds Workbook on Etsy ↗. The workbook is optional; you can complete this lesson without purchasing anything. Check the listing for its current contents and terms.
Continue with a related lesson
How to Paint Watercolor Lemons: Light, Layers & Shadows
Paint one small lemon to learn how light, transparent layers, and shadows work together. You will plan the highlight, build a rounded form, and avoid the two habits that often dull yellow: a crowded mixture and repeated brushing.
4 min read Read the lesson →
Creating Depth in Watercolor Landscapes
A landscape can look flat even when its individual trees and mountains are carefully painted. This guide shows how to organize depth through overlap, value, edges, and a focal area before investing time in detail.
3 min read Read the lesson →