
Beginner / Botanical lesson
How to Paint Watercolor Leaves: Shape, Edges & Layering
Paint leaves that differ in shape and movement instead of repeating the same green symbol. You will connect observed silhouettes, brush pressure, and selective layers in a short study of three distinct leaves.
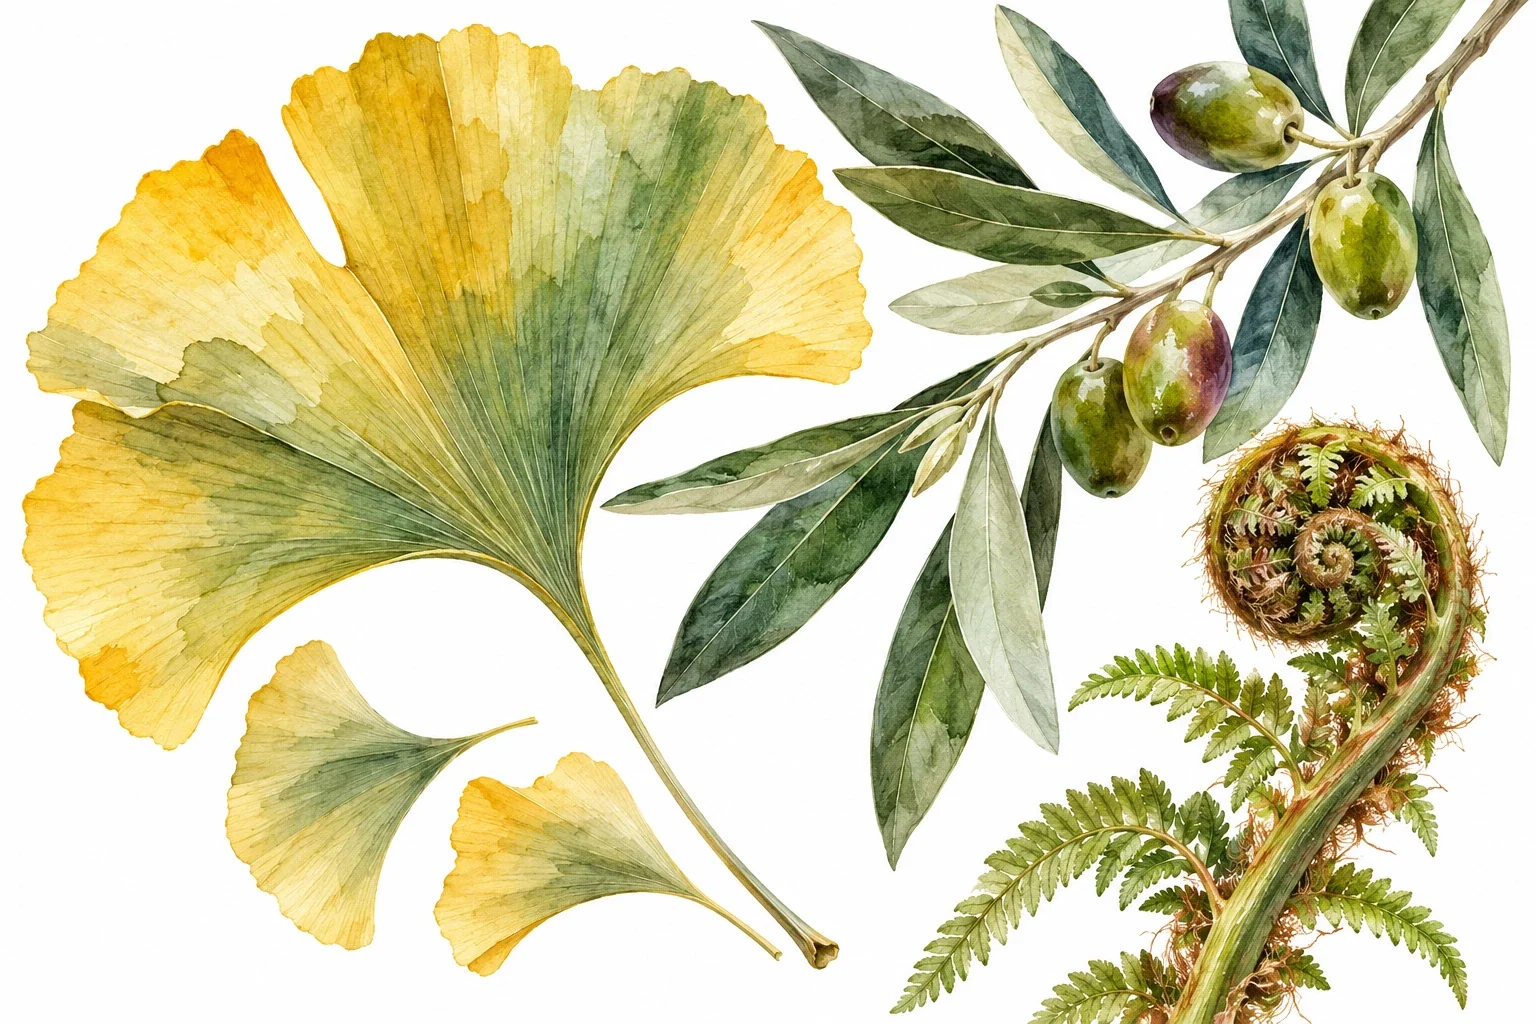
Paint broad, narrow, and irregular leaves with different silhouettes and deliberate light-to-shadow relationships.
Gather three contrasting shapes
Choose a broad leaf, a narrow leaf, and an irregular or lobed leaf that you can observe without disturbing a plant. Fallen specimens work well. Place them on a plain surface with consistent light. If one curls, decide whether the curl is the subject or whether a flatter leaf would make a better first study.
Use watercolor paper, a round brush, a pencil, and a small palette. Leave generous space between three study areas. Keep your brush, paper, and colors consistent so you can compare shape decisions rather than accidentally testing several materials at once. No botanical identification is needed for this exercise.
Measure the shape that makes each leaf different
Mark the stem end, tip, central direction, and widest area. Compare width with length. Is the widest area above or below the midpoint? Do the two sides curve equally, or does one turn more abruptly? Sketch only these large relationships before noticing every notch.
A narrow leaf may follow a sweeping arc; a broad leaf may need several connected strokes. Do not force both into the same almond outline. On an irregular leaf, treat each lobe as part of a larger silhouette. A few accurate direction changes usually communicate more than a row of identical decorative teeth.
Test brush pressure before the study
On spare paper, make a narrow stroke with the brush tip. Repeat while gently pressing the belly of the brush onto the paper, then lifting back toward the tip. Compare how pressure and direction change the mark. This is a brush test, not a rule that every leaf must be made in one stroke.
For a narrow leaf, a tapered stroke may describe much of the shape. For a broad specimen, use connected strokes around the planned contour. If the paint breaks into unwanted dry gaps, test a fuller brush load. If it pools everywhere, remove excess water before returning to the study.
Establish the silhouette, then the turn
Mix a light green or another color suited to your specimen. Paint the main shape, reserving a light passage only where it is useful. Keep the first layer simple. Its purpose is to establish the distinctive silhouette, not to supply all the veins and shadows.
After it dries, add a selective darker layer where the leaf turns or folds. Preserve some of the first wash instead of covering the entire shape. Compare hard and soft internal boundaries with the subject. A sharp fold can support a clear edge, while a gradual turn may need a softer transition. Treat edge choice as an observation decision.
Let veins support the form
Choose how much of the central vein the study needs: a light gap, a restrained line, or a broken accent can each work. Add only a few secondary veins visible at your drawing scale. If every vein has the same darkness, the network can overpower the leaf's light and shadow.
- Generic shape: compare the widest area and tip before adding detail.
- Flat surface: check the value difference around the fold.
- Heavy veins: repeat one leaf without secondary veins and compare its readability.
- Unclear green: make a fresh two-color test rather than repeatedly correcting the same puddle.
Finish with a three-leaf comparison
Place the dry studies beside their specimens. Name one feature distinguishing each leaf: a fan-shaped outline, a curved taper, an unequal lobe, or a folded edge. If the paintings look interchangeable, return to those broad features rather than adding more colors.
Choose one leaf for a second attempt and change only the weakest relationship. Keep the first version as a record of the decision. For an observation-focused next step, draw the same specimen in graphite. For layer handling, see Jenna Rainey's explanation of glazing; the practice sequence here is an original LUREXEN exercise.
A useful next lesson
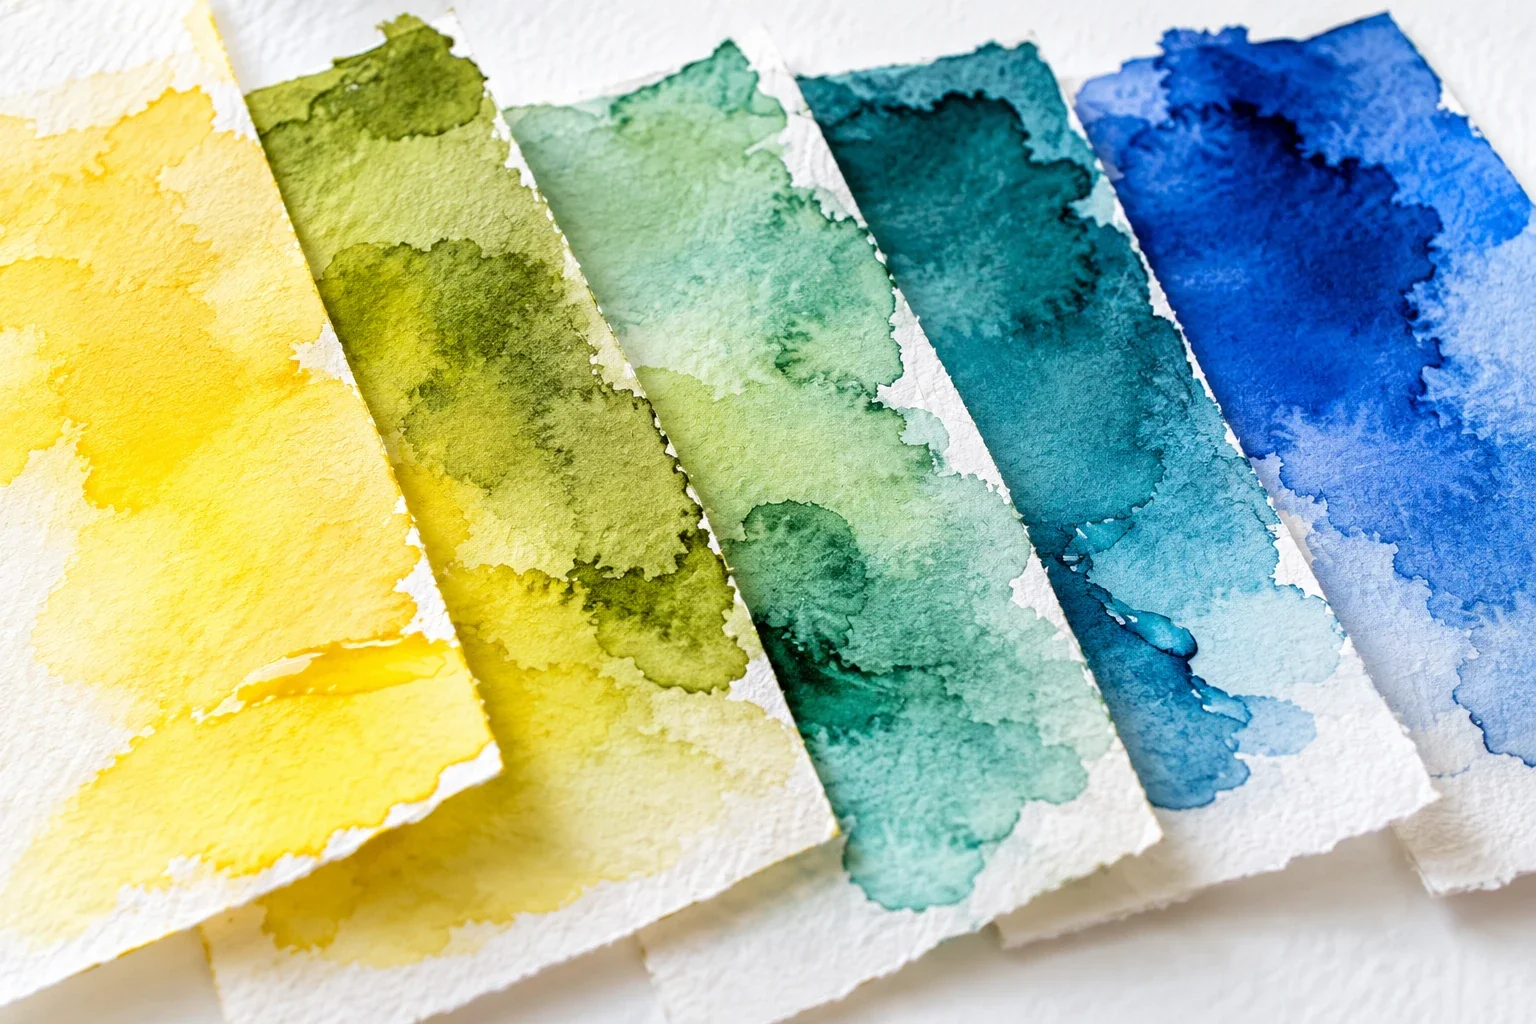
How to Mix Watercolor Colors Without Losing Clarity
When a watercolor mixture disappoints, adding another color is not always the answer. Learn to distinguish hue, value, and saturation, then build a small mixing record that helps you make a specific correction.
4 min read Read the lesson →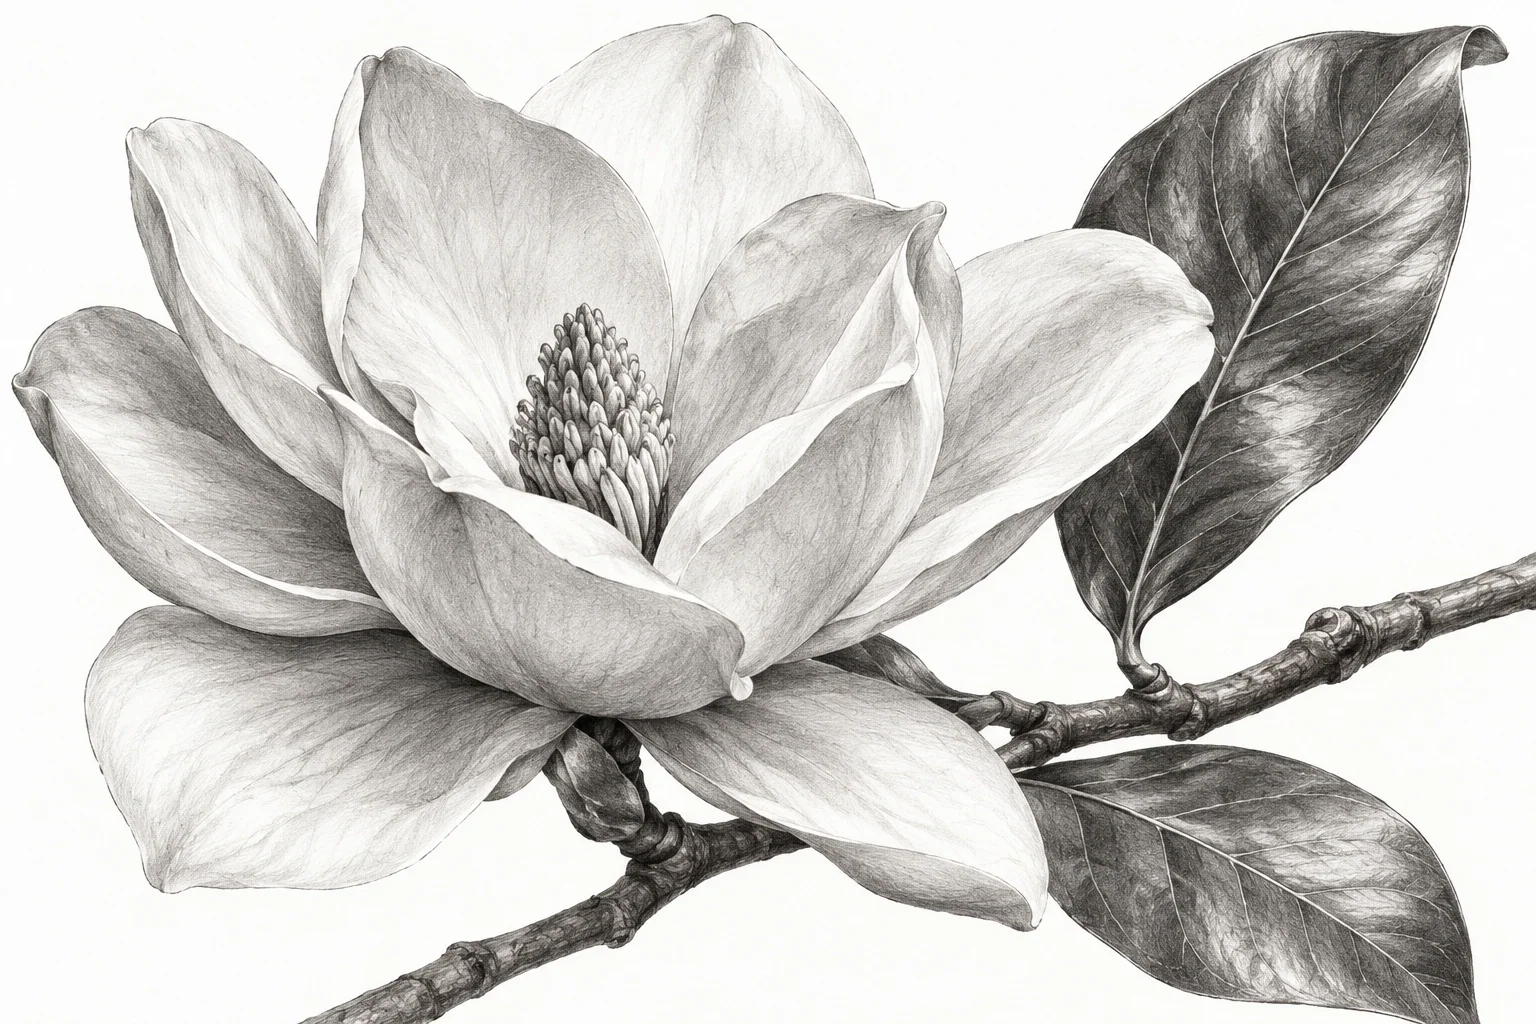
How to Draw Leaves from Observation: Contour & Veins
A leaf is a useful drawing subject because small proportion changes make a visible difference. Learn to build its direction, contour, and veins from observation, then use a fold or shadow to explain the form without decorating every surface.
3 min read Read the lesson →