
Beginner / Botanical lesson
How to Draw Leaves from Observation: Contour & Veins
A leaf is a useful drawing subject because small proportion changes make a visible difference. Learn to build its direction, contour, and veins from observation, then use a fold or shadow to explain the form without decorating every surface.
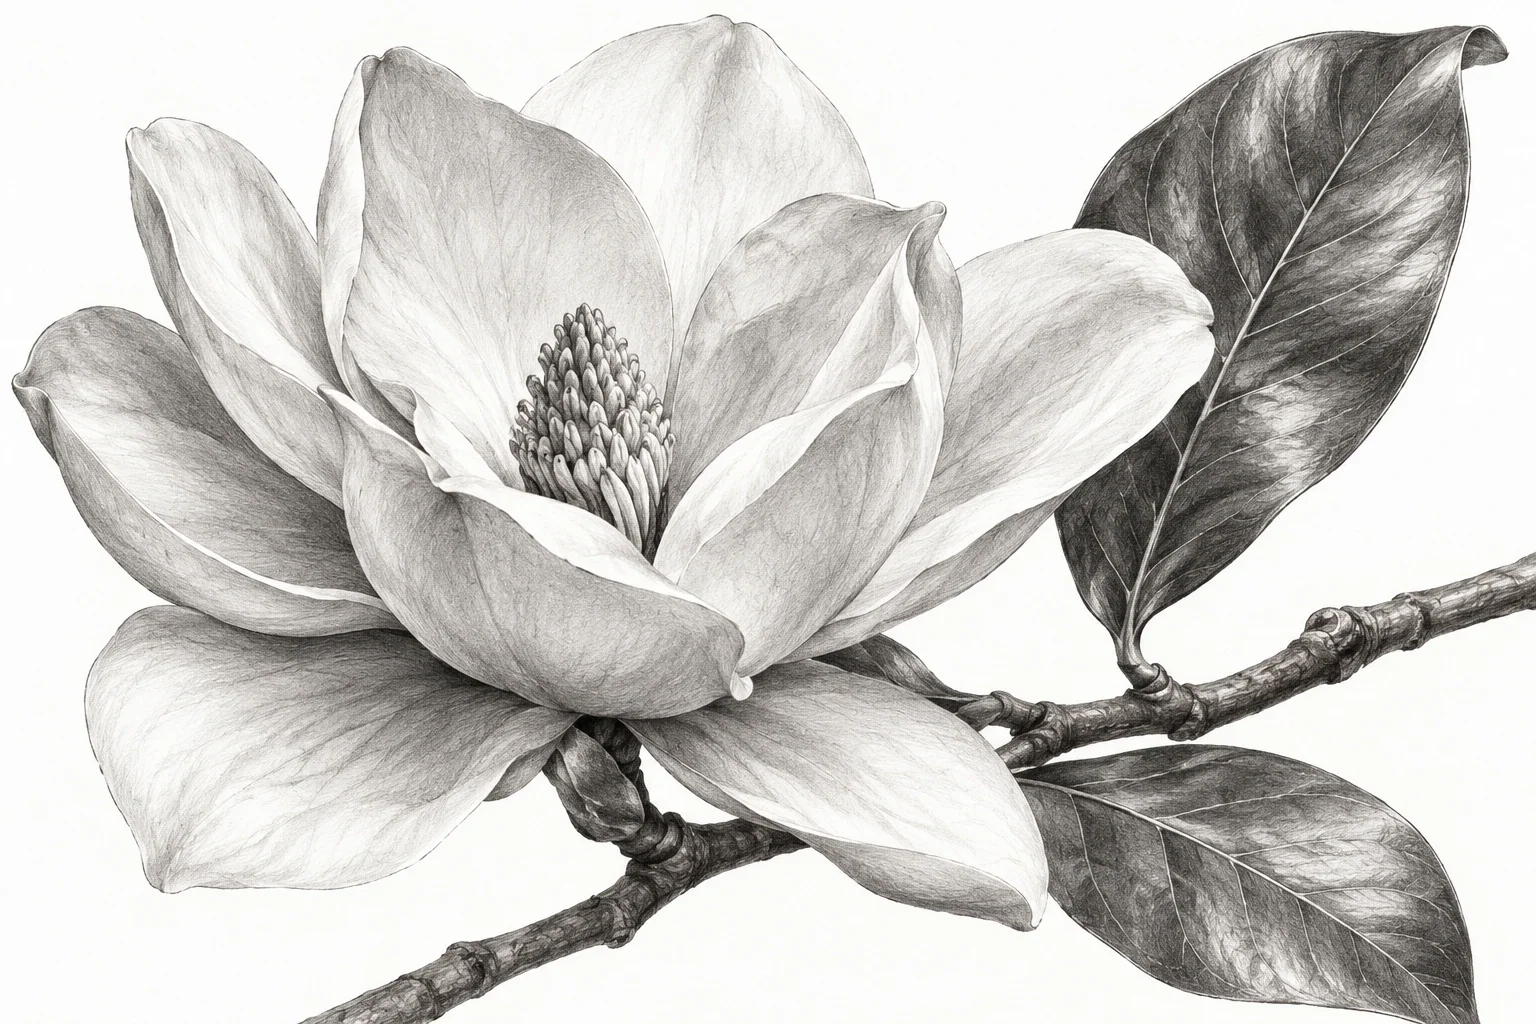
Draw three distinct leaf silhouettes and a selective vein pattern based on the specimen, not a memorized symbol.
Choose a specimen with useful structure
Use a fallen leaf or a permitted specimen you can observe closely. Set it on plain paper under consistent light. Choose a relatively flat leaf first if a strongly curled one hides most of its contour. Pencil, drawing paper, and an eraser are enough.
Leave room for three small studies. Look at the whole leaf before naming its parts: notice the main direction, where it is widest, and whether the sides are unequal. This lesson concerns drawing visible structure, not identifying a plant. You do not need to know the species to make accurate proportion comparisons.
Place landmarks before the outline
Mark the stem end, tip, and widest area. Join the first two with a light directional line following the leaf's bend rather than assuming a straight center. Compare total length with maximum width. Check whether the widest area falls nearer the base, middle, or tip.
Build a light enclosing shape around those landmarks. Use simple segments for now and compare the width on either side of the central direction. If the envelope looks too long or too symmetrical, correct it before drawing serrations. Small accurate details cannot rescue an outline whose main proportions belong to a different leaf.
Refine the contour in sections
Work along one short part of the boundary at a time. Notice where it curves outward, becomes almost straight, or changes direction. Relate each turn to the landmarks already on the page. This keeps the contour connected to a structure rather than a string of unrelated bumps.
For a serrated edge, establish the large silhouette first. Add only the teeth visible at your drawing scale, varying their spacing and direction according to the specimen. A perfectly regular row of triangles often reads as decoration. You can omit tiny breaks when they contribute less than the larger turn of the leaf.
Check the surrounding empty shapes
Compare the background beside a curved edge or the gap between two lobes. This negative space gives you a second way to check the same contour. Look at its width and angle, not simply whether it feels attractive on the page.
If the gap differs from the specimen, locate the contour segment responsible. You may need to move one lobe rather than redraw the entire leaf. Keep your viewing position stable during the comparison. A changing viewpoint can alter a curled specimen's visible shape and make an otherwise careful correction seem wrong a moment later.
Select veins and describe a fold
Establish the central vein only as strongly as it appears. Add a few visible secondary veins, checking their angles and connections. They need not form a perfectly regular ladder. Use lighter or broken marks where the structure becomes faint, and omit branches too small for the study.
If the leaf folds, compare the values on either side. A gentle shaded passage may describe the turn better than an extra heavy line. Keep the contour, vein structure, and fold from competing at equal strength. Your emphasis should help the viewer understand the leaf, not announce every mark with the same volume.
Compare three silhouettes before more detail
Draw a broad leaf, a narrow leaf, and an irregular leaf at similar sizes. Write one difference beneath each: widest point, taper, curve, or unequal lobes. Cover the internal veins and compare whether the outlines still look distinct.
If they become interchangeable without details, revisit their envelopes. If they are distinct but feel flat, try one restrained value group rather than a denser vein network. For the next session, paint one of these same specimens using the watercolor leaf guide. Keeping the subject while changing the medium helps reveal whether the difficulty comes from observation or paint handling.
A useful next lesson
The Art of Seeing
Looking carefully becomes useful when it changes a decision on the page. Try a ten-minute observation loop that turns a vague feeling that something is wrong into one specific comparison you can act on.
3 min read Read the lesson →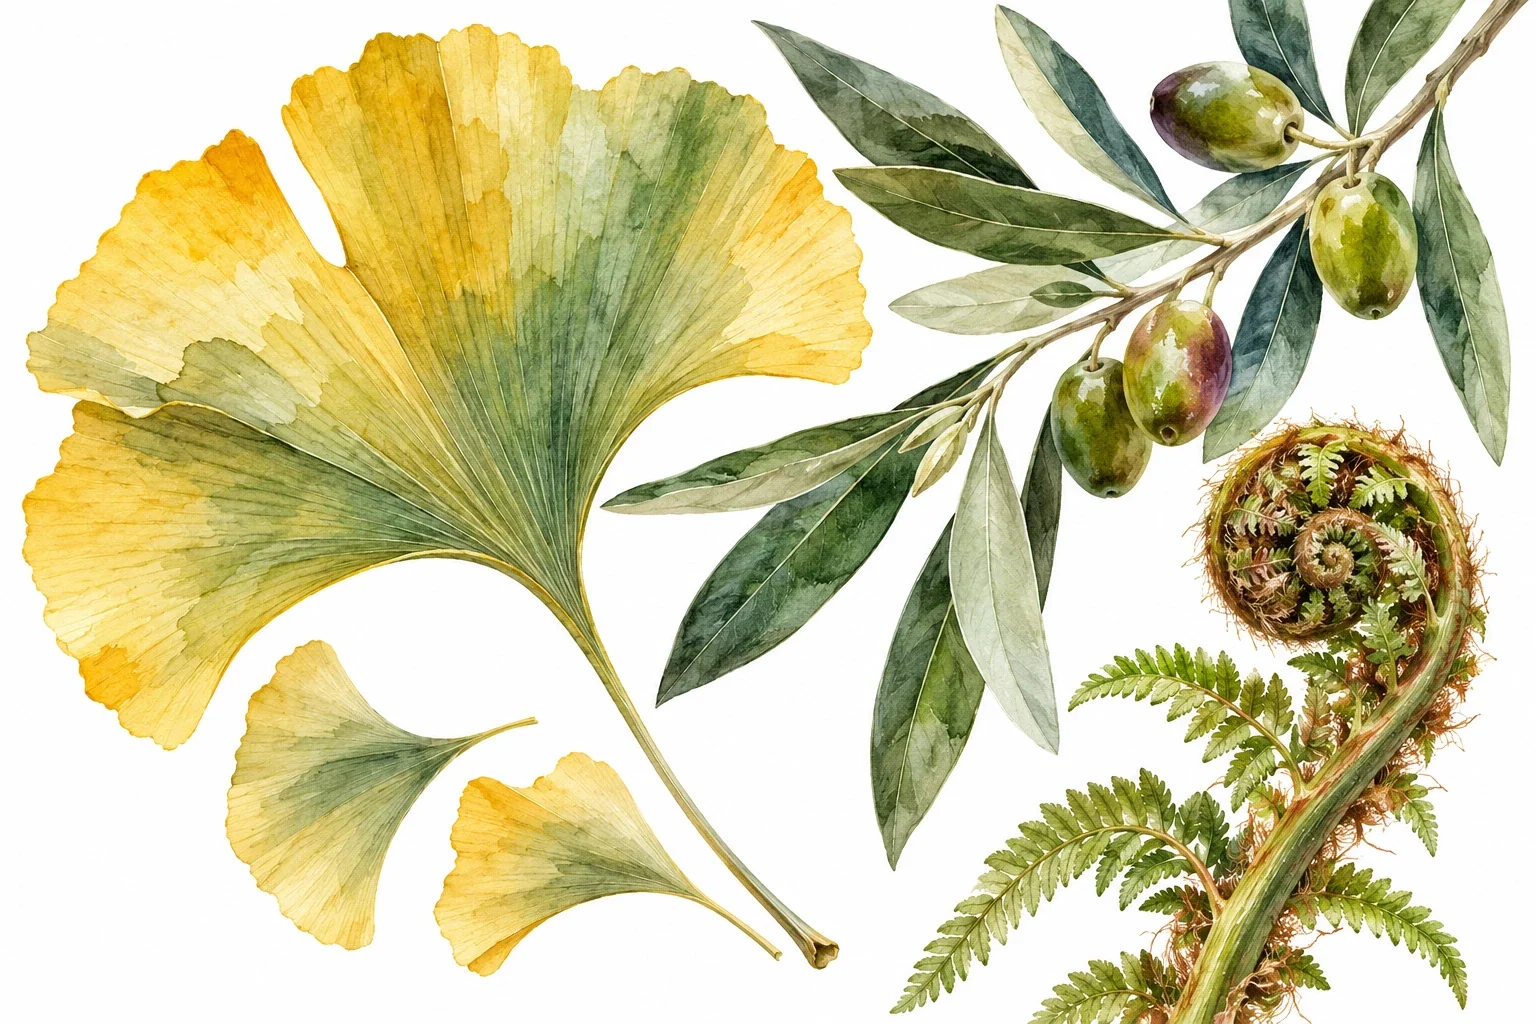
How to Paint Watercolor Leaves: Shape, Edges & Layering
Paint leaves that differ in shape and movement instead of repeating the same green symbol. You will connect observed silhouettes, brush pressure, and selective layers in a short study of three distinct leaves.
3 min read Read the lesson →