
Beginner / Original practice lesson
Cross-Contour Drawing: Make Simple Objects Feel Three-Dimensional
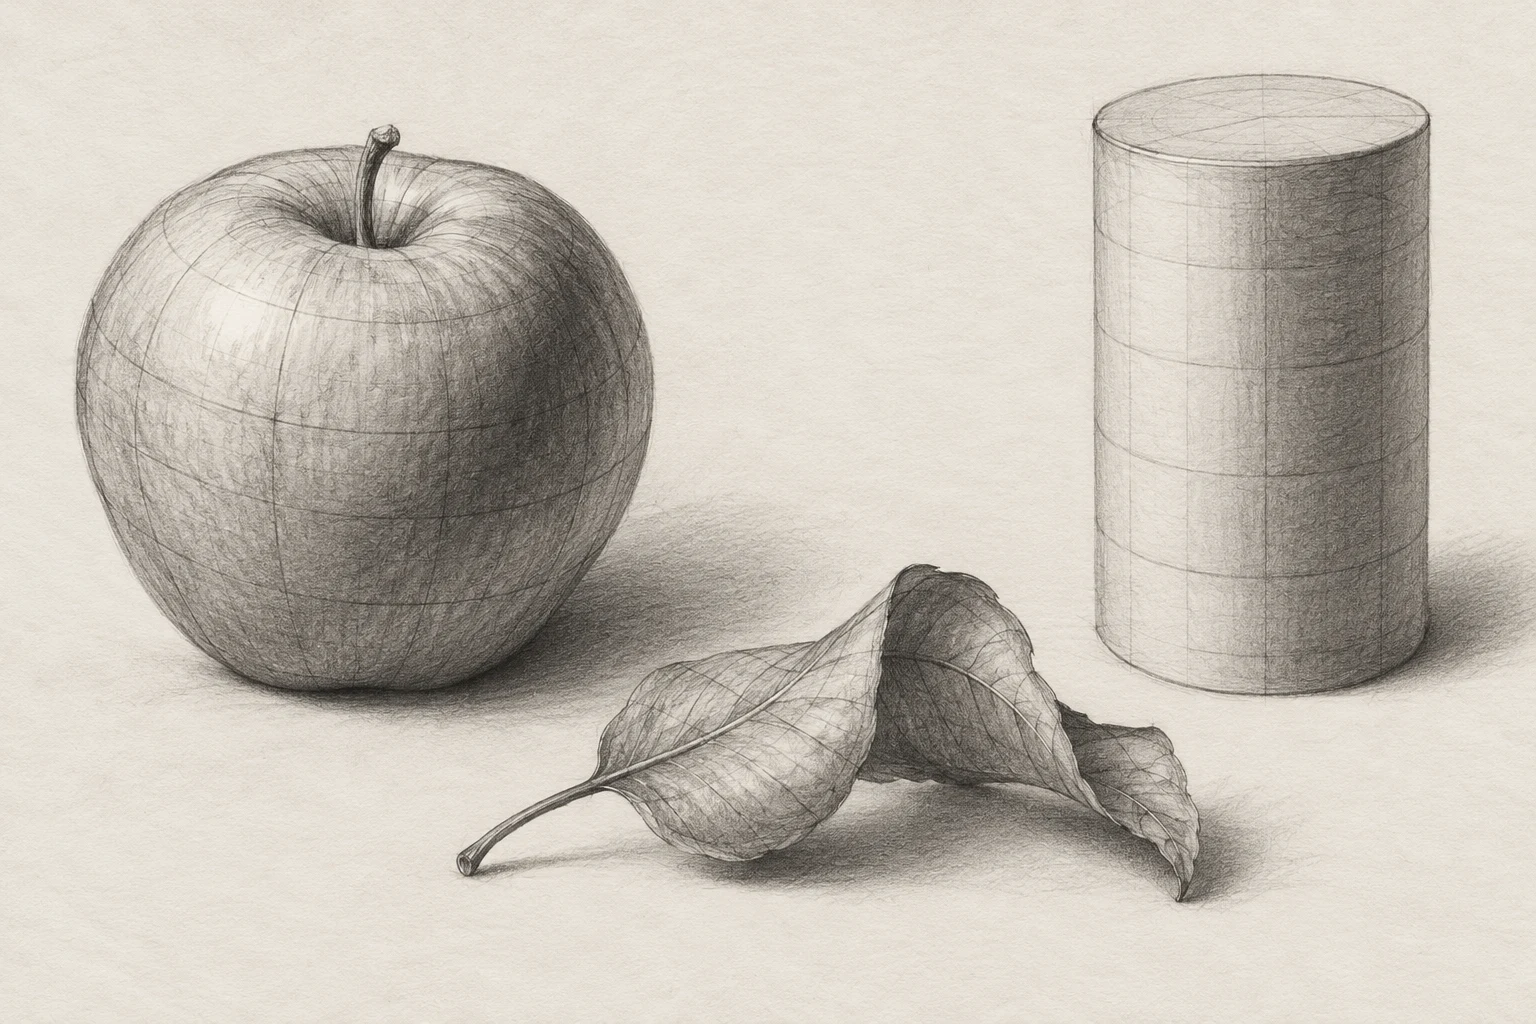
Wrap guiding lines around a cup, fruit and folded form to understand how surfaces turn through space before adding shading.
The idea to understand
An outline shows where a form ends; a cross-contour suggests how its surface travels between edges. Imagine elastic bands wrapping around the object. Their curve, spacing and direction change as the surface turns. These are construction lines, not decoration, so use only enough to explain the volume.
What you need
Sketchbook, HB pencil, eraser and three simple objects: a cup, round fruit and folded paper or cloth. Keep the objects at eye level or slightly below.
Your practice sequence
Establish the main forms
Draw the cup as a cylinder, the fruit as a sphere-like mass and the folded object as connected planes. Compare height, width and tilt before adding interior lines. Keep the construction light enough to revise.
Wrap the cup
Add three or four cross-contours around the cylinder. Let the upper and lower curves relate to the rim ellipse. Avoid drawing straight horizontal stripes; the curve should help the wall feel rounded.
Turn around the fruit
Choose a direction from stem to base and draw curved bands that widen across the front, then compress toward the sides. Shift the bands if the fruit is asymmetrical. A contour that ignores the silhouette will not describe the same form.
Change direction at folds
On the folded object, let each cross-contour follow one plane and bend at the fold. Vary spacing to clarify a tighter turn. Add one small shadow only after the lines make the form understandable.
Check your result
Cover the outlines at selected points: do the interior lines still imply a turning surface? Do contours meet the edge at believable angles? Does the folded study clearly change direction? Redraw the weakest object with half as many lines.
If the study is not working yet
If the object looks striped, vary curvature and spacing. If lines flatten the cup, compare them with the rim ellipse. If the fruit looks mechanical, respond to its real asymmetry rather than forcing perfect latitude lines.
A useful second attempt
Draw a hand or shoe using only a few cross-contours over simple masses. Keep the study exploratory and compare each line with the observed surface.
Further reading
Proko: How to Draw Cross Contour on 3D Forms ↗. This is supporting reading; the exercise above is an original LUREXEN practice plan. Publisher images have not been reused.
An optional practice companion
Figure Drawing Foundations Workbook on Etsy ↗. The workbook is optional; you can complete this lesson without purchasing anything. Check the listing for its current contents and terms.
Continue with a related lesson
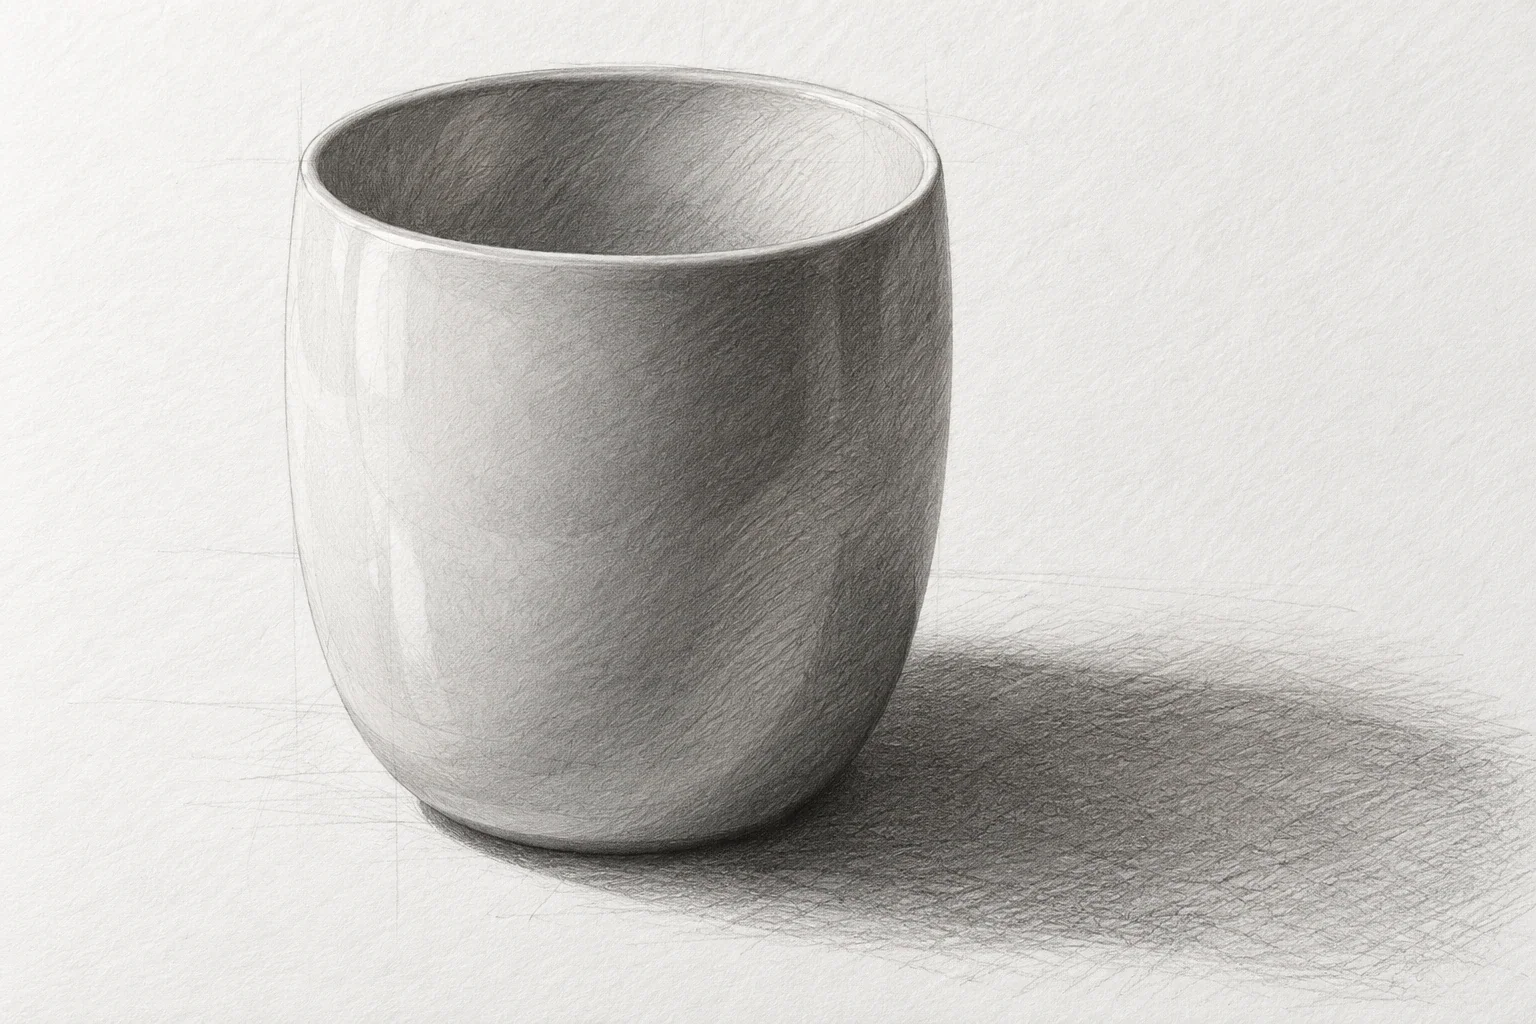
How to Draw a Cup: Proportion, Ellipses & Pencil Shading
A cup is a compact lesson in proportion, ellipses, and value. Work in an order that makes corrections inexpensive: establish the body, check the opening and handle, then add enough shading to explain the form.
3 min read Read the lesson →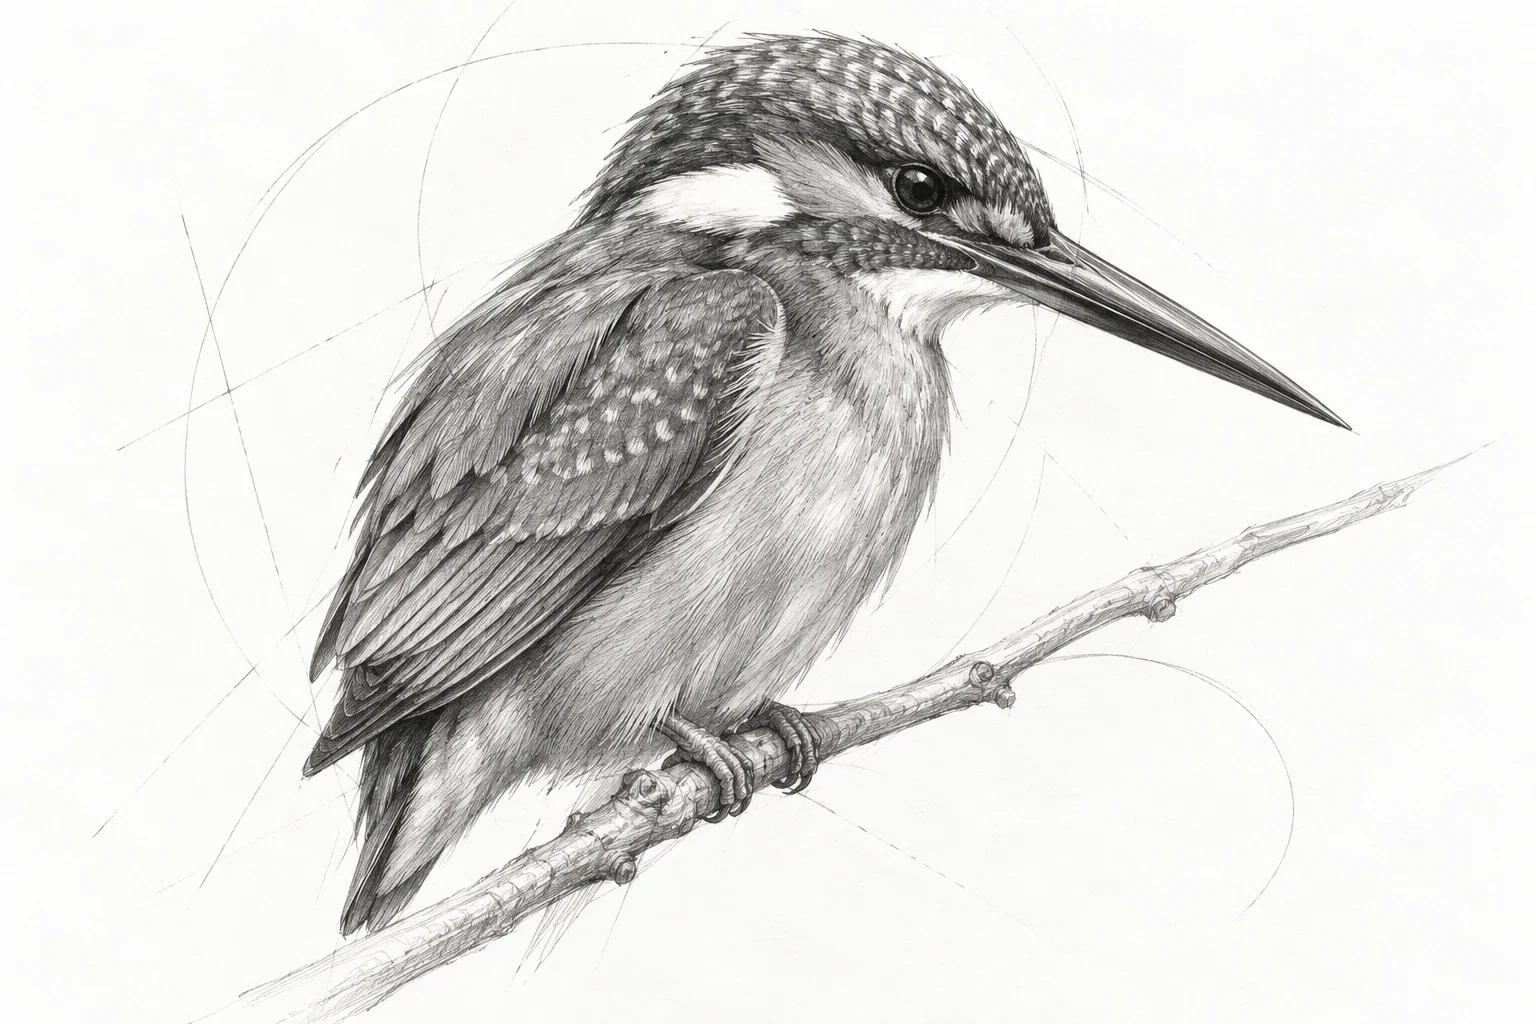
A Guide to Drawing Birds from Observation
A bird sketch becomes convincing through pose, proportion, and support long before it needs individual feathers. Use a short sequence of gesture, main masses, and landmarks to capture a readable bird without getting trapped in tiny details.
3 min read Read the lesson →