
Beginner / Step-by-step lesson
How to Draw a Cup: Proportion, Ellipses & Pencil Shading
A cup is a compact lesson in proportion, ellipses, and value. Work in an order that makes corrections inexpensive: establish the body, check the opening and handle, then add enough shading to explain the form.
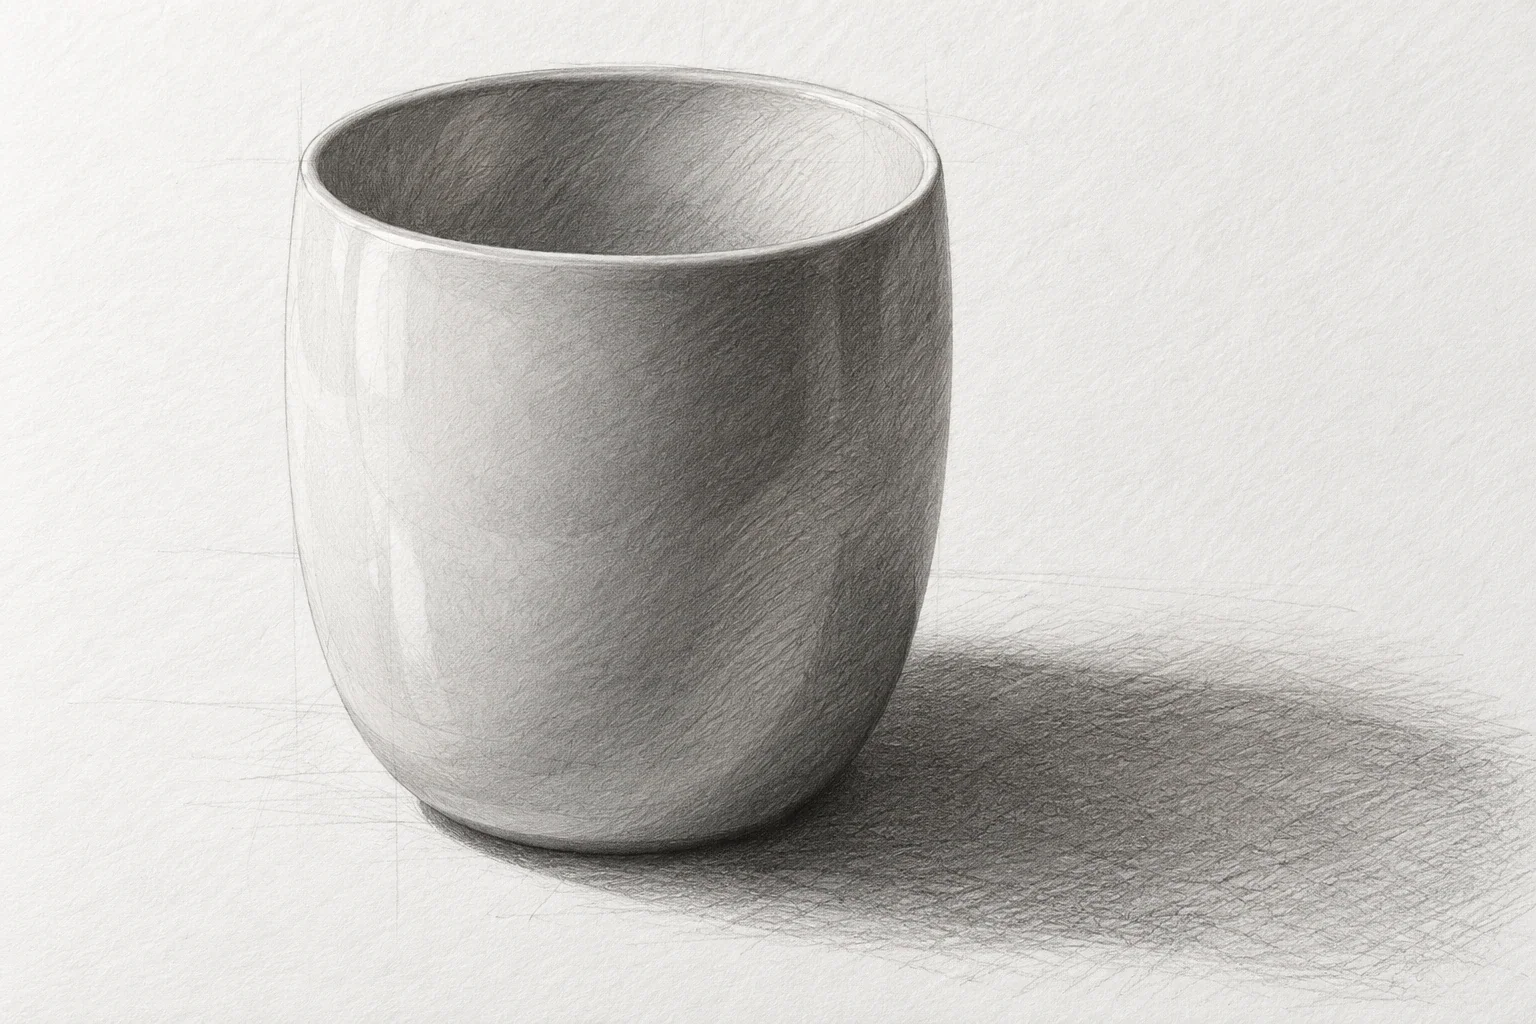
Draw a cup with a believable height-to-width relationship, a rounded opening, and readable light and shadow.
Choose a stable view
Use a plain cup with a visible opening and one main light source. Set it on a quiet surface and keep your viewing height steady. A patterned or highly reflective cup introduces extra information; save that for a later study. An ordinary graphite pencil, paper, and eraser are sufficient.
Before drawing, compare the body's height with its widest width, excluding the handle. Is it taller than it is wide? Does it taper toward the base? Notice the visible depth of the opening. These three observations give you a more useful starting point than a remembered picture of what a cup should look like.
Build the body from four limits
Mark the top, bottom, left, and right limits lightly. Add a centerline to organize the opening and base. Indicate the opening width and base width, then connect them with simple side lines. Check the body's enclosing shape before refining the contour.
Compare where the side curves begin and whether one side is more visible from your position. Keep these lines faint. If the body is too tall, move a landmark now instead of shading around the mistake. A construction-only drawing should already communicate the cup's overall shape; smooth graphite cannot repair a fundamental proportion error.
Observe the opening instead of guessing an oval
Compare the opening's visible height with its width. A lower viewpoint reveals a shallower oval; a higher one reveals more of the opening. Place guide marks at its top, bottom, and sides, then join them with a smooth rounded contour. Avoid pointed corners at the ends.
Check both halves around the centerline, allowing for the actual shape of the object. Observe any inner rim separately instead of drawing a heavy second oval automatically. The base contour also needs its own observation; copying the opening's visible depth there can make the construction inconsistent. Recheck alignment before committing to darker lines.
Place the handle by its empty space
Mark the upper and lower attachment points. Compare their heights with the opening and base. Now draw the empty space inside the handle: note its widest point, angle, and reach away from the body. Build the handle around that space rather than inventing an ornamental curve.
Check where one edge disappears behind another. If every contour remains equally dark and uninterrupted, the handle may look pasted onto the cup. A handleless cup skips this step, but the same negative-space comparison applies to a bowl's surrounding space or the gap between two objects in a still life.
Use three values before blending
Identify a light region, a middle region, and a darker region on the body. Leave the lightest passage mostly as paper. Build the middle with gentle repeated strokes, then establish the broad shadow group. Compare the contact shadow beneath the cup before choosing your darkest accent.
A shiny glaze may interrupt the simple pattern with reflections. Add only those needed to explain the form. Do not outline a bright reflection as a dark symbol. Blending is optional; organized pencil strokes can complete the exercise. Before smoothing transitions, step back and check whether the major value groups actually describe the cup's curvature.
Review the construction with a second view
If the opening looks pointed, redraw a few rounded ovals in the margin. If the cup looks tilted, compare the opening, base, and centerline. If the handle feels awkward, check attachment points and the empty space before altering its outer contour. Correct one relationship at a time.
Draw the same cup from a slightly higher position in a second study. Compare the opening depth while keeping the body measurement deliberate. This gives you evidence of what changed, not just another attempt to polish the first drawing. Continue with the pencil shading workshop if construction is readable but the form still feels flat.
A useful next lesson
Pencil Shading for Beginners: Values, Pressure & Form
Good pencil shading is not simply smooth shading. Learn to organize light and shadow, control pressure, and choose dark accents so a simple object reads clearly before you blend or add texture.
3 min read Read the lesson →
The Art of Seeing
Looking carefully becomes useful when it changes a decision on the page. Try a ten-minute observation loop that turns a vague feeling that something is wrong into one specific comparison you can act on.
3 min read Read the lesson →