
All levels / Foundational practice
The Art of Seeing
Looking carefully becomes useful when it changes a decision on the page. Try a ten-minute observation loop that turns a vague feeling that something is wrong into one specific comparison you can act on.
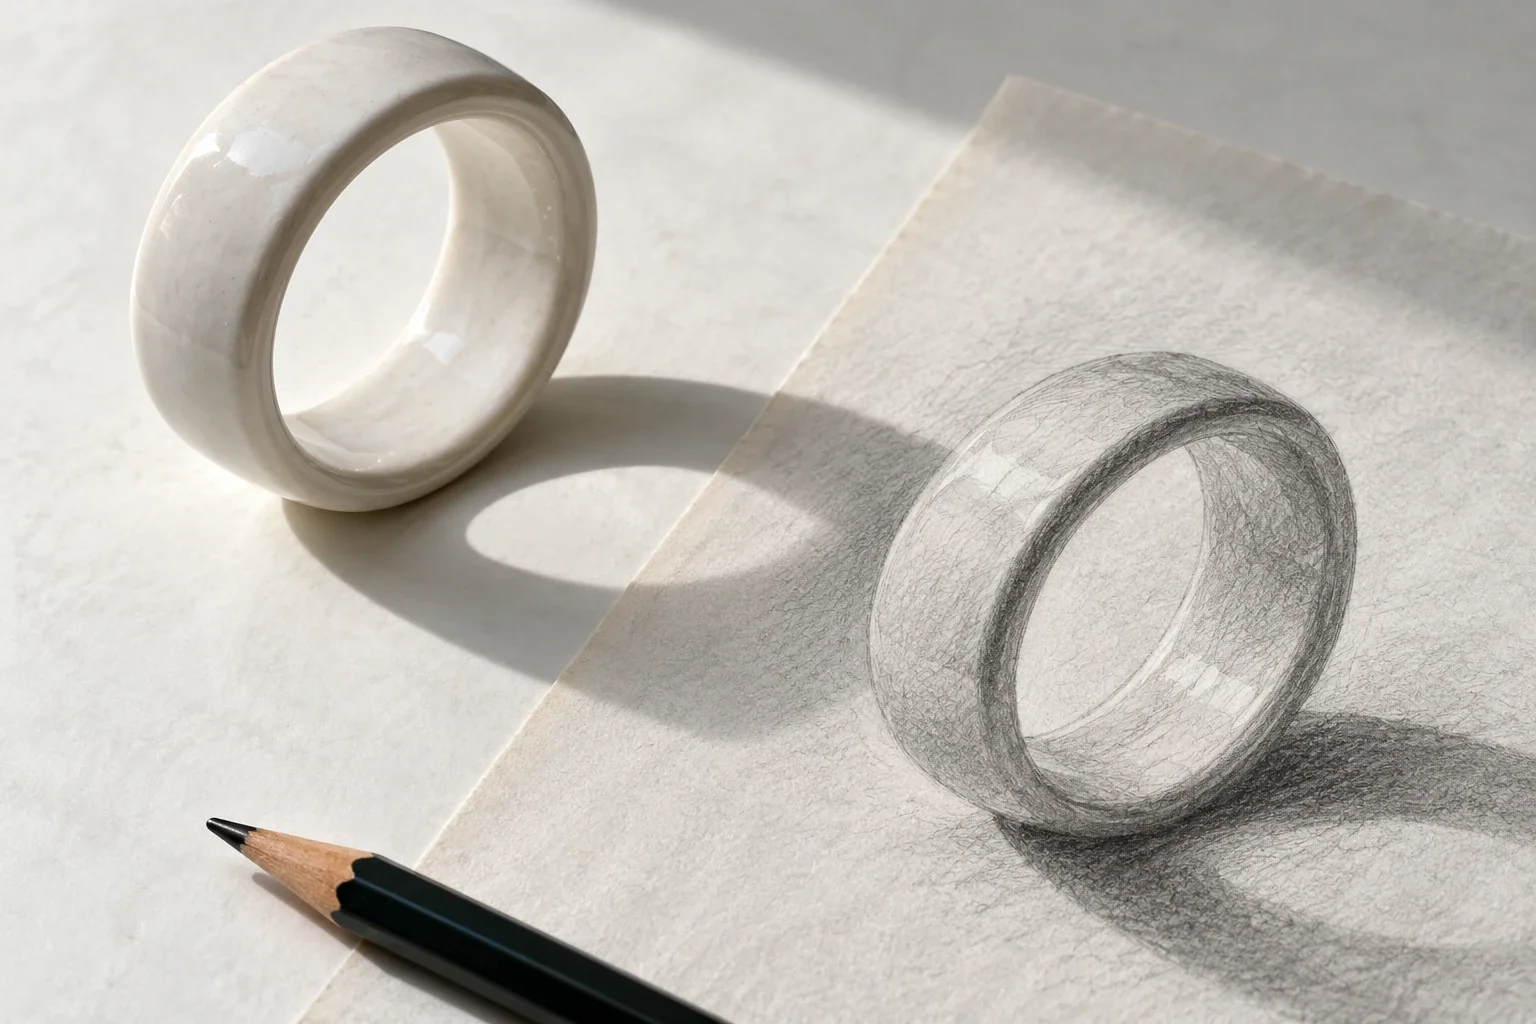
Make two short studies, identify one measurable mismatch, and use it to improve the second attempt.
Choose one question for one subject
Pick an everyday object: a cup, leaf, folded cloth, or simple fruit. Keep the light and viewing position stable. Use pencil and paper for the first session so material handling does not compete with the observation task. Leave room for two small studies.
Choose a question such as “is the opening too deep?” or “where is the leaf widest?” Avoid “can I draw this perfectly?” A narrow question gives you something to compare. The purpose is not to notice every detail but to find the relationship most responsible for the subject's shape or light pattern.
Describe relationships before naming parts
Look for height against width, one angle against another, or a dark group beside a light one. Calling a shape “a handle” can tempt you to draw a remembered handle symbol. Describing it as a narrow opening tilted slightly upward gives you a visible relationship to test.
Mark a few limits and directions, then compare them with the subject again. Is the widest point where you placed it? Does the main axis lean the same way? Use ordinary language. You do not need a complex measuring system for a small study; you need comparisons precise enough to change a mark.
Use negative space for a second check
With a cup, study the empty shape inside the handle. With a branch, compare the gaps between stems. With a folded cloth, compare a plain background wedge beside the edge. Draw that space lightly before refining the object around it.
This does not replace observation of the subject. It gives you another view of the same boundary. A handle opening may have the right shape but sit too far from the body, so compare position and scale as well as contour. If the two checks disagree, locate the specific relationship responsible instead of erasing everything.
Simplify the information on purpose
Make a study with only an enclosing shape, a main direction, and three broad value groups. Omit texture. Now step back: does the object still feel recognizable? If not, its main proportions or light pattern may need attention before detail can help.
Choosing what to leave out is part of observation. A small drawing cannot carry every feature at the same strength. Keep the relationships needed for this session's question and let others remain quiet. This is especially useful when a detailed reference feels overwhelming: you can reduce the decision without pretending the subject itself is simple.
Run the ten-minute observe–compare–adjust loop
- Spend two minutes looking and marking the largest relationships.
- Use three minutes for a small study with your chosen question in mind.
- Compare the study with the subject for one minute. Name one mismatch.
- Use three minutes for a second study addressing that mismatch.
- Write one sentence recording what changed.
The timing is optional, not a test. Your note should identify an action: “I reduced the opening depth” is useful; “the second is better” gives little guidance for tomorrow. Keep both drawings together so the correction remains visible.
Choose the next exercise from the evidence
If the main mismatch concerned proportion, try the cup construction lesson. If the outline worked but the object felt flat, use the value-group workshop. If leaf shapes became generic, compare landmarks in the botanical drawing guide. Choose the lesson matching the problem instead of collecting unrelated tutorials.
Repeat the same subject when the question is still useful; a new object is not automatically better practice. For a simple sequence, use the free seven-day plan. You can progress without buying a workbook. A focused observation record gives your next session a purpose beyond finishing another picture.
A useful next lesson
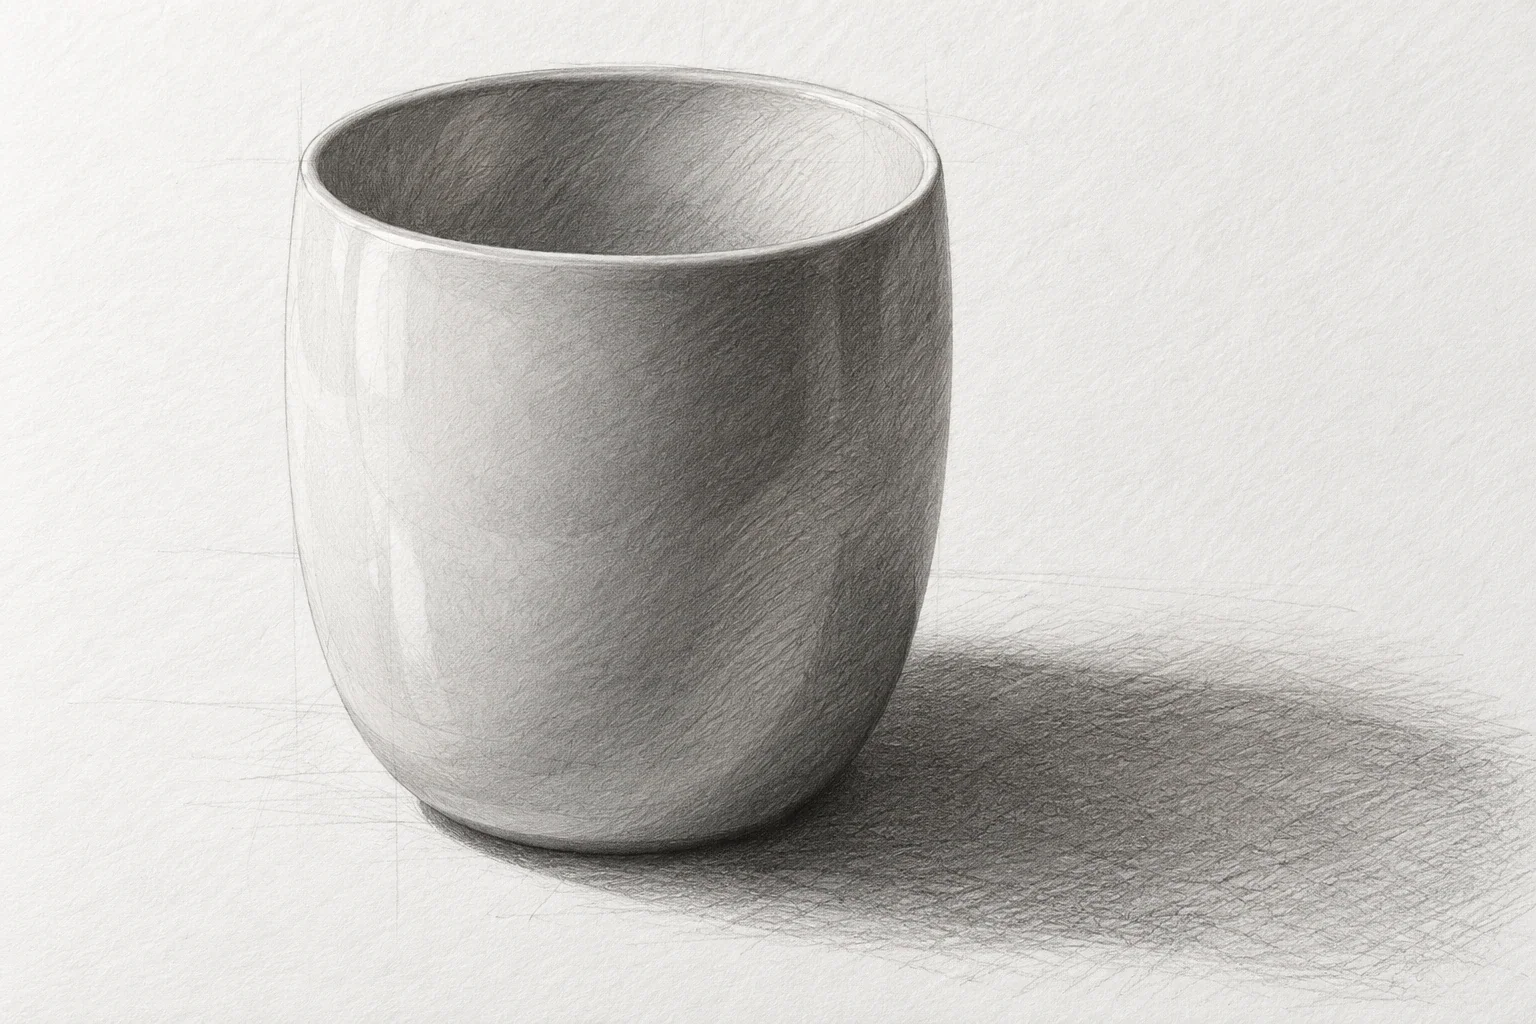
How to Draw a Cup: Proportion, Ellipses & Pencil Shading
A cup is a compact lesson in proportion, ellipses, and value. Work in an order that makes corrections inexpensive: establish the body, check the opening and handle, then add enough shading to explain the form.
3 min read Read the lesson →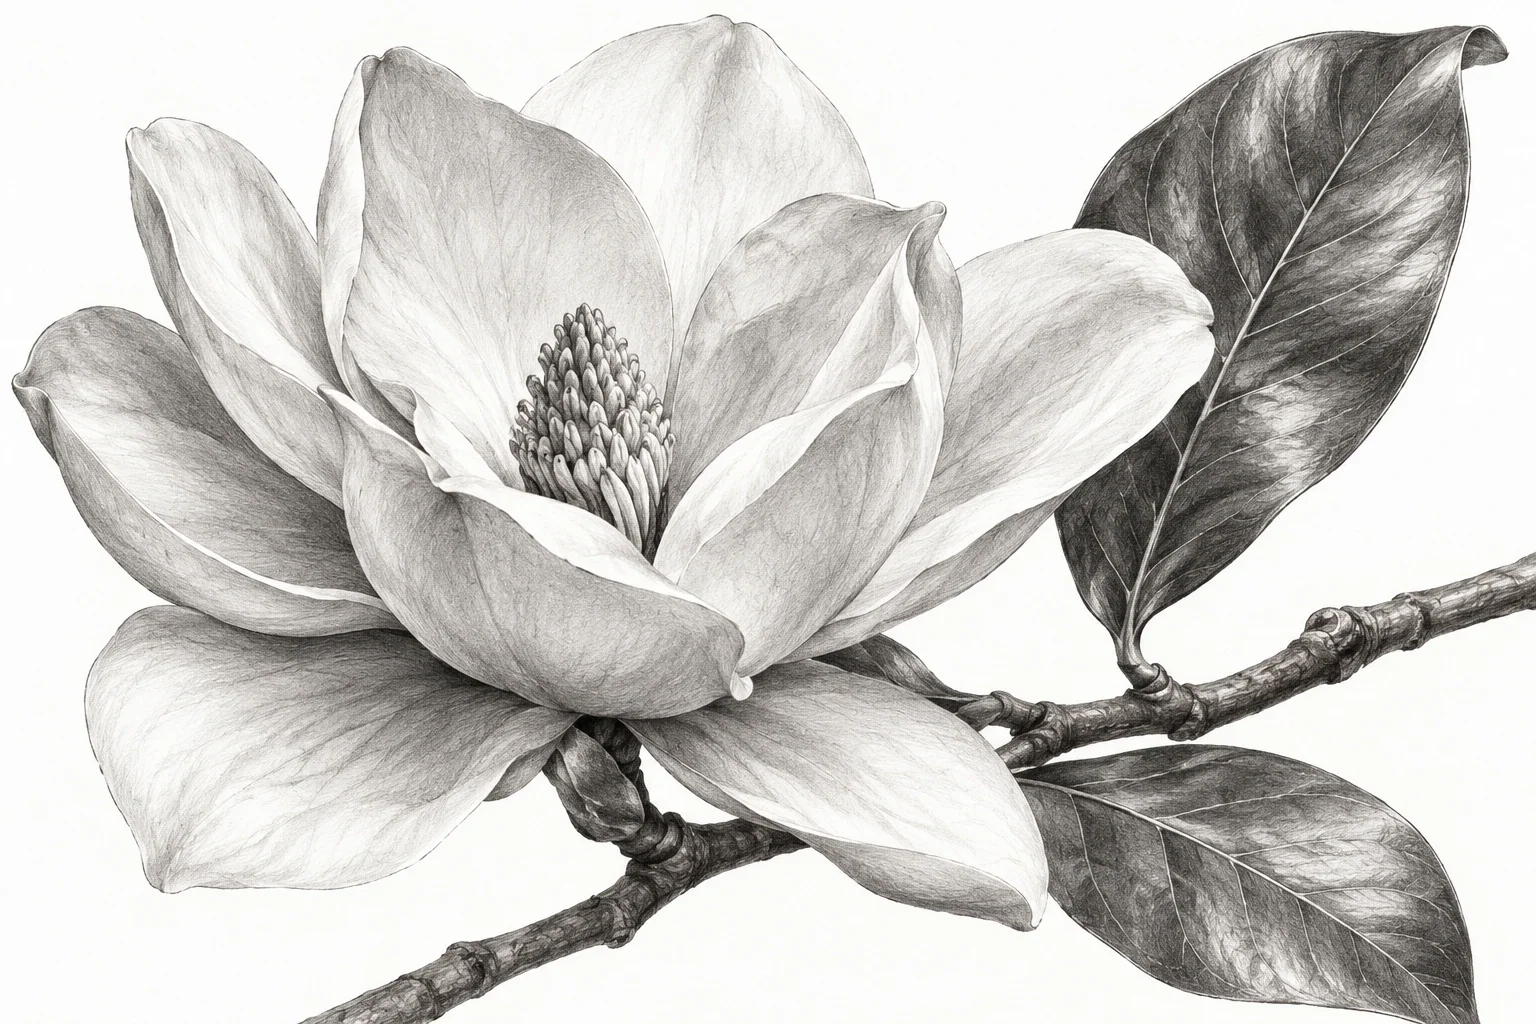
How to Draw Leaves from Observation: Contour & Veins
A leaf is a useful drawing subject because small proportion changes make a visible difference. Learn to build its direction, contour, and veins from observation, then use a fold or shadow to explain the form without decorating every surface.
3 min read Read the lesson →