
Beginner / Observation workshop
A Guide to Drawing Birds from Observation
A bird sketch becomes convincing through pose, proportion, and support long before it needs individual feathers. Use a short sequence of gesture, main masses, and landmarks to capture a readable bird without getting trapped in tiny details.
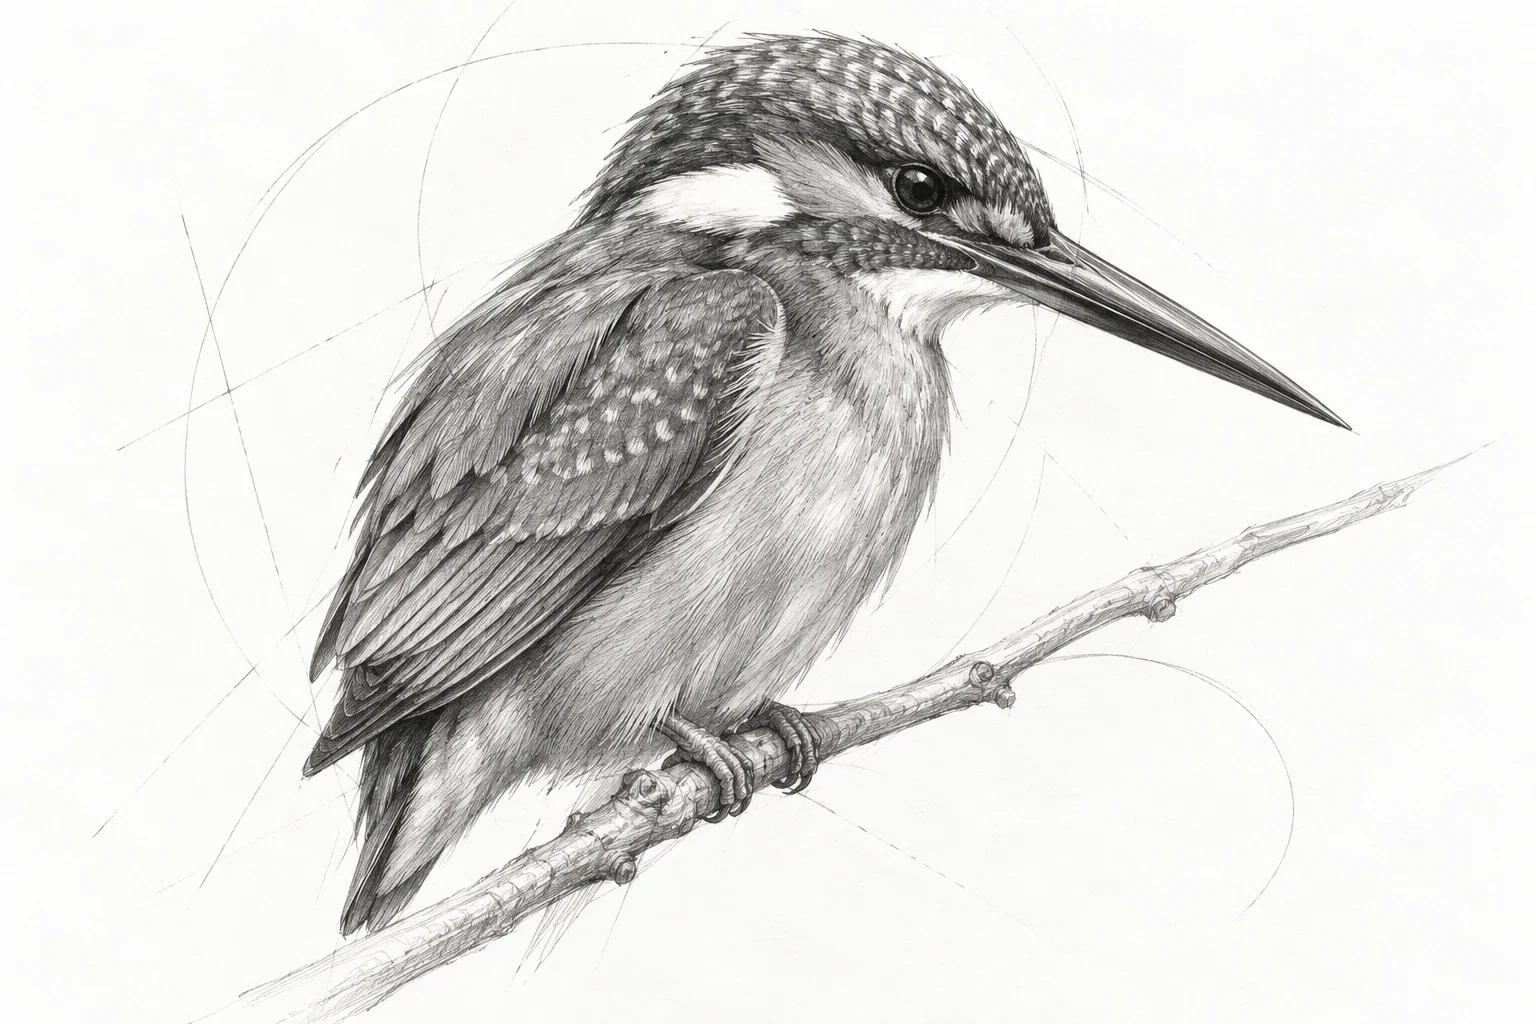
Make a bird study with a coherent pose, checked head-to-body relationships, and believable contact with its perch.
Choose a reference you can study responsibly
Begin with a resting bird observed from a distance or a photograph you have permission to use. A clear side or three-quarter view makes the head, body, and tail easier to compare. Do not approach or disturb wildlife to obtain a better drawing view.
Use pencil, paper, and an eraser. Leave room for several small sketches rather than committing the whole page to one polished attempt. If a live bird moves, begin a new gesture instead of combining incompatible positions into one pose. A still reference is useful when you need longer to compare proportions.
Capture direction before outlines
Draw one light line for the overall direction of the body. Add a short mark for the head angle and another for the tail. Ask whether the bird leans forward, sits upright, or tucks into itself. These relationships describe the pose before a recognizable eye or beak appears.
Keep the first sketch free of feather detail. A continuous outline made too early can trap you in a pose that never felt convincing. Use light directional marks that are easy to change. Compare the head's position relative to the shoulder: a small shift here can alter the entire gesture.
Compare the main masses and landmarks
Block in the torso and head with simple rounded masses, then compare their widths and spacing. There is no single ratio that fits every bird or pose. Mark the beak tip, eye position, shoulder, and tail tip as landmarks without rendering them fully.
Check the angles between those points. Is the beak almost horizontal or tilted? Does the tail continue the body direction or drop away? Place the eye only after the head mass reads clearly. An oversized dark eye can pull attention away from a weak construction and make later proportion corrections unnecessarily difficult.
Make the bird feel supported
Locate the visible feet and compare them with the mass above. For a perched bird, establish the branch's direction and the contact points. You can suggest the support with simple marks before drawing toes. If a foot is hidden, do not invent a detailed one just to make the picture symmetrical.
Check where the body contour meets the tail and wing. The silhouette should make sense even without internal shading. If the bird feels unbalanced, compare torso tilt and support together rather than moving a foot in isolation. Treat a flying or jumping pose as a different study, not a resting-pose formula.
Group feathers and choose a few accents
Indicate the wing as a larger shape, then add a few feather groups following its direction. Use grouped light and dark passages before individual lines. A small number of selective marks can describe texture while leaving the construction readable.
Compare the darkest accents around the eye, bill, wing, and contact points. Avoid automatically outlining every feather with equal weight. If texture begins hiding the pose, make a second version with fewer marks. The question is whether each detail explains a visible relationship, not whether you have filled every available area of the drawing.
Build a useful page of short studies
Make five small sketches, each focusing on one comparison: gesture, head-to-body scale, tail angle, support, and silhouette. Spend roughly two minutes on each if that feels manageable. Choose the clearest pose for a longer study with grouped values.
Write one observation beneath the page, such as “the head was farther forward than my first sketch.” If all versions look like the same generic bird, recheck their landmark angles before adding feathers. For stronger tonal groups, continue with the pencil shading workshop. Keep reference permissions in mind if you later publish a drawing based closely on someone else's photograph.
A useful next lesson
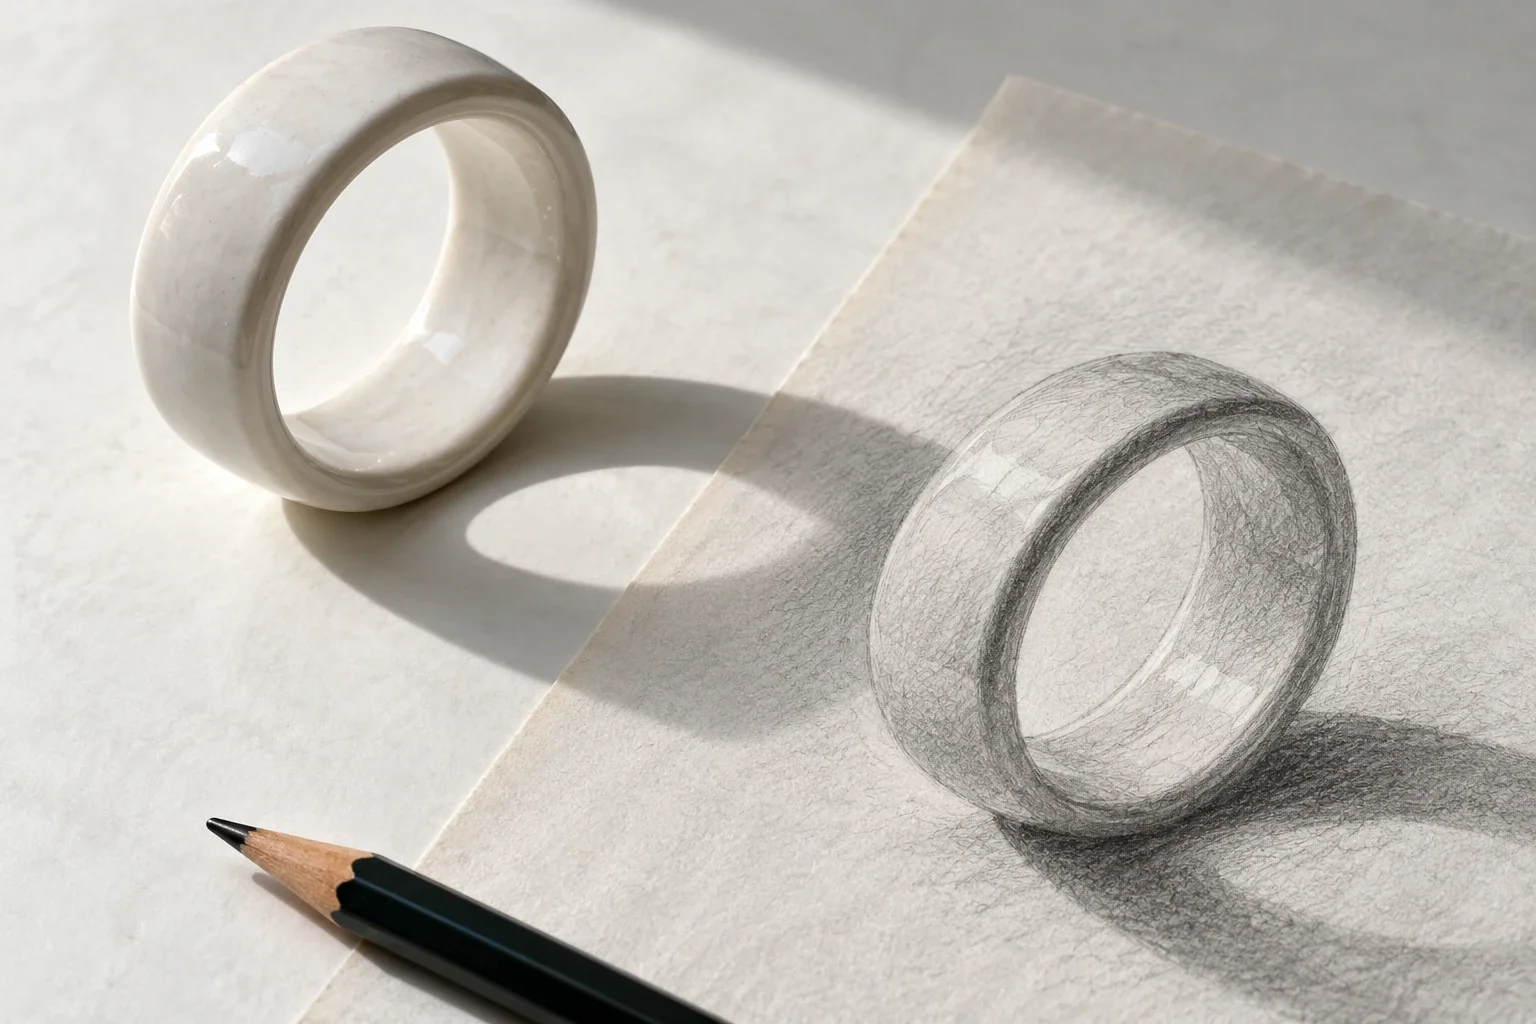
The Art of Seeing
Looking carefully becomes useful when it changes a decision on the page. Try a ten-minute observation loop that turns a vague feeling that something is wrong into one specific comparison you can act on.
3 min read Read the lesson →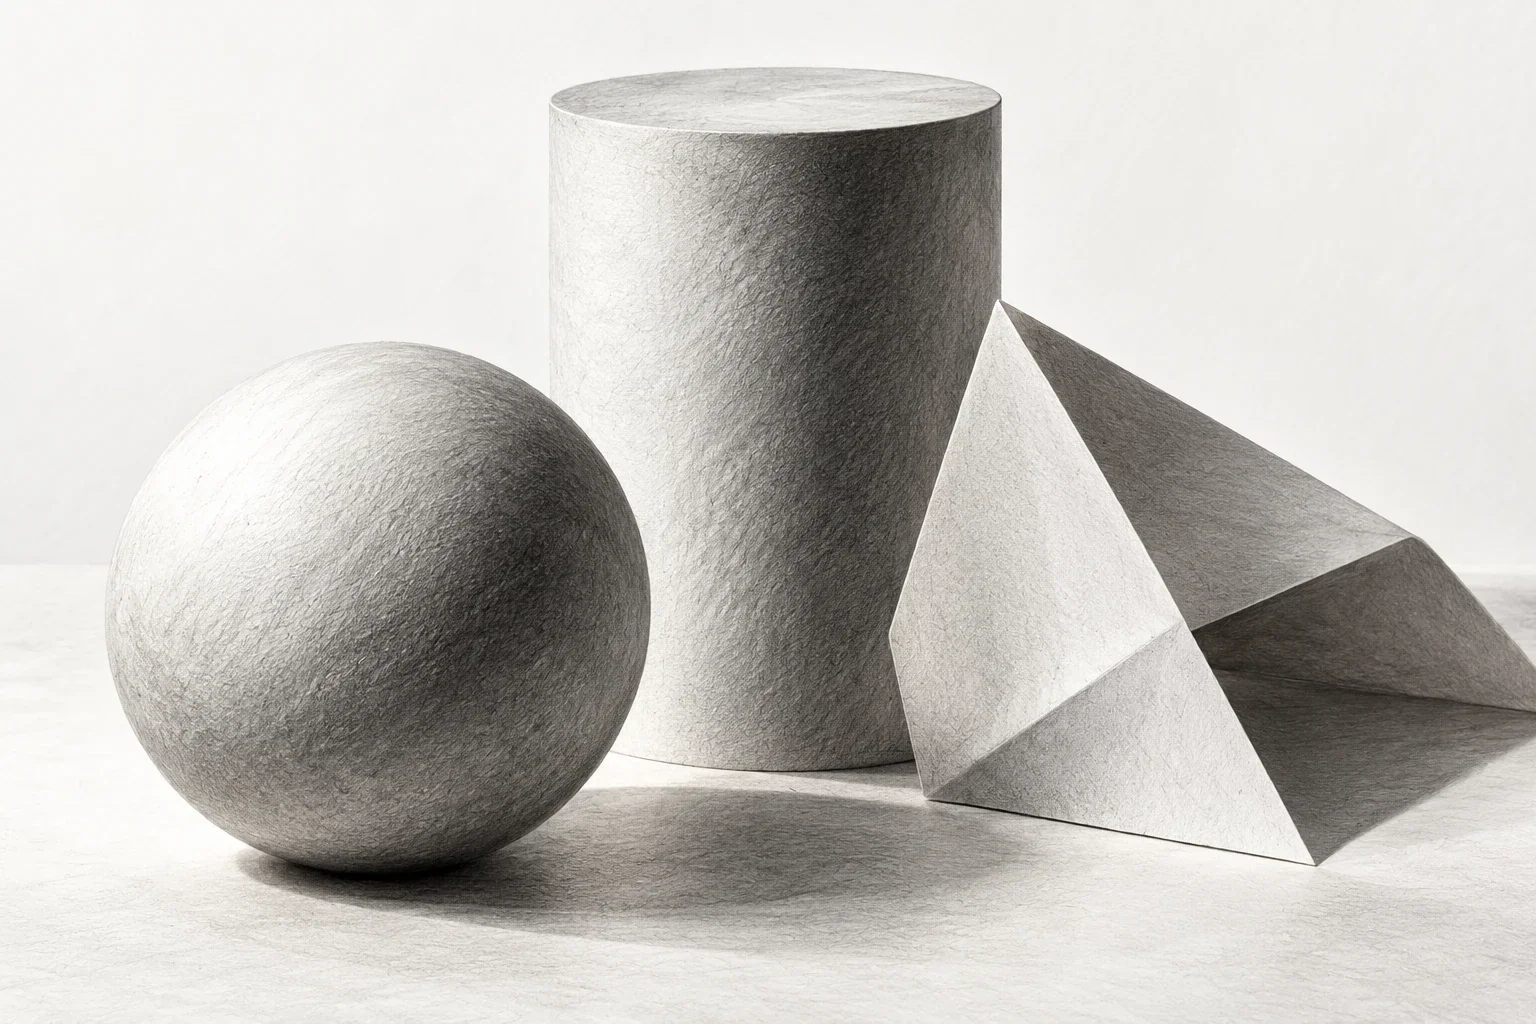
Pencil Shading for Beginners: Values, Pressure & Form
Good pencil shading is not simply smooth shading. Learn to organize light and shadow, control pressure, and choose dark accents so a simple object reads clearly before you blend or add texture.
3 min read Read the lesson →