
Beginner / Original practice lesson
Charcoal Drawing for Beginners: Build Light by Lifting Dark
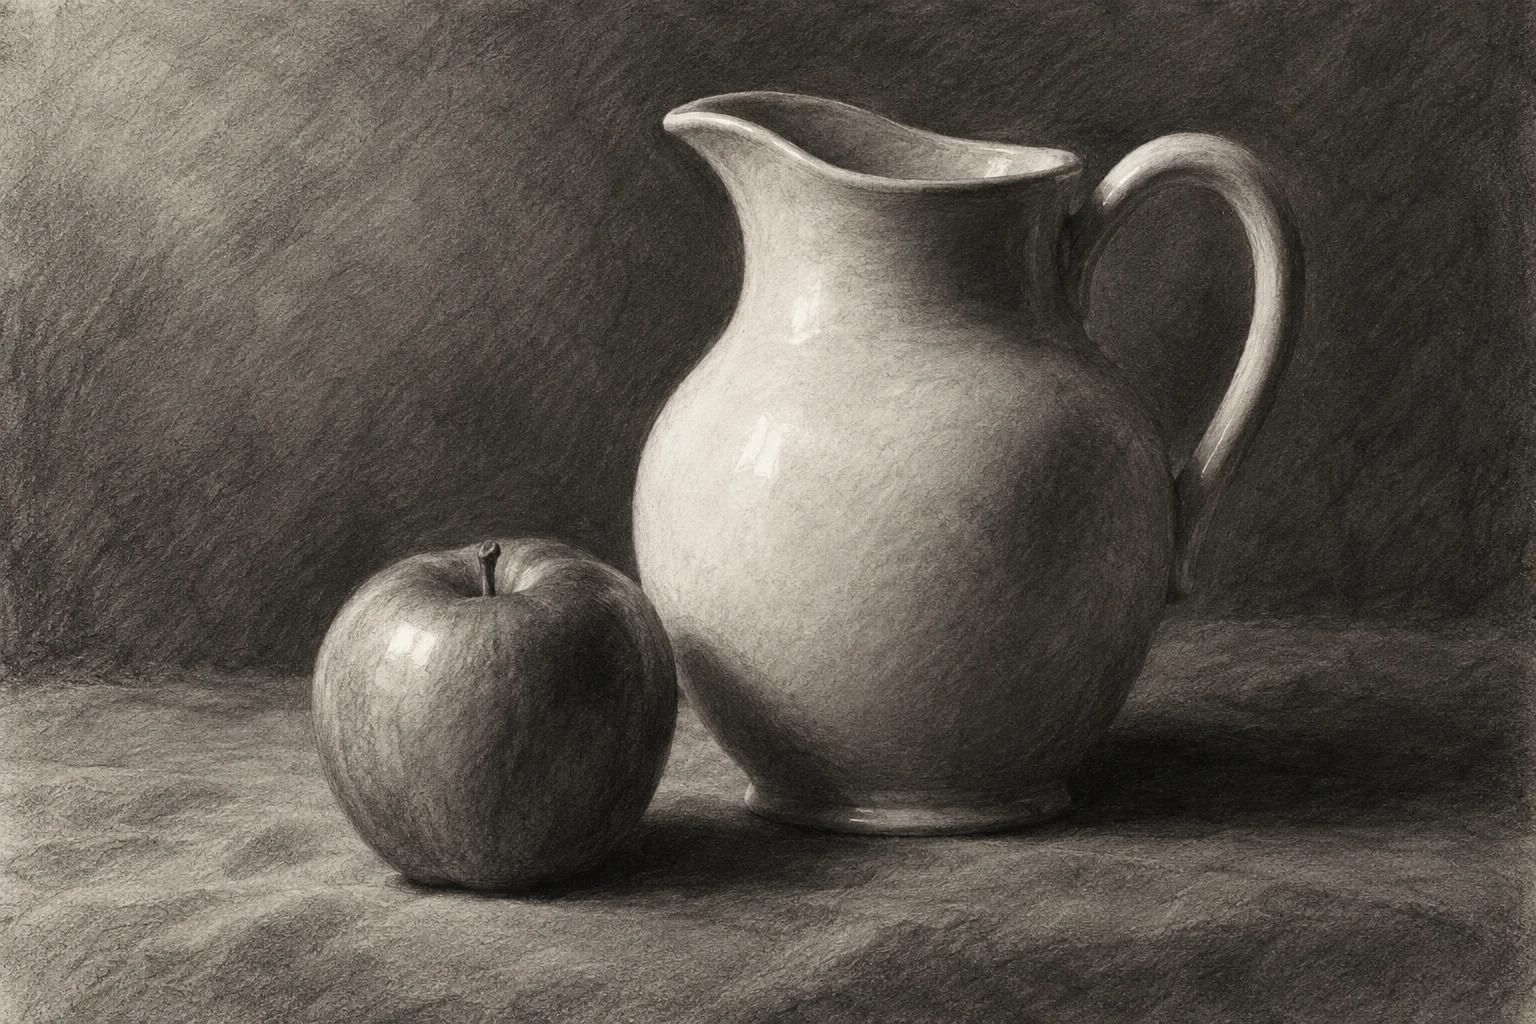
Begin with a restrained mid-tone field, then use lifted lights and selected darks to build one simple still life.
The idea to understand
Charcoal lets you think in masses before lines. For this exercise, the eraser is a drawing tool: it removes tone to reveal light. Vine, compressed and pencil charcoal behave differently, so test the material you actually own. A successful small study needs a clear value structure, not a completely black background.
What you need
Drawing paper with some tooth, vine or willow charcoal, a kneaded eraser and a plain jug or cup. Protect the work surface. Avoid blowing charcoal dust; handle and clean materials according to their labels.
See the study develop
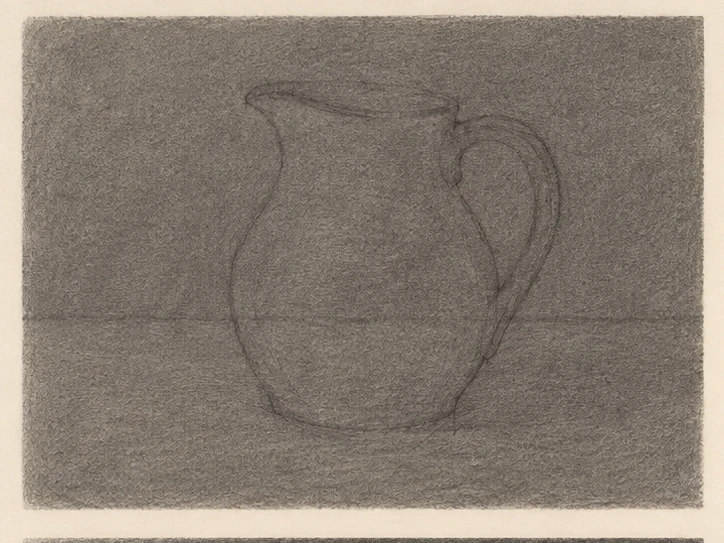
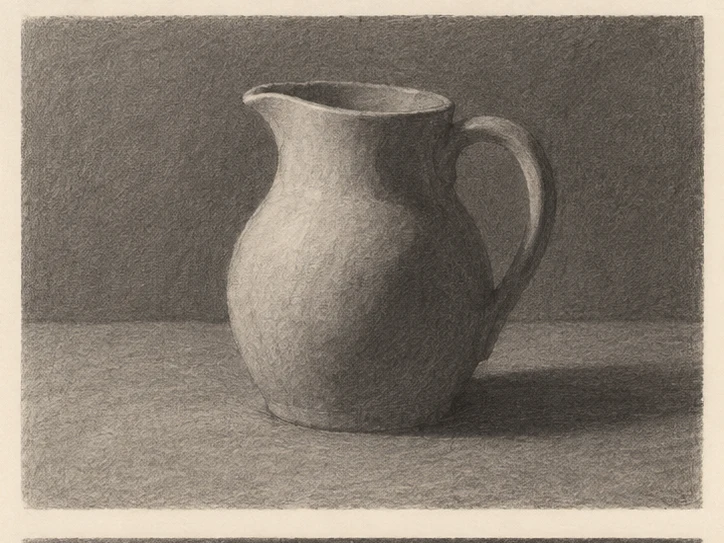
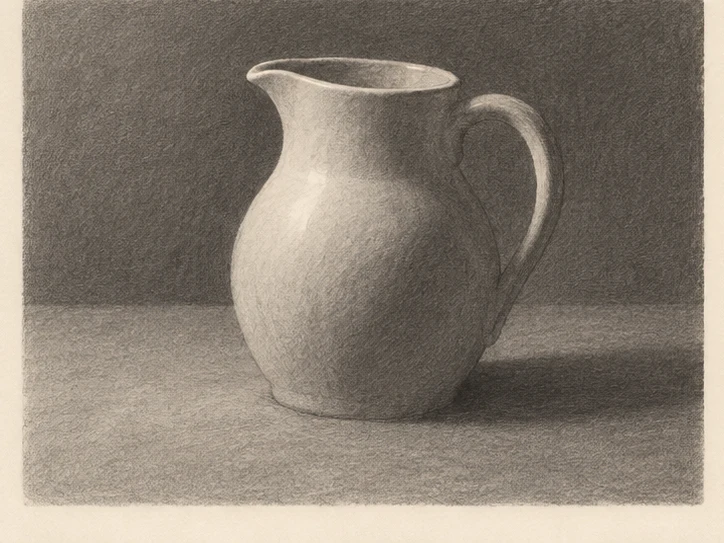
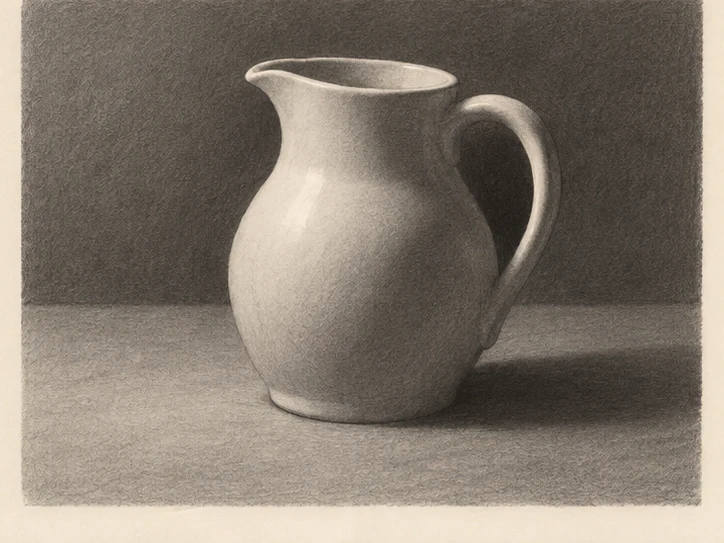
Four original AI-assisted illustrative stages, not photographs of a recorded demonstration. Compare the changing shapes and values; use your own observation and material tests.
Your practice sequence
Test and tone
On scrap paper, make a light charcoal patch and lift it with the eraser. Choose a paper and pressure that allow visible removal. On the study sheet, lay a restrained mid-tone field with the side of the charcoal. Keep it lighter than your intended darkest accents.
Locate the subject
Indicate the top, base and widest points of a jug. Establish its body with a few broad changes of tone. Compare its height and width before adding the handle. Keep early marks movable rather than pressing them deeply into the paper.
Lift the light
Shape a clean kneaded-eraser edge and lift the main light plane. Clean or reshape the eraser as it becomes dirty. Reserve a smaller, brighter highlight within the broad light. Avoid polishing the whole jug into one uniform white cutout.
Place selective darks
Deepen the base, one handle opening and a short contact shadow. Keep other edges softer. Step back before adding rim detail. The drawing is finished when the object reads convincingly, not when every edge has been traced.
Check your result
Can you identify the light, middle and dark groups immediately? Does the contact shadow connect the jug to the surface? Are lifted marks clean enough to read as light, even if they are not pure paper white?
If the study is not working yet
If lights will not lift, your material or pressure may be too resistant; test a softer initial field next time. If everything becomes smeared, stop rubbing and re-establish a few masses. If the jug looks cut out, soften some edges rather than outlining it.
A useful second attempt
Draw the same jug using only a light field and an eraser before adding charcoal accents. Compare what the subtraction alone can explain.
Further reading
AccessArt: charcoal sketchbook exercise ↗. This is supporting reading; the exercise above is an original LUREXEN practice plan. Publisher images have not been reused.
An optional practice companion
30 Day Drawing Challenge Workbook on Etsy ↗. The workbook is optional; you can complete this lesson without purchasing anything. Check the listing for its current contents and terms.
Continue with a related lesson
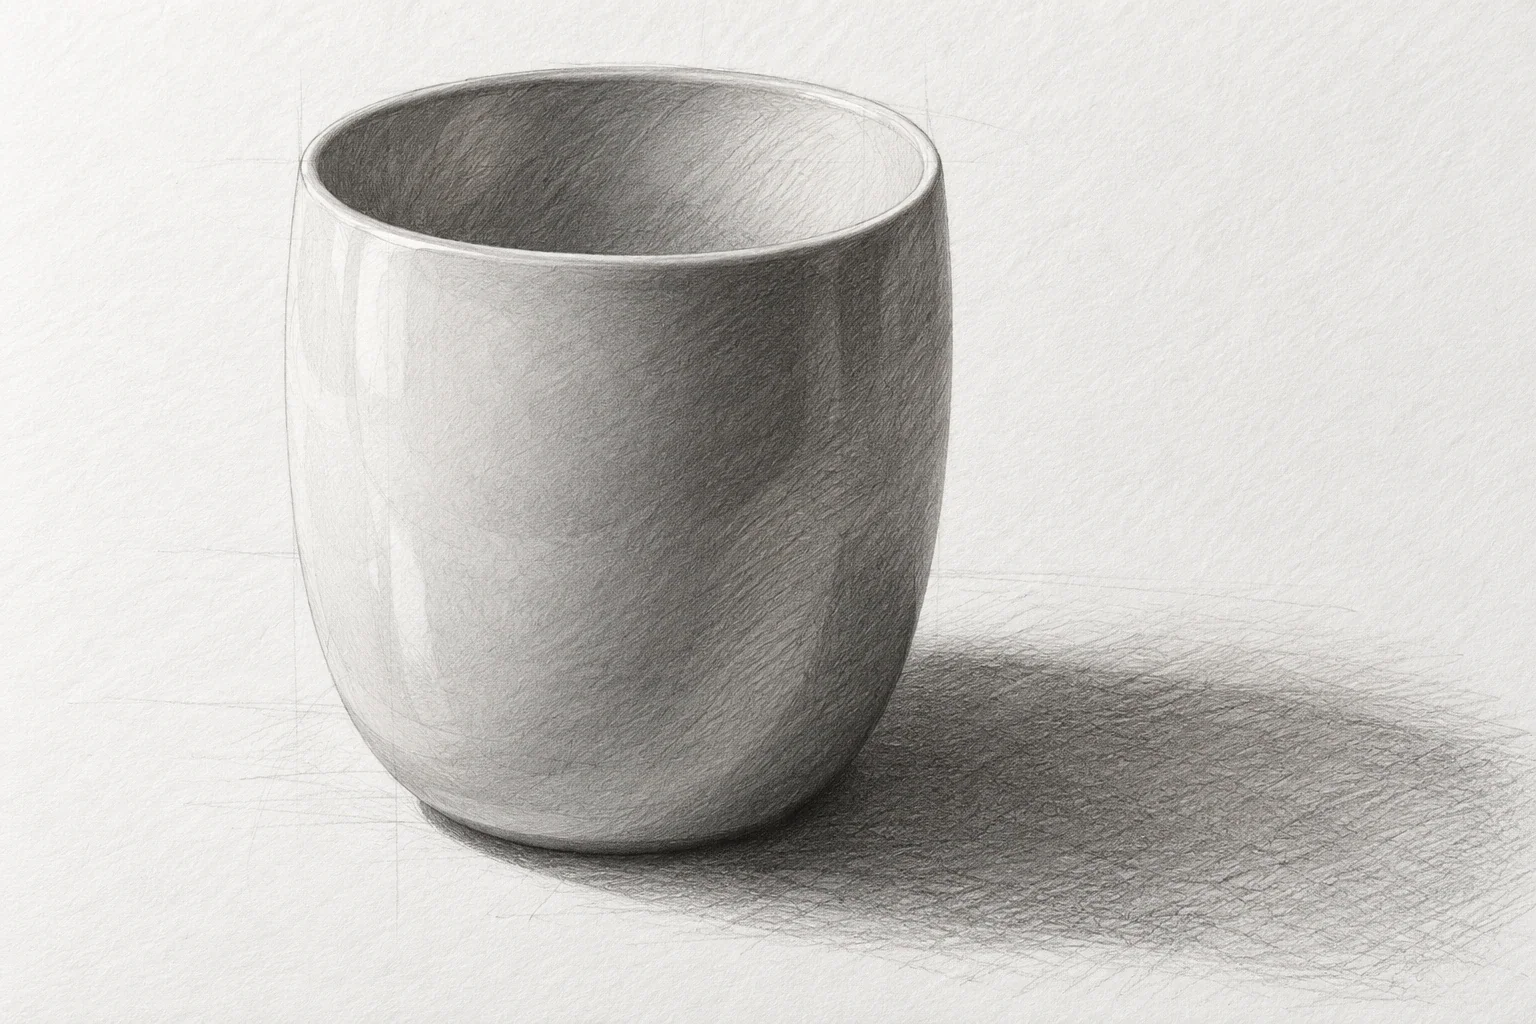
How to Draw a Cup: Proportion, Ellipses & Pencil Shading
A cup is a compact lesson in proportion, ellipses, and value. Work in an order that makes corrections inexpensive: establish the body, check the opening and handle, then add enough shading to explain the form.
3 min read Read the lesson →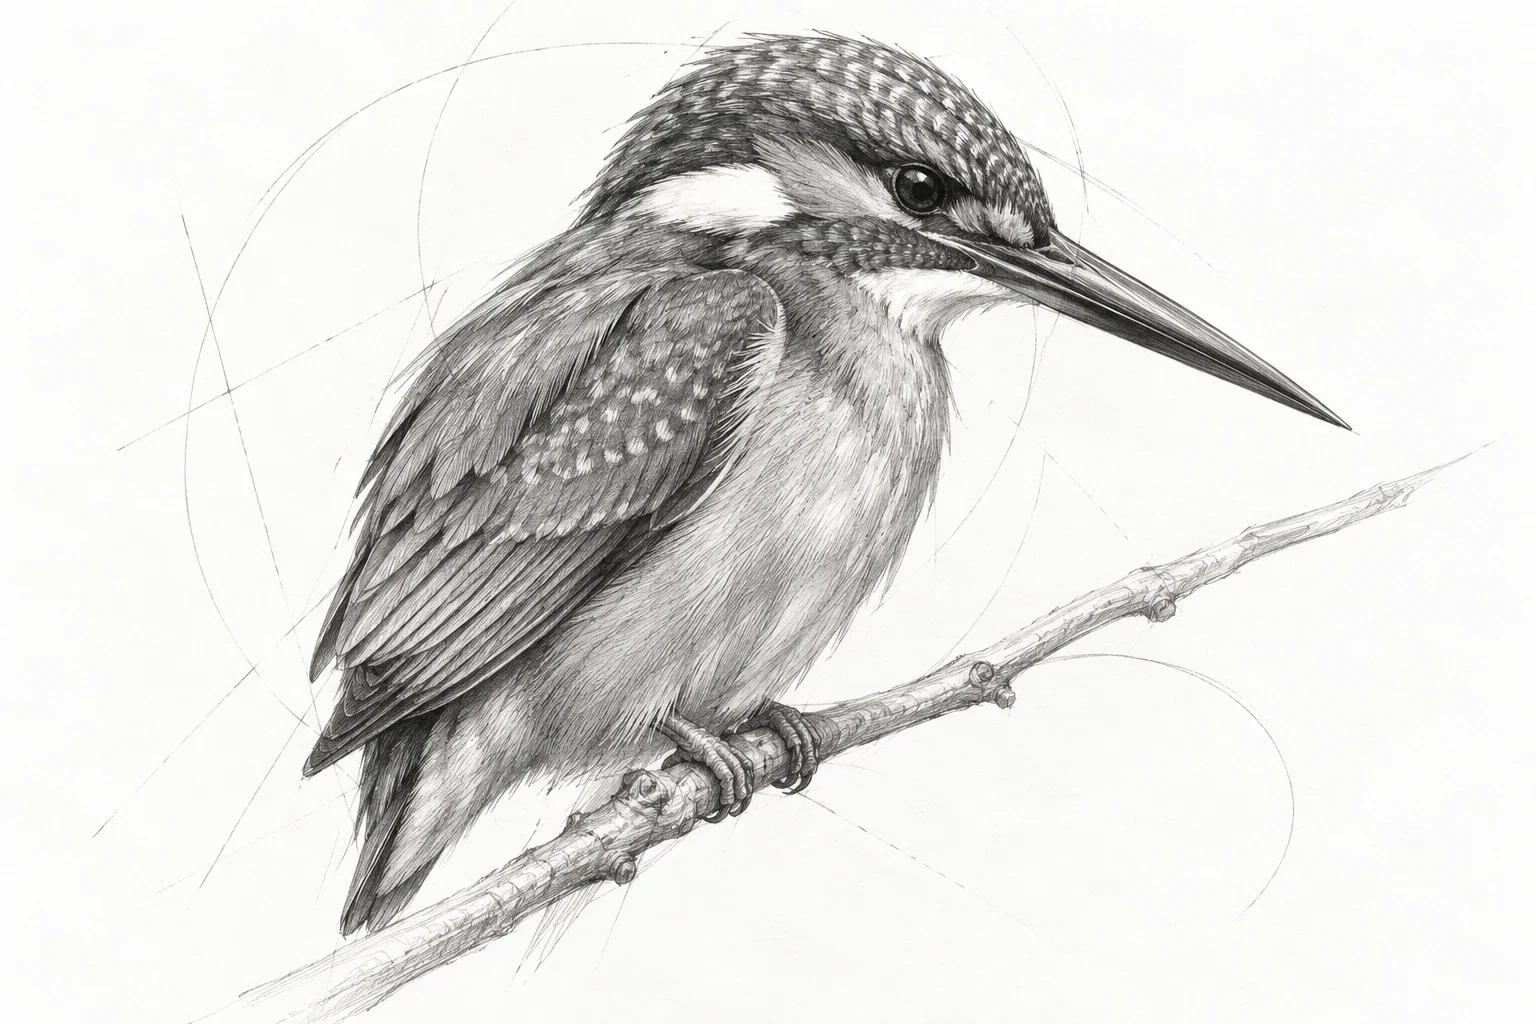
A Guide to Drawing Birds from Observation
A bird sketch becomes convincing through pose, proportion, and support long before it needs individual feathers. Use a short sequence of gesture, main masses, and landmarks to capture a readable bird without getting trapped in tiny details.
3 min read Read the lesson →