Beginner / Technique studio
Lifting Watercolor: Lighten Paint Without Damaging the Paper
Learn a gentle watercolor lifting test with a damp brush and blotting. Compare wet and dry washes, recognize staining and stop before the paper is damaged.
One focused technique study.
Keep the first attempt small enough to repeat. Your own subject, paper and materials are the reference.
- Level
- Beginner
- Practice time
- 20–30 minutes, plus drying
- Skill focus
- Brush moisture, pigment response and paper protection
- Success looks like
- Compare lifted marks on two test washes and identify when to stop rather than scrubbing for white paper.
Materials
- Watercolor paper and a scrap from the same sheet
- One familiar watercolor paint; a second paint for comparison is optional
- A soft round brush, clean water and a clean cloth or tissue
- A pencil for brief notes beside the tests
Compare lifted marks on two test washes and identify when to stop rather than scrubbing for white paper.
Treat lifting as a test, not an undo button
Lifting means removing some deposited watercolor to make an area lighter. It is not a promise that every color will return to white. Paper, pigment and the condition of a wash all affect the result. Before correcting a painting, test the same paint on a scrap of the same paper so you know what that particular combination allows.
For this exercise, leave masking products and preparation mediums aside. Use ordinary paint and watercolor paper first. A pale stain left behind is a useful observation, not a failed test. Your goal is to learn the limit of the surface and mixture, then choose whether a correction is worth attempting on a larger study.
Make two comparable wash samples
Paint two small rectangles with the same mixture. Make them large enough for one brush-width light mark with untouched paint around it. Leave a dry border between the samples. Keep one for a test while the wash is still visibly wet; allow the other to dry completely before testing it. Note the color and paper beside both.
If comparing two pigments, repeat the pair with a second paint rather than changing several variables inside one rectangle. Avoid drawing conclusions from two samples that differ greatly in darkness. A stronger mixture can leave a more obvious residue even when your brush movement is similar. Keep the first round simple enough that the comparison has meaning.
Prepare a damp brush rather than a dripping one
Rinse the brush, then touch it to a clean cloth to remove excess water. Test it on an unused scrap: it should make a restrained damp mark, not release a puddle. A water-loaded brush can push into the wash and create a bloom instead of collecting color. Brush moisture is a practical control to test, not a fixed number of blots.
Use a soft brush with a tip or belly suitable for the size of the area. Do not reach for a stiff scrubbing brush just because the first pass is subtle. Have clean tissue ready for gentle blotting and refresh the rinse water as it becomes colored. A dirty brush can put pigment straight back into the space you are trying to lighten.
Compare a wet lift with a dry-wash lift
On the first, still-wet sample, touch the damp brush into one narrow passage and draw it gently through the color once. Rinse and blot the brush before another touch. If necessary, press clean tissue lightly to collect moisture; do not rub it back and forth. Watch whether the opening stays lighter or nearby paint flows back into it.
When the second sample is fully dry, dampen one small passage with the clean brush, pause briefly, then make one gentle collecting pass. Blot lightly and let the test dry before judging it. The time needed and amount removed vary. Avoid saturating the whole rectangle while trying to correct one small area; that makes the result harder to compare.
Read the surface and stop before abrasion
Look at the test in angled light. If the paper begins to look fuzzy, roughened or visibly disturbed, stop working that area. Do not chase a bright white opening by repeatedly rubbing the same spot. A darker residue may be a limitation of the paint-paper combination rather than evidence that you need more force.
Compare the dry results with their untouched borders. Is the lifted mark softer, paler or simply more uneven? A restrained change may be enough for a cloud, a reflection or a softened edge. When lifting is unreliable, reserve the light paper in the next painting instead. Changing the plan is often safer than repeatedly attacking a nearly finished wash.
Apply one small correction and record the result
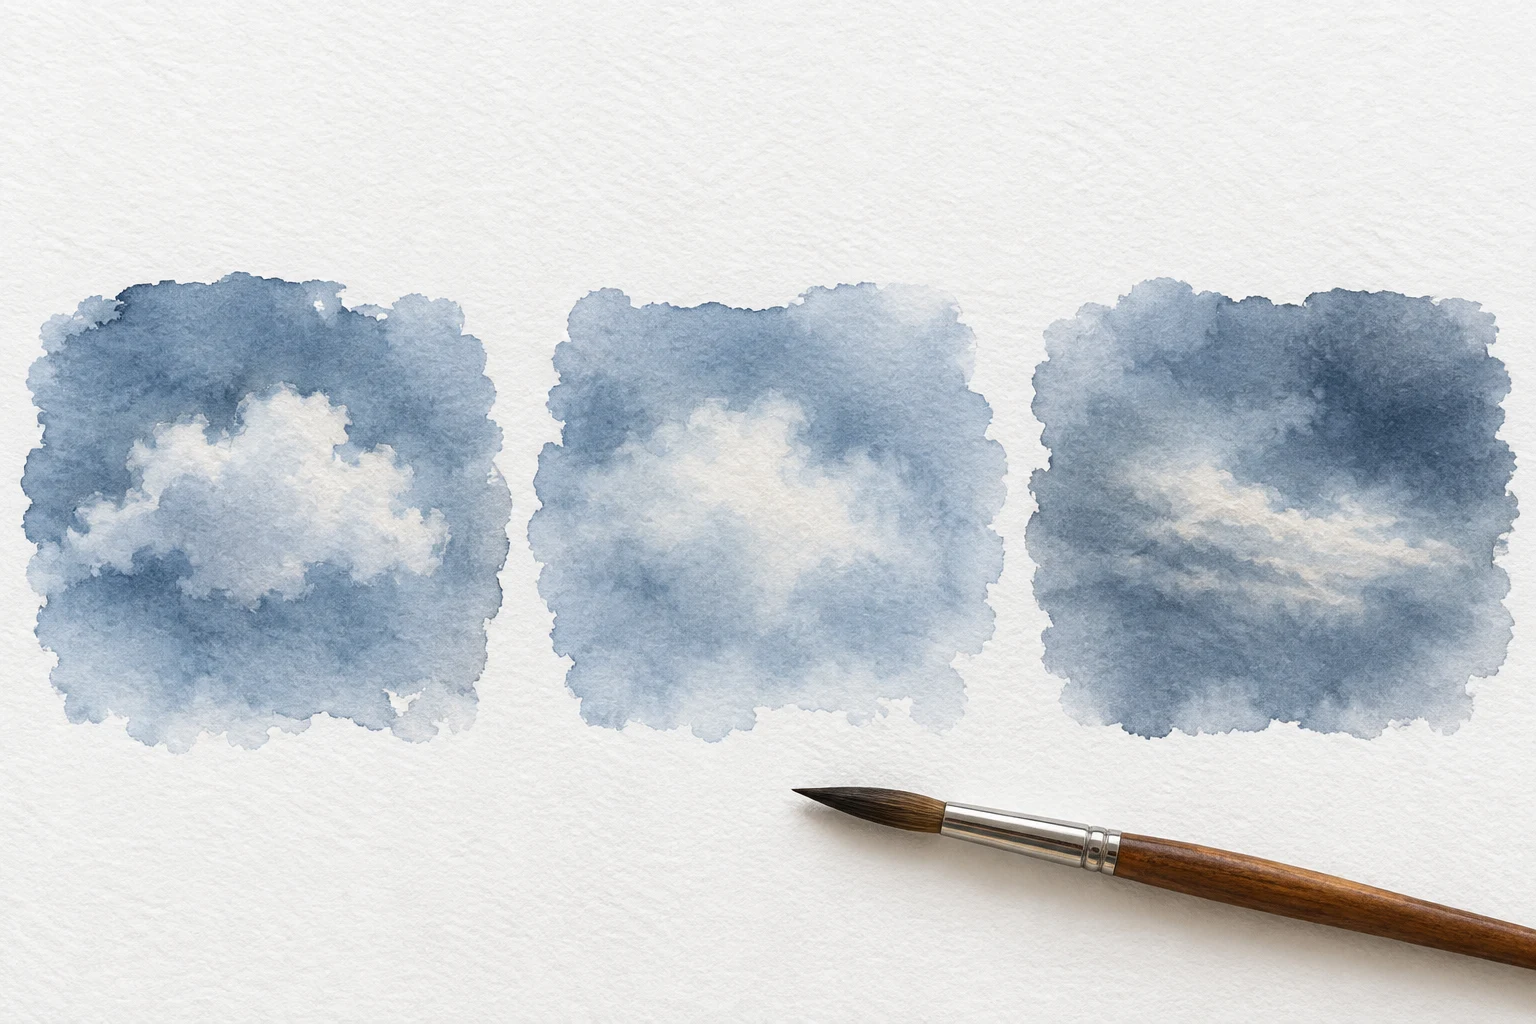
Paint a fresh small blue-gray rectangle as a cloud exercise. Leave one light opening from the beginning and try lifting another opening after the wash dries. Compare the two without declaring either universally better. The reserved opening may stay clearer; the lifted one may have a useful softness. Their different edges can serve different purposes.
Write down the paper, paint and one observation: for example, a pale stain remained after one gentle pass, or the wet opening partly filled again. These notes make the next session more predictable. Do not lift on a valued finished painting until a scrap test gives you a result you are willing to accept, including any residual color.
Change one decision, not everything.
Common mistakes
A bloom spreads into the wash
Remove more water from the brush and test its dampness before touching paint.
The mark stays colored
Accept residual staining; compare another pigment on scrap rather than increasing force.
Paper becomes fuzzy
Stop immediately and reserve the highlight in a new study.
The area is judged while wet
Let it dry before comparing value and surface condition.
Think it through
Try answering these questions in your own words, then open each answer to compare. Use the self-check below to review your actual study.
Why should I test lifting on matching scrap first?
Lifting means removing some deposited watercolor to make an area lighter. It is not a promise that every color will return to white. Paper, pigment and the condition of a wash all affect the result. Before correcting a painting, test the same paint on a scrap of the same paper so you know what that particular combination allows.
Practice step: Treat lifting as a test, not an undo button
When should I stop working the paper surface?
Look at the test in angled light. If the paper begins to look fuzzy, roughened or visibly disturbed, stop working that area. Do not chase a bright white opening by repeatedly rubbing the same spot. A darker residue may be a limitation of the paint-paper combination rather than evidence that you need more force.
Practice step: Read the surface and stop before abrasion
Review your own study
Tick what you can observe in your work. If a point is unclear, open its practice reminder. Choose one point to focus on next.
Tick a point only when you can observe it in your study.
Choose one focus for your next attempt using the circle beside a point.
This is your own reflection, not an assessment of your artwork. Choices are not saved or uploaded and reset when this page reloads.
Further learning and source context
This is an original LUREXEN exercise. These manufacturer education pages support general material, value or perspective decisions; they do not document the exact study pictured above. No publisher artwork was reused.