
Intermediate / Original practice lesson
Watercolor Glazing: Build Depth Without Muddying Your Painting
Use a transparent second layer to change color and build form, beginning with a small overlap test and one simple bottle study.
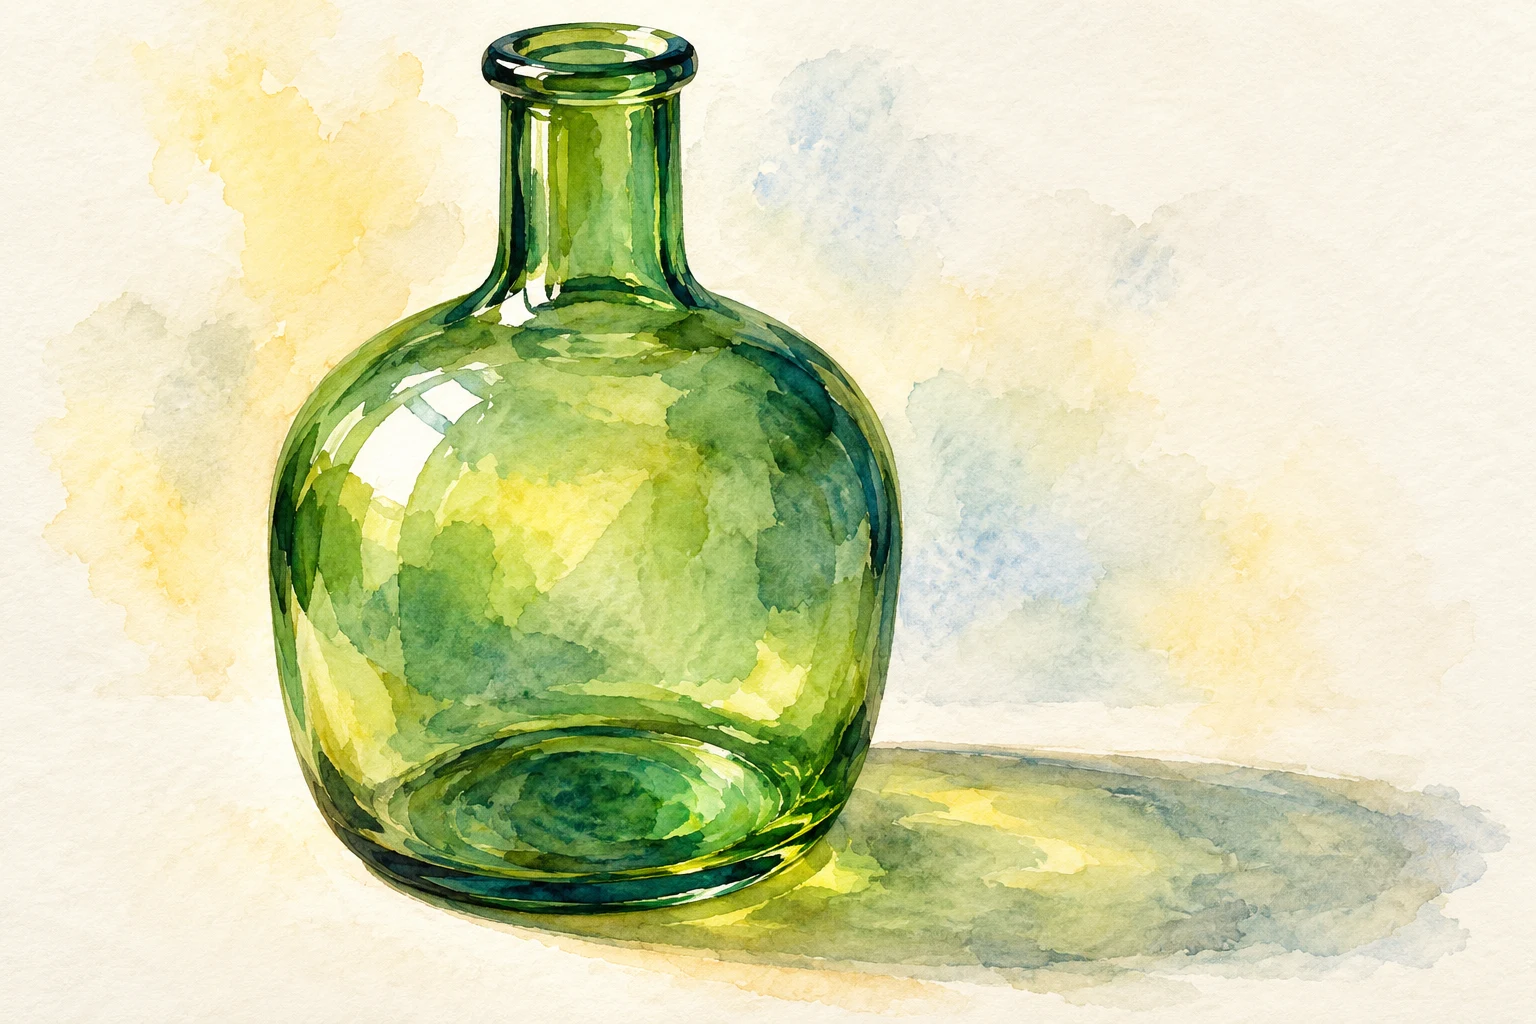
The idea to understand
Glazing means a transparent wash over a fully dry layer. It is a purposeful use of wet-on-dry, not a guarantee against muddy color. Pigment choice, brush pressure and the number of passes still matter. A useful glaze has a specific job: deepen one shadow, shift one color or connect one area.
What you need
Watercolor paper, a soft round brush, two transparent colors, clean water, pencil and a plain bottle to observe.
See the study develop
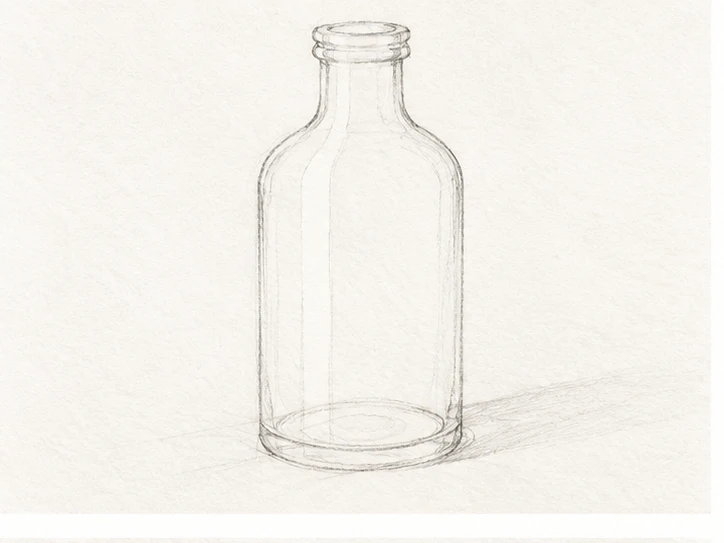
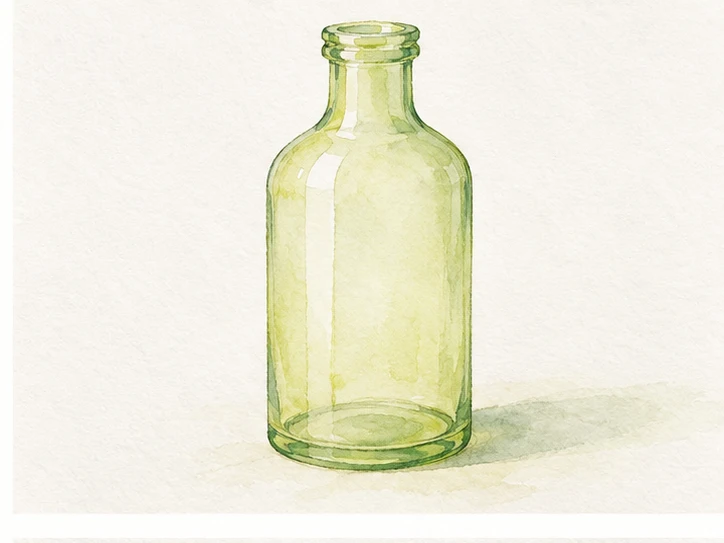
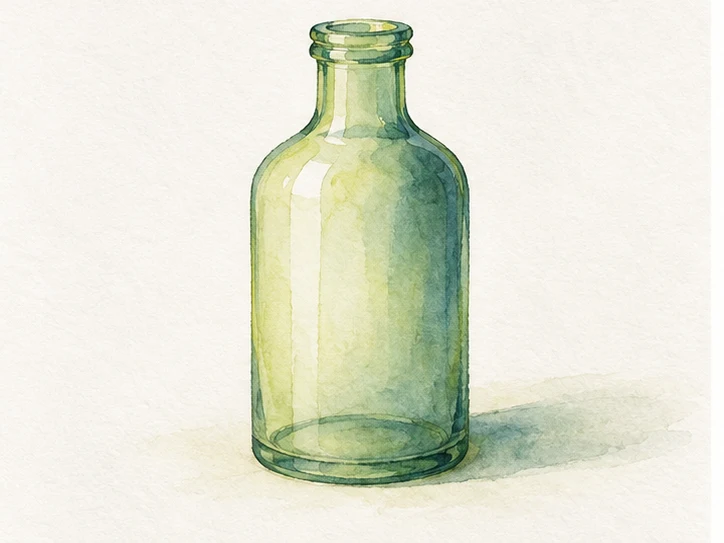
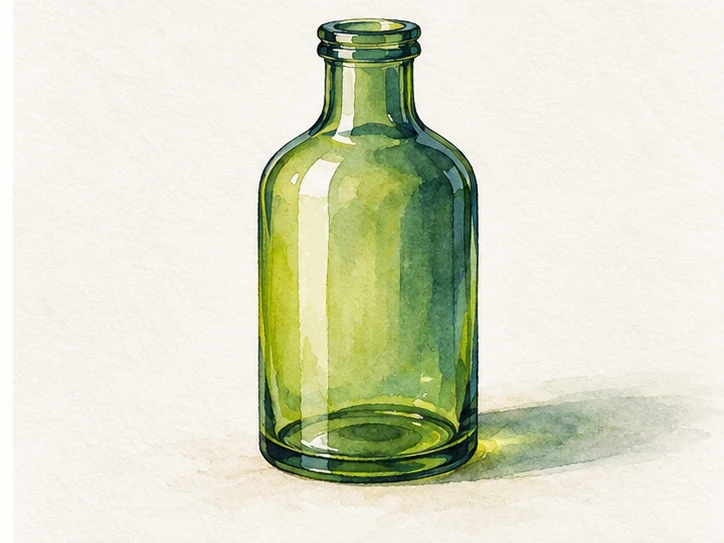
Four original AI-assisted illustrative stages, not photographs of a recorded demonstration. Compare the changing shapes and values; use your own observation and material tests.
Your practice sequence
Make a revealing test
Paint a pale yellow square and let it dry completely. Cross half of it with a pale blue rectangle. Beside it, paint a palette mixture of the same colors. Compare the dry overlap with the mixed swatch; do not assume they will look identical.
Plan the bottle
Draw a simple bottle shape with a narrow neck and broad body. Reserve one vertical highlight. Paint a very light first wash over the bottle, leaving the highlight as paper. Ignore lettering and reflections that do not explain the form.
Give the glaze one job
Wait until the first layer is fully dry. Place a transparent second wash on the side turned away from the light. Carry it with a loaded brush and few passes, rather than rubbing back and forth. Leave part of the first layer uncovered for comparison.
Finish selectively
After another full drying interval, deepen one small base accent and suggest the neck. Keep the brightest highlight untouched. Stop when the body reads as a volume; several extra glazes are not proof of better craftsmanship.
Check your result
Can you still see the first layer through the second? Is there a meaningful difference between the light, middle and dark areas? Write what each layer changed. If you cannot name its job, it was probably unnecessary.
If the study is not working yet
If the underlying paint moves, use less pressure and fewer passes next time, and check drying. If the layer is chalky, test a more transparent pigment. If the bottle becomes uniformly dark, reduce the area covered by your next glaze.
A useful second attempt
Repeat the bottle using one color only. This separates value control from color mixing and makes unnecessary layers easier to spot.
Further reading
Jenna Rainey: watercolor glazing ↗. This is supporting reading; the exercise above is an original LUREXEN practice plan. Publisher images have not been reused.
Continue with a related lesson
How to Paint Watercolor Lemons: Light, Layers & Shadows
Paint one small lemon to learn how light, transparent layers, and shadows work together. You will plan the highlight, build a rounded form, and avoid the two habits that often dull yellow: a crowded mixture and repeated brushing.
4 min read Read the lesson →
Creating Depth in Watercolor Landscapes
A landscape can look flat even when its individual trees and mountains are carefully painted. This guide shows how to organize depth through overlap, value, edges, and a focal area before investing time in detail.
3 min read Read the lesson →