
Beginner / Original practice lesson
Figure Drawing Proportions: Build a Balanced Standing Pose
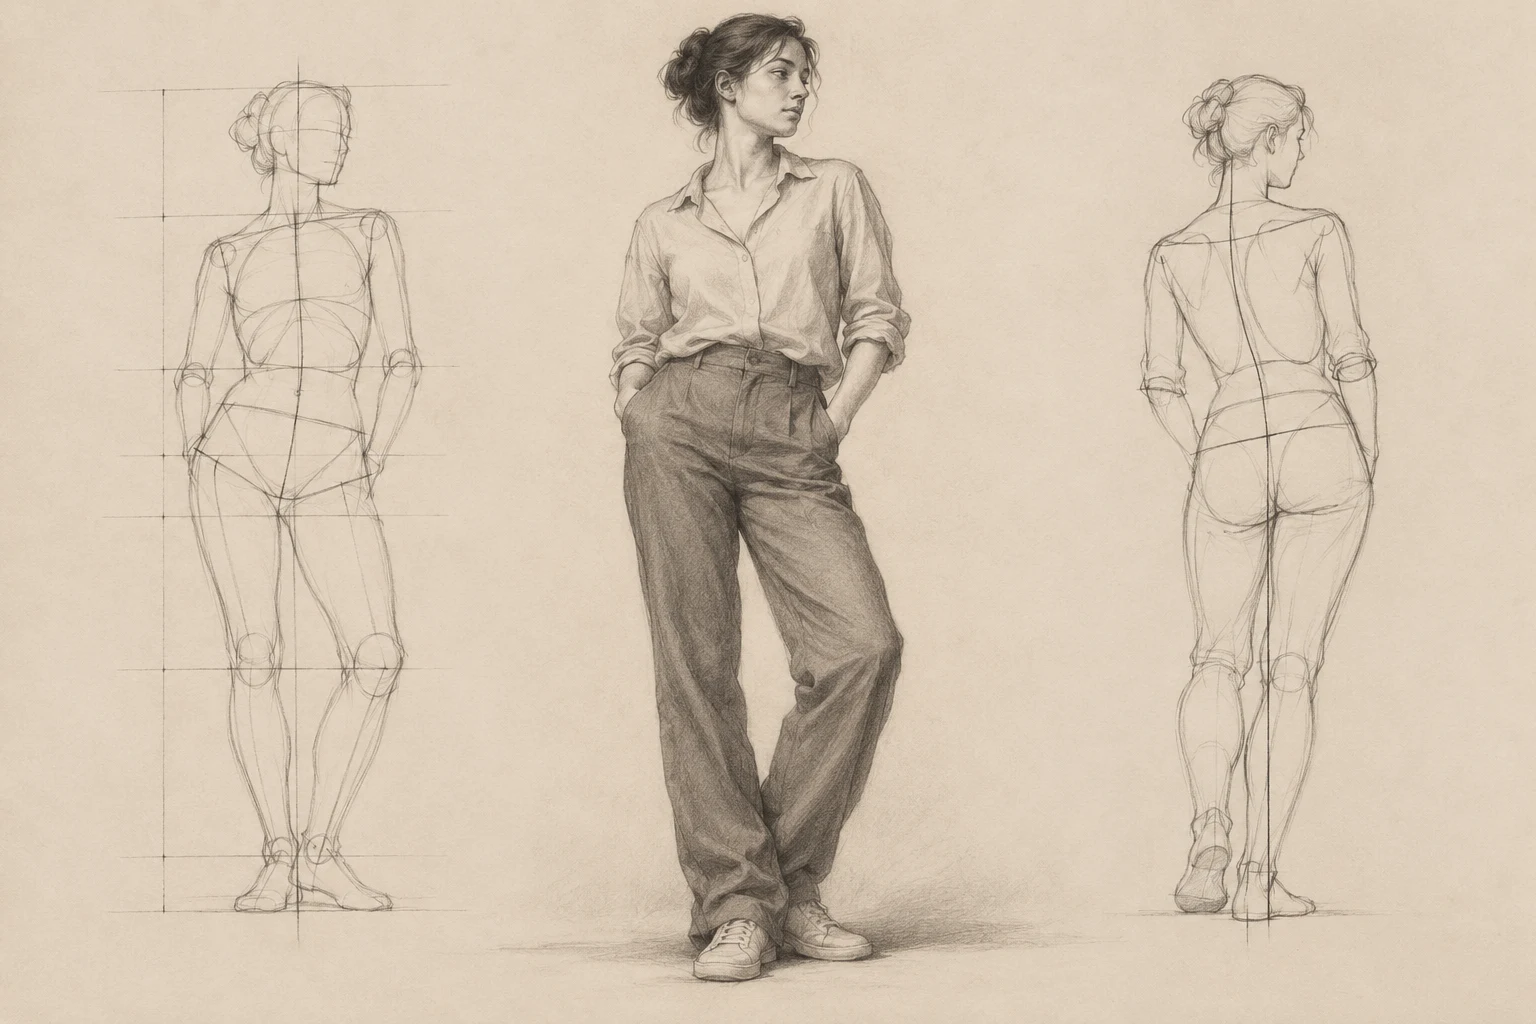
Construct a standing figure from gesture and large masses, then check alignment and proportion before committing to anatomy or clothing.
The idea to understand
Proportion is a relationship, not a fixed template applied without observation. Head units can help you compare, but pose, viewpoint, body variation and foreshortening change what appears on the page. In this exercise, balance comes first: identify the support leg, place the body masses, then measure the specific pose in front of you.
What you need
Sketchbook, HB or 2B pencil, eraser and a clothed standing model or pose reference you have permission to use.
Your practice sequence
Find the support
Mark a light action line from head through torso. Identify the foot carrying most of the weight and drop an imaginary vertical from the upper body toward the support area. If the line misses both feet, examine whether the pose is moving or your placement is unstable.
Place three large masses
Block the head, ribcage and pelvis as simple volumes. Compare their tilts and the distance between them. Use the observed head length as a temporary measuring unit, checking rather than forcing the whole body into a memorized count.
Connect limbs by landmarks
Place shoulders, elbows, wrists, knees and ankles before drawing contours. Compare paired landmarks across the body and note foreshortening. Build limbs as tapered forms, not parallel tubes, and keep the supporting leg structurally clear.
Correct the silhouette
Step back and compare the outside shape, negative spaces and center of balance. Make one major correction before adding a few clothing folds that describe the pose. Keep the face and fingers minimal; detail cannot repair a misplaced pelvis.
Check your result
Does the figure appear able to stand? Can you identify the support leg immediately? Are ribcage and pelvis tilts observed rather than automatically parallel? Write down the largest proportion correction you made.
If the study is not working yet
If the pose tips over, revisit the support line and feet. If the torso feels long, compare the ribcage-to-pelvis distance with the head. If limbs look stiff, restore the action and joint landmarks before redrawing contours.
A useful second attempt
Draw the same pose in five minutes, using the corrections from the longer study. Compare structural clarity rather than finish.
Further reading
Proko: Easy Proportions for Better Gestures ↗. This is supporting reading; the exercise above is an original LUREXEN practice plan. Publisher images have not been reused.
An optional practice companion
Figure Drawing Foundations Workbook on Etsy ↗. The workbook is optional; you can complete this lesson without purchasing anything. Check the listing for its current contents and terms.
Continue with a related lesson
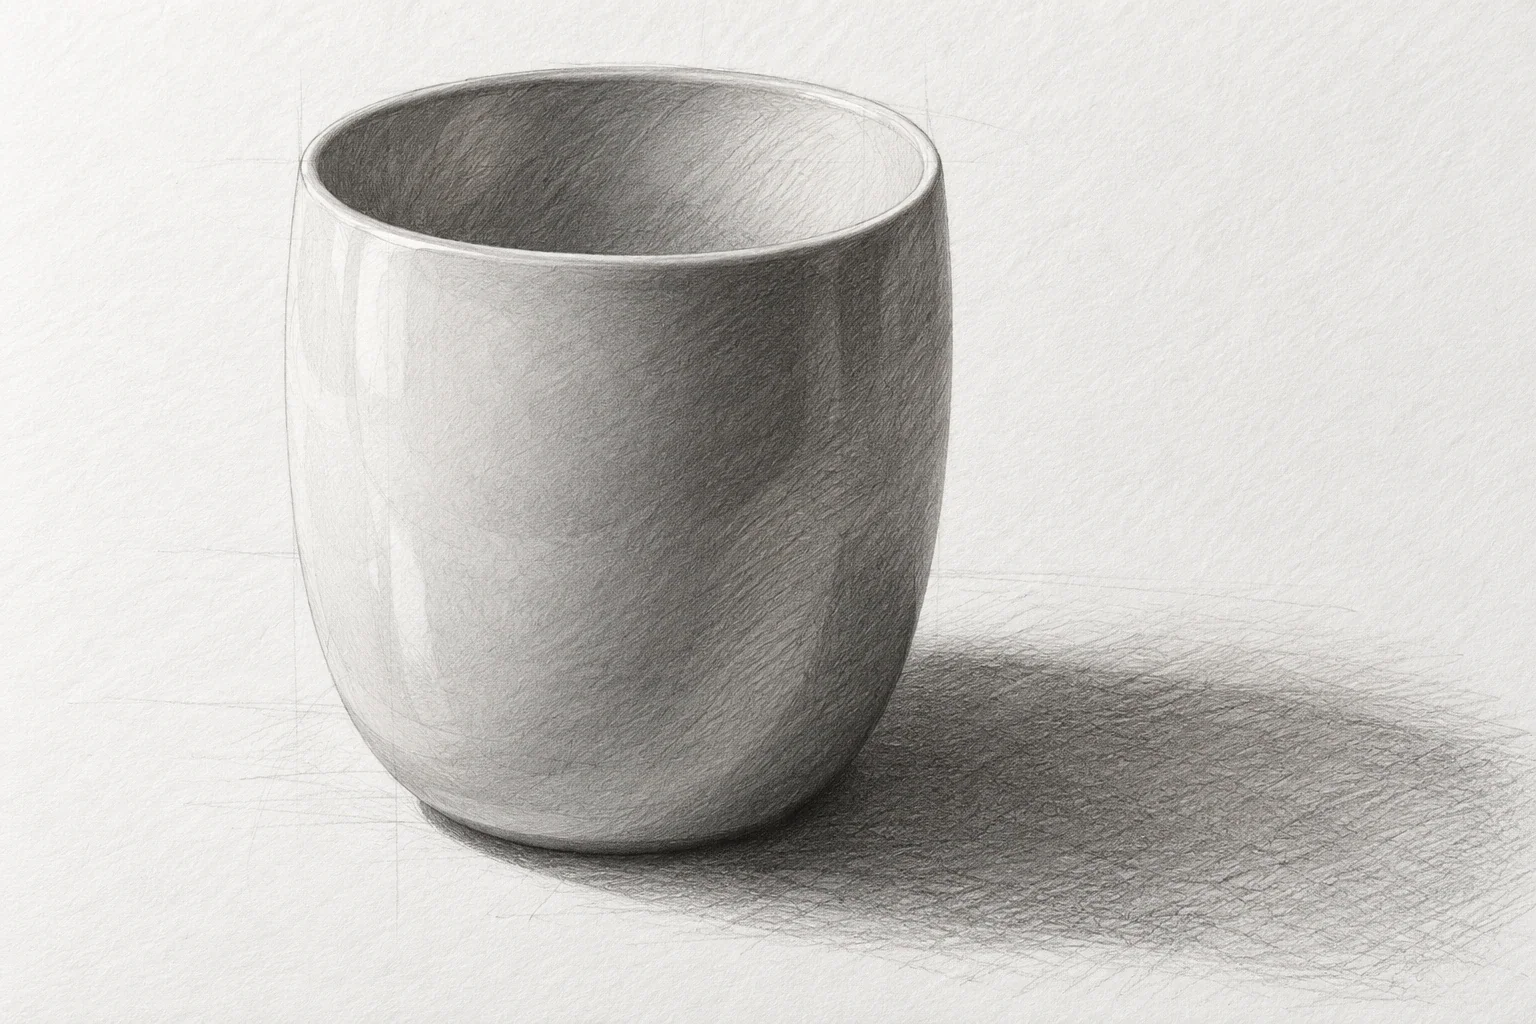
How to Draw a Cup: Proportion, Ellipses & Pencil Shading
A cup is a compact lesson in proportion, ellipses, and value. Work in an order that makes corrections inexpensive: establish the body, check the opening and handle, then add enough shading to explain the form.
3 min read Read the lesson →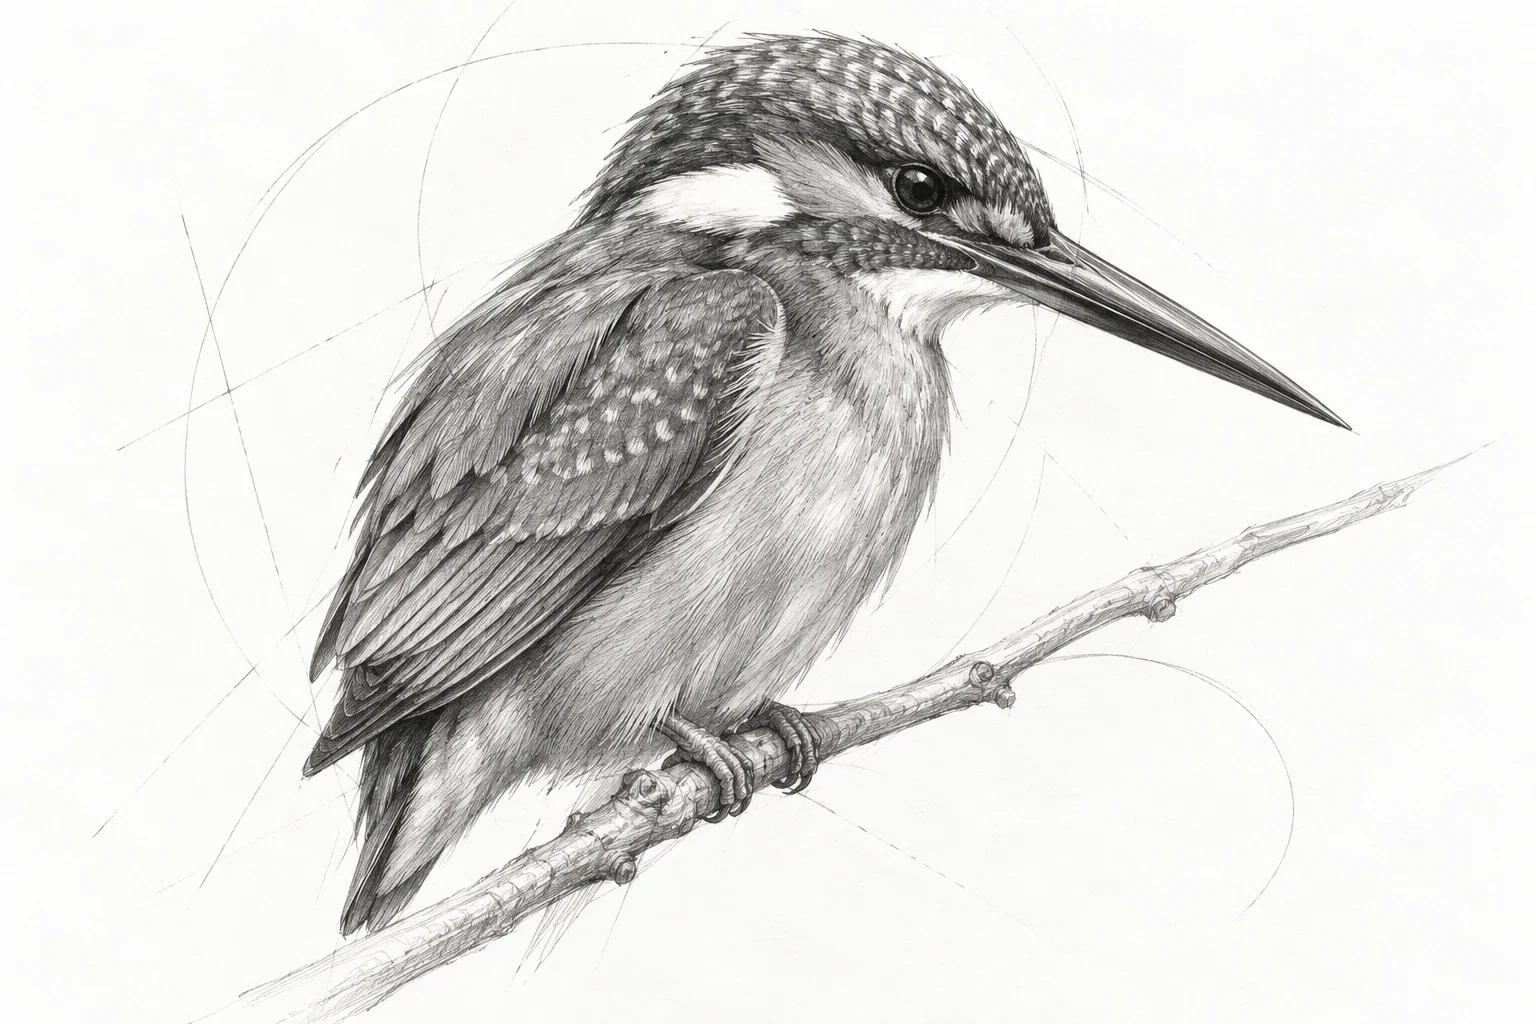
A Guide to Drawing Birds from Observation
A bird sketch becomes convincing through pose, proportion, and support long before it needs individual feathers. Use a short sequence of gesture, main masses, and landmarks to capture a readable bird without getting trapped in tiny details.
3 min read Read the lesson →