
Beginner / Original practice lesson
Gesture Drawing for Beginners: Capture Movement Before Details
Use a short pose study to describe direction, balance and the relationship of the torso to the limbs before working on features.
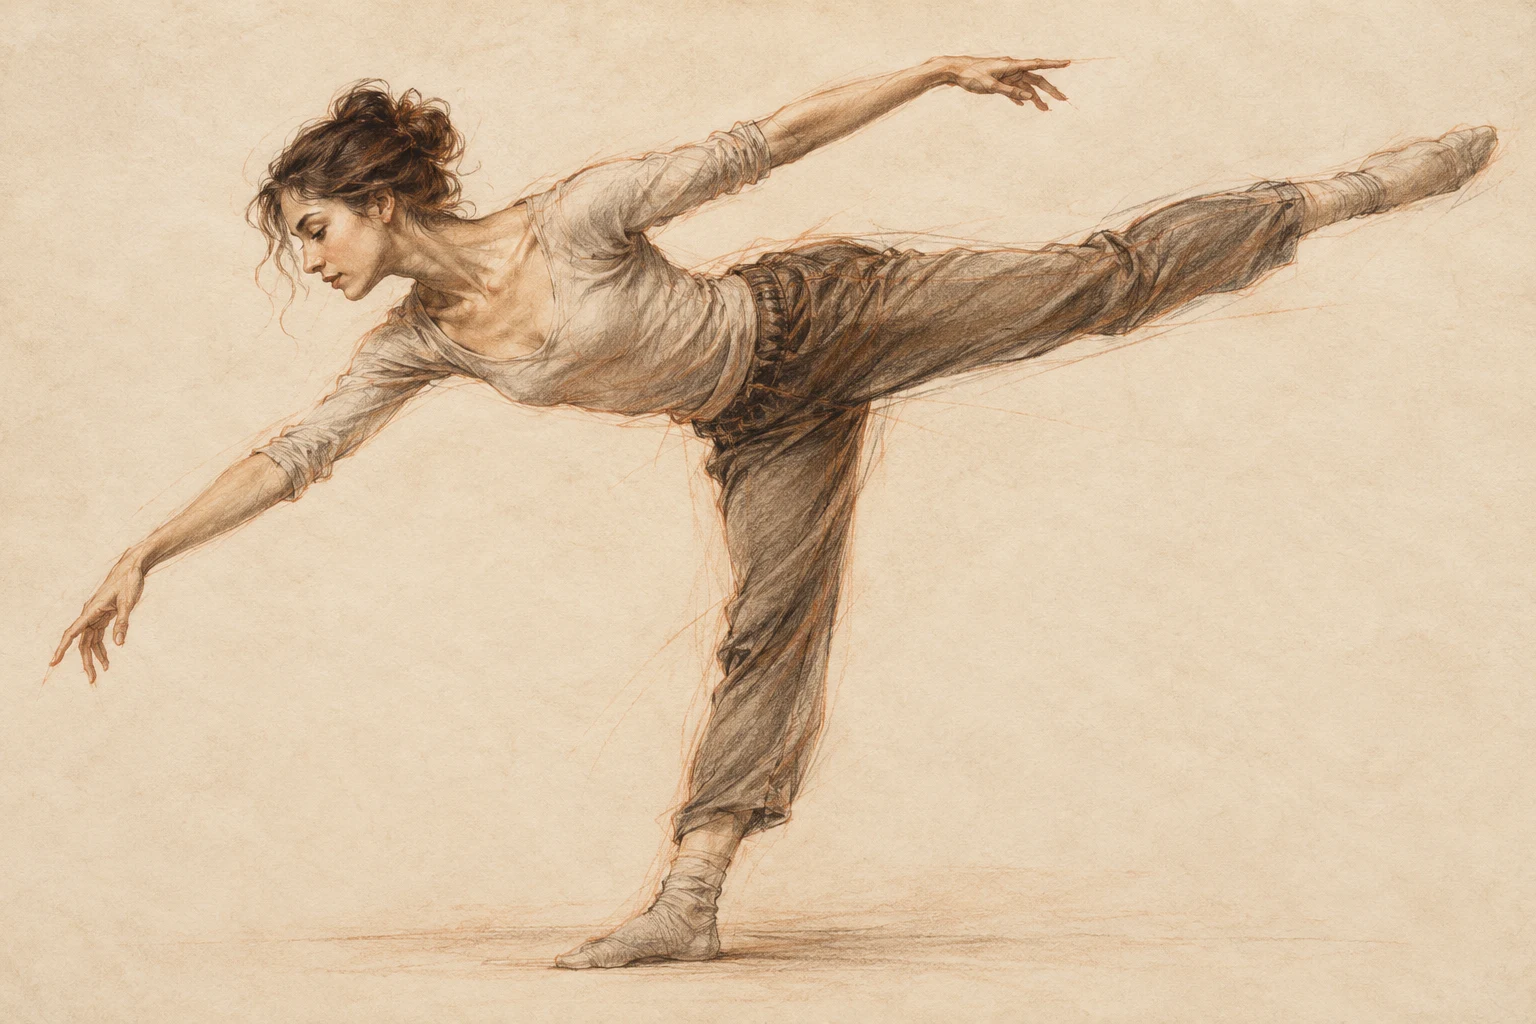
The idea to understand
Gesture is the organization of movement, not a race to make a miniature finished figure. A few useful lines can say more than a dense contour. Start with an adult pose whose action is clear: reaching, leaning or stepping. Work from observation, and do not use the illustrative hero as an anatomical measurement chart.
What you need
Sketchbook, a soft pencil and a willing clothed model or pose reference you have permission to use. A timer is optional.
See the study develop
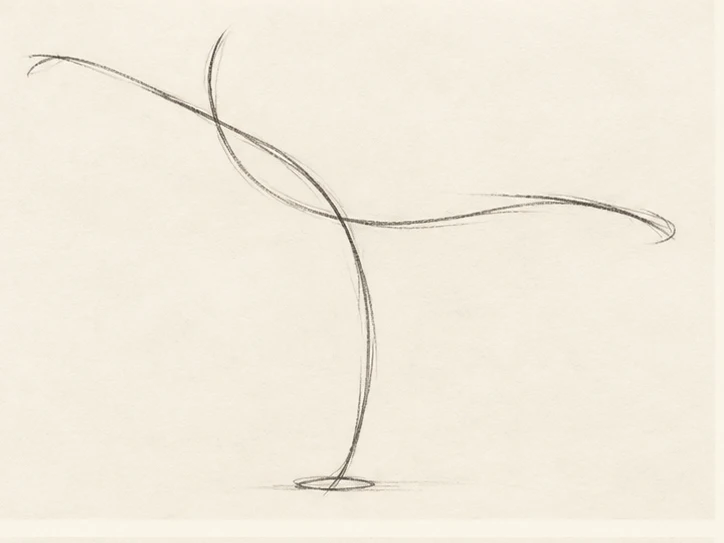
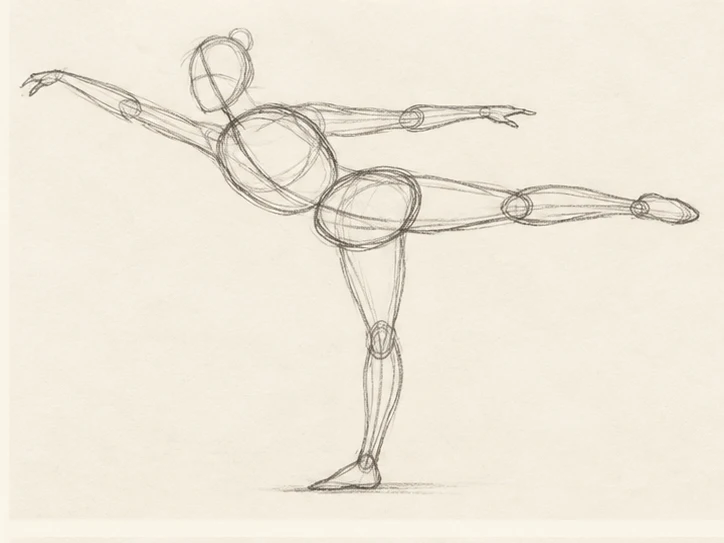
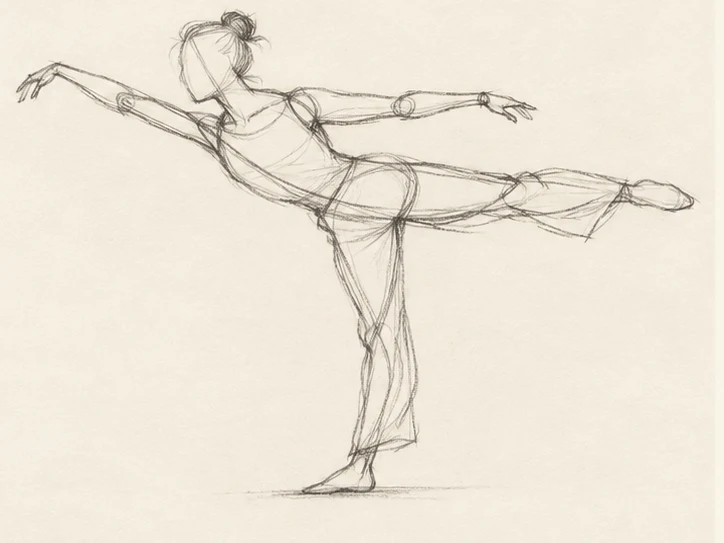
Four original AI-assisted illustrative stages, not photographs of a recorded demonstration. Compare the changing shapes and values; use your own observation and material tests.
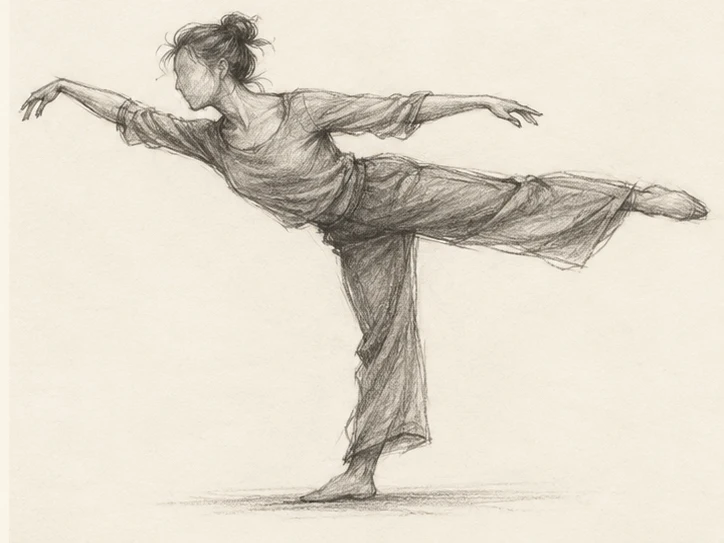
Your practice sequence
Read before marking
Spend a moment looking. Which direction does the torso travel? Where is the weight supported? Imagine one flowing path through the action. Draw that path lightly rather than tracing the entire outside edge.
Place supporting masses
Indicate the ribcage and pelvis with simple tilted shapes. Compare their relationship. Add a small head shape only to show its direction. Avoid eyes, fingers and clothing seams; they do not answer the current question.
Connect the limbs
Use long, economical marks for limbs. Find the supporting leg before the free leg. Compare the shoulder and hip tilts, and leave room for the feet. Do not force every limb into the same straight stick.
Repeat with one correction
Make a second drawing of the same pose. Change one thing: a clearer torso bend, a more convincing support point or a better limb direction. Give yourself two or three minutes if a very short timer makes you scribble without looking.
Check your result
Can someone read the action without a face or clothing detail? Does the figure appear supported rather than floating? Is the second attempt clearer in one specific way? Keep both studies as evidence of the decision, not as a test of speed.
If the study is not working yet
If the drawing is stiff, look for opposing tilts and curves. If it is tangled, reduce the number of marks. If proportions drift, add a brief comparison after the first action line rather than abandoning observation entirely.
A useful second attempt
Try three related poses. Keep the same page size and drawing time, then compare how the supporting leg changes the gesture.
Further reading
Proko: how to draw gesture ↗. This is supporting reading; the exercise above is an original LUREXEN practice plan. Publisher images have not been reused.
An optional practice companion
30 Day Drawing Challenge Workbook on Etsy ↗. The workbook is optional; you can complete this lesson without purchasing anything. Check the listing for its current contents and terms.
Continue with a related lesson
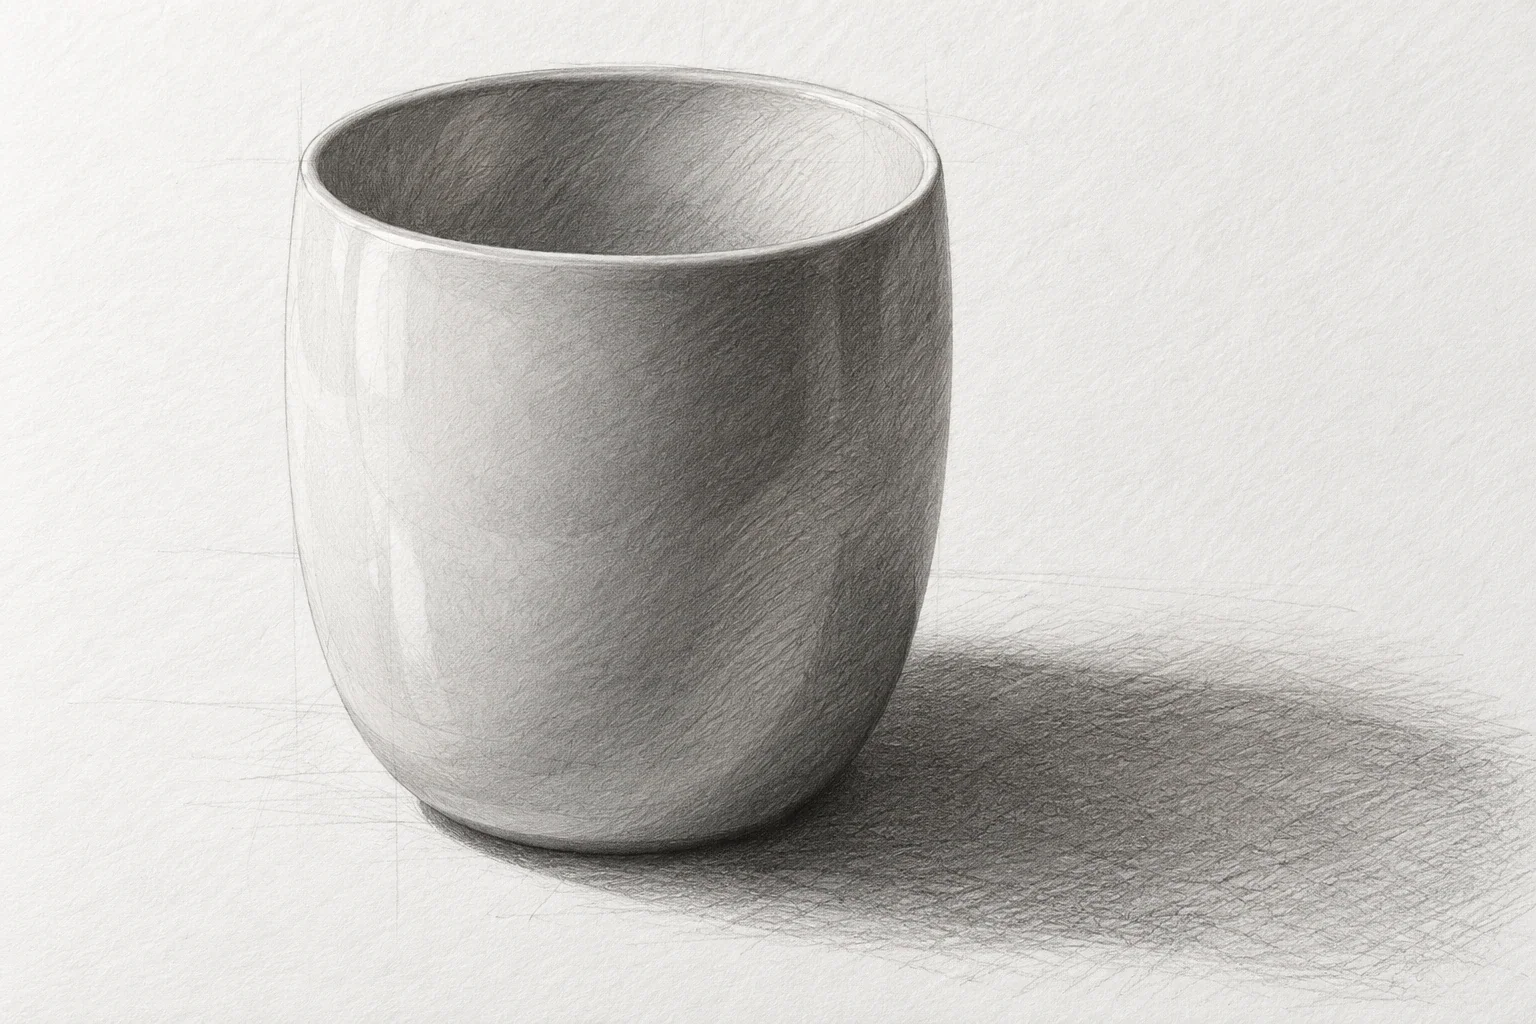
How to Draw a Cup: Proportion, Ellipses & Pencil Shading
A cup is a compact lesson in proportion, ellipses, and value. Work in an order that makes corrections inexpensive: establish the body, check the opening and handle, then add enough shading to explain the form.
3 min read Read the lesson →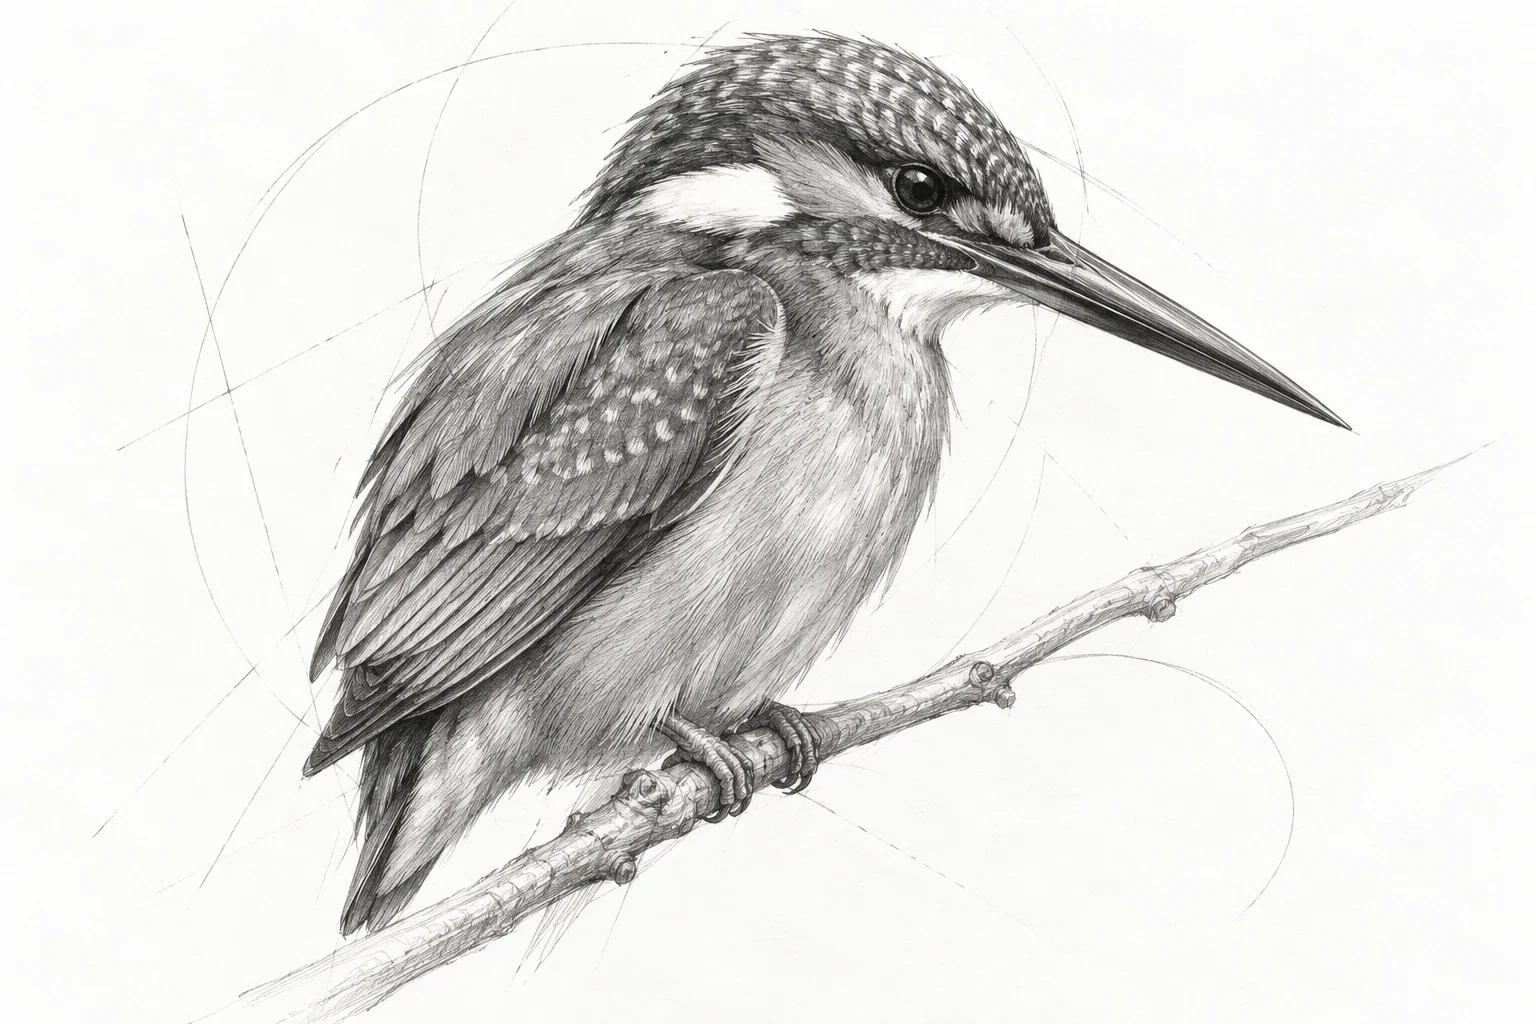
A Guide to Drawing Birds from Observation
A bird sketch becomes convincing through pose, proportion, and support long before it needs individual feathers. Use a short sequence of gesture, main masses, and landmarks to capture a readable bird without getting trapped in tiny details.
3 min read Read the lesson →