
Beginner / Original practice lesson
Draw a Window View: Simplify a Scene into Five Main Shapes
Turn a busy view into a readable drawing by selecting five major masses before deciding which details deserve attention.
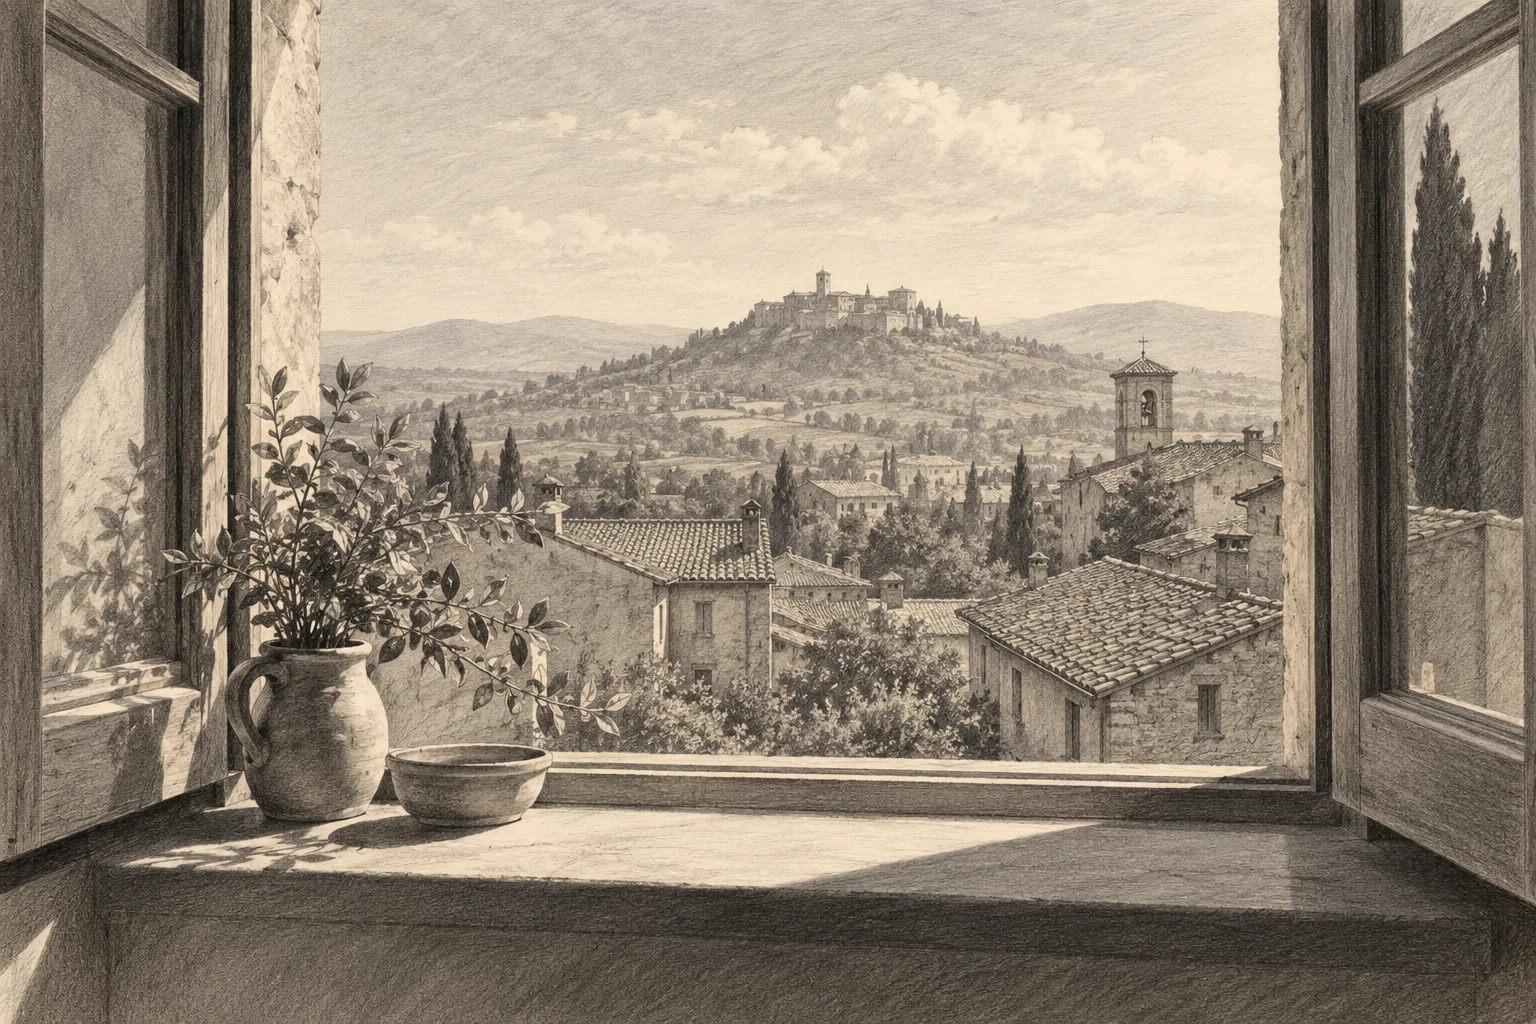
The idea to understand
A window gives you a natural frame, but it does not automatically give you a composition. Choose what matters. In this original exercise, five shapes are a temporary planning limit, not a law about every good drawing. You will compare an observed arrangement with a deliberately edited thumbnail.
What you need
Sketchbook, pencil, eraser and a comfortable indoor view. Use your own observation or photograph. Stay safely indoors; no leaning out or climbing for a viewpoint.
See the study develop
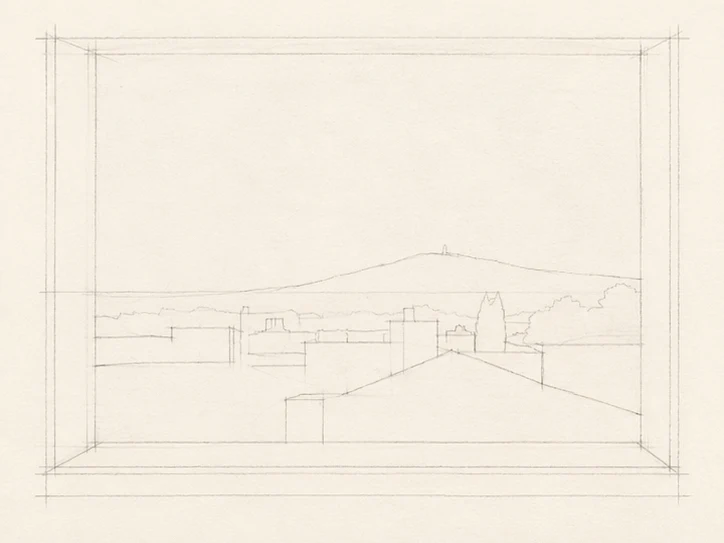
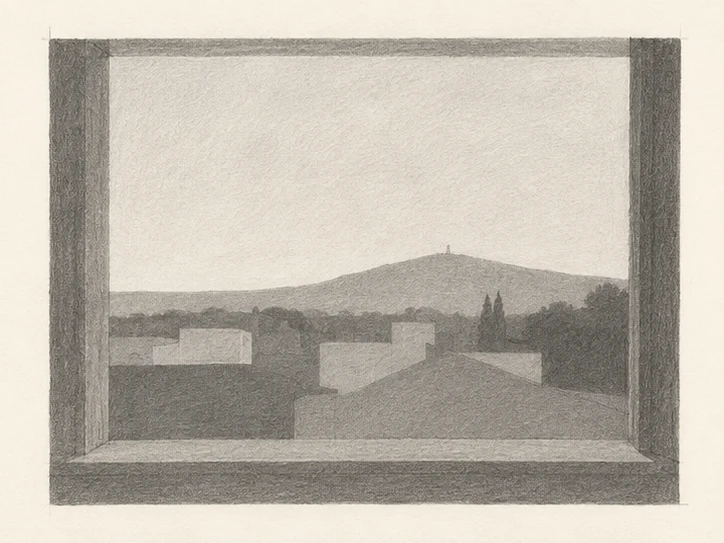
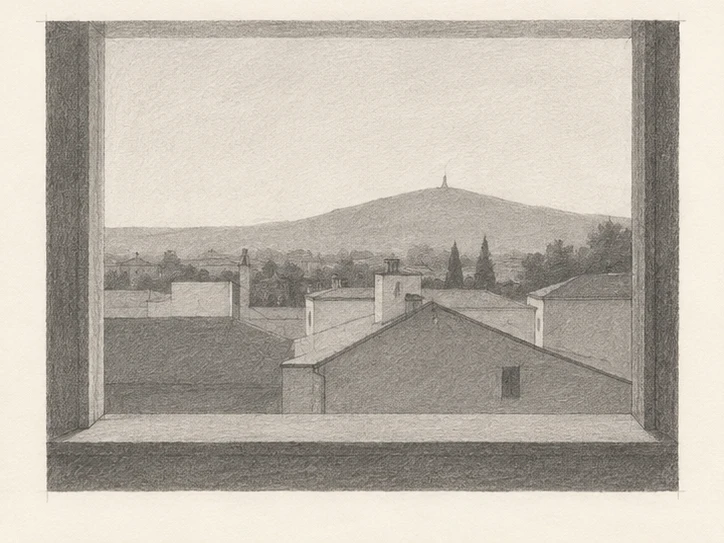
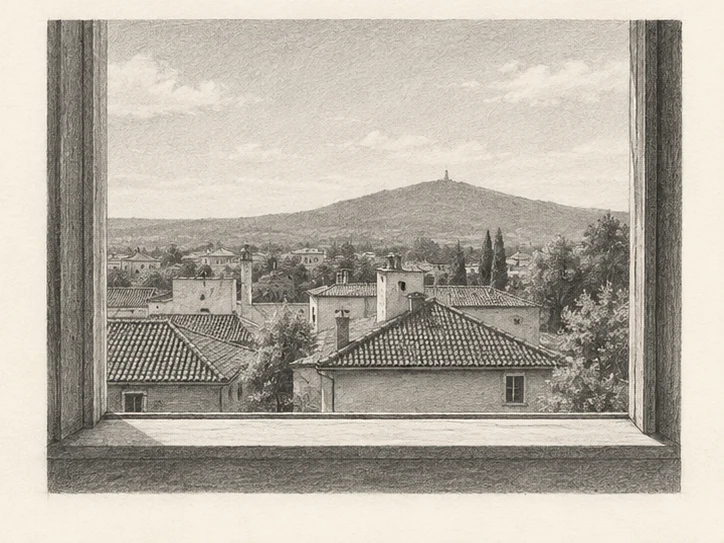
Four original AI-assisted illustrative stages, not photographs of a recorded demonstration. Compare the changing shapes and values; use your own observation and material tests.
Your practice sequence
Fix the framing
Choose a rectangle on the page. Keep your head position reasonably consistent and mark the main window divisions. Notice how the frame crops buildings or trees. Do not start by drawing the smallest object in the distance.
Find five masses
Group the view into five large shapes: for example frame, sky, distant hill, rooftops and foreground. Merge little interruptions temporarily. Make a thumbnail with only those shapes and three broad values. Leave windows, bricks and leaves out.
Check the relationships
Compare the horizon height, largest diagonal and width of the open sky. Correct one large mismatch before enlarging the drawing. Where the window frame is in perspective, compare its actual angles rather than assuming every edge is vertical or horizontal.
Choose a focal area
Transfer the shape plan to a larger study. Add selected roof edges, branches or frame details near one point of interest. Keep the remaining areas quieter. Make a second thumbnail with one mass simplified or cropped differently, clearly marking it as an edited composition.
Check your result
Does the drawing still work when viewed small? Can you identify the five starting masses? Does one detail attract attention for a reason? Compare the observed thumbnail with the edited one and name what the change improved or weakened.
If the study is not working yet
If the view is busy, merge nearby values before erasing objects. If the frame overwhelms everything, reduce its contrast away from the focal area. If buildings lean unintentionally, check angles against the same reference direction.
A useful second attempt
Return to the same window at a different time. Keep the framing but compare how the light rearranges your three value groups. A familiar view can teach new decisions without needing a more dramatic subject.
Further reading
Royal Drawing School: Living Library ↗. This is supporting reading; the exercise above is an original LUREXEN practice plan. Publisher images have not been reused.
An optional practice companion
30 Day Drawing Challenge Workbook on Etsy ↗. The workbook is optional; you can complete this lesson without purchasing anything. Check the listing for its current contents and terms.
Continue with a related lesson
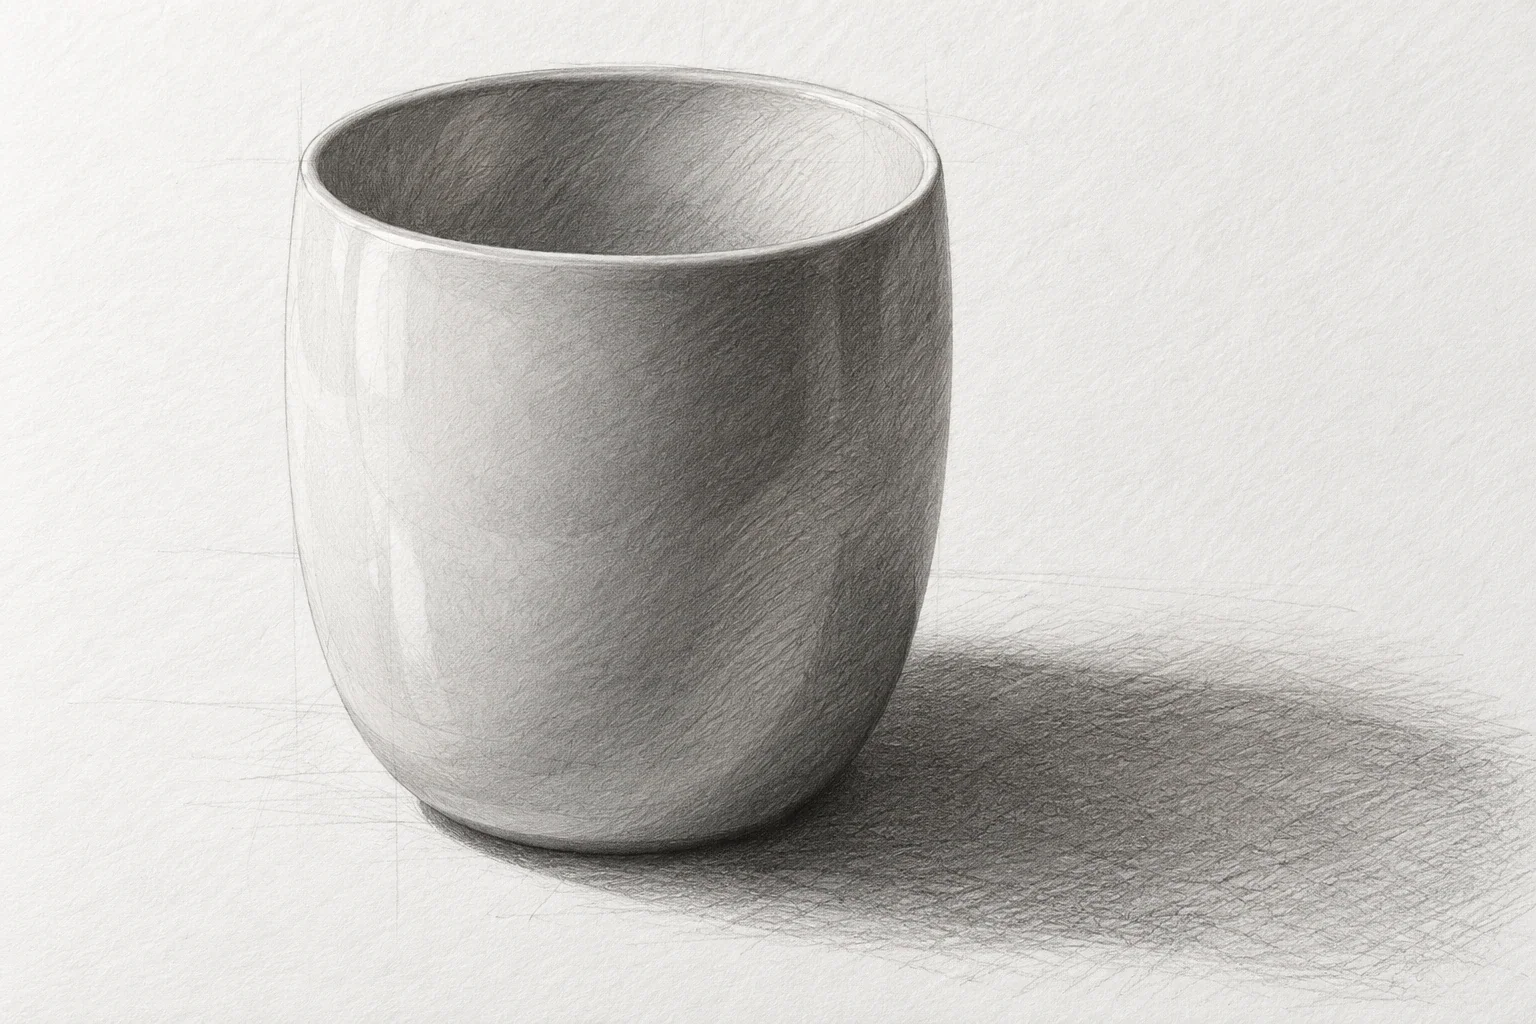
How to Draw a Cup: Proportion, Ellipses & Pencil Shading
A cup is a compact lesson in proportion, ellipses, and value. Work in an order that makes corrections inexpensive: establish the body, check the opening and handle, then add enough shading to explain the form.
3 min read Read the lesson →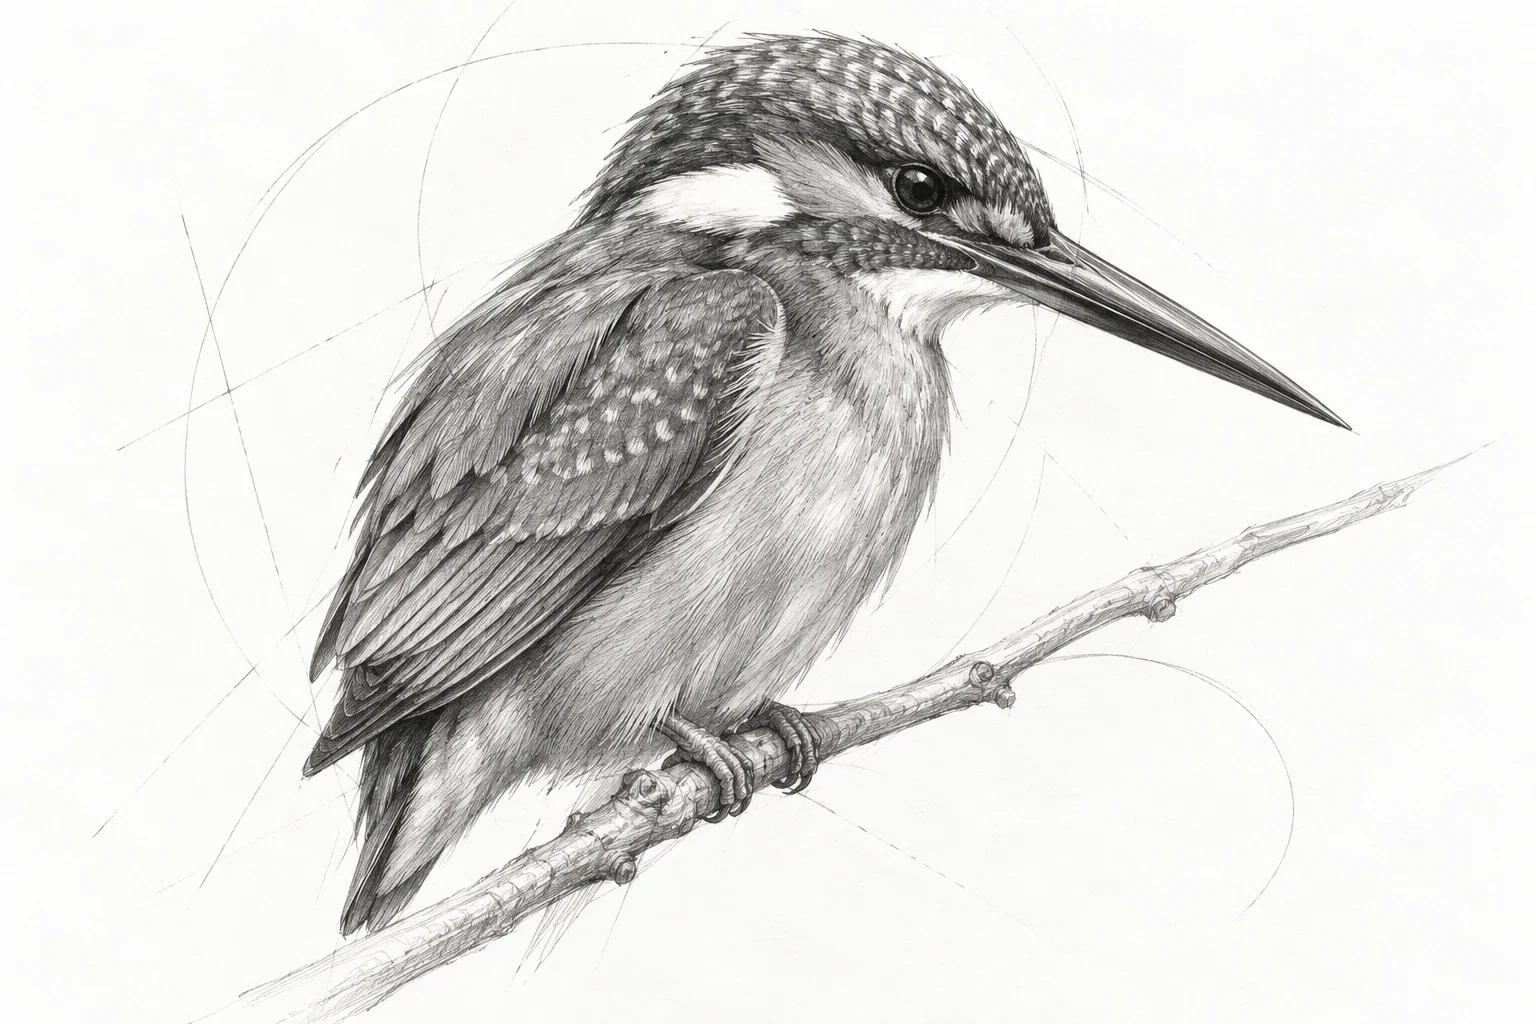
A Guide to Drawing Birds from Observation
A bird sketch becomes convincing through pose, proportion, and support long before it needs individual feathers. Use a short sequence of gesture, main masses, and landmarks to capture a readable bird without getting trapped in tiny details.
3 min read Read the lesson →