
Beginner / Construction lesson
One-Point Perspective for Beginners: Draw a Simple Room
Construct a simple room to learn what one-point perspective controls—and what it does not. You will separate front-facing edges from depth edges, place one box, and check convergence before decorating the scene.
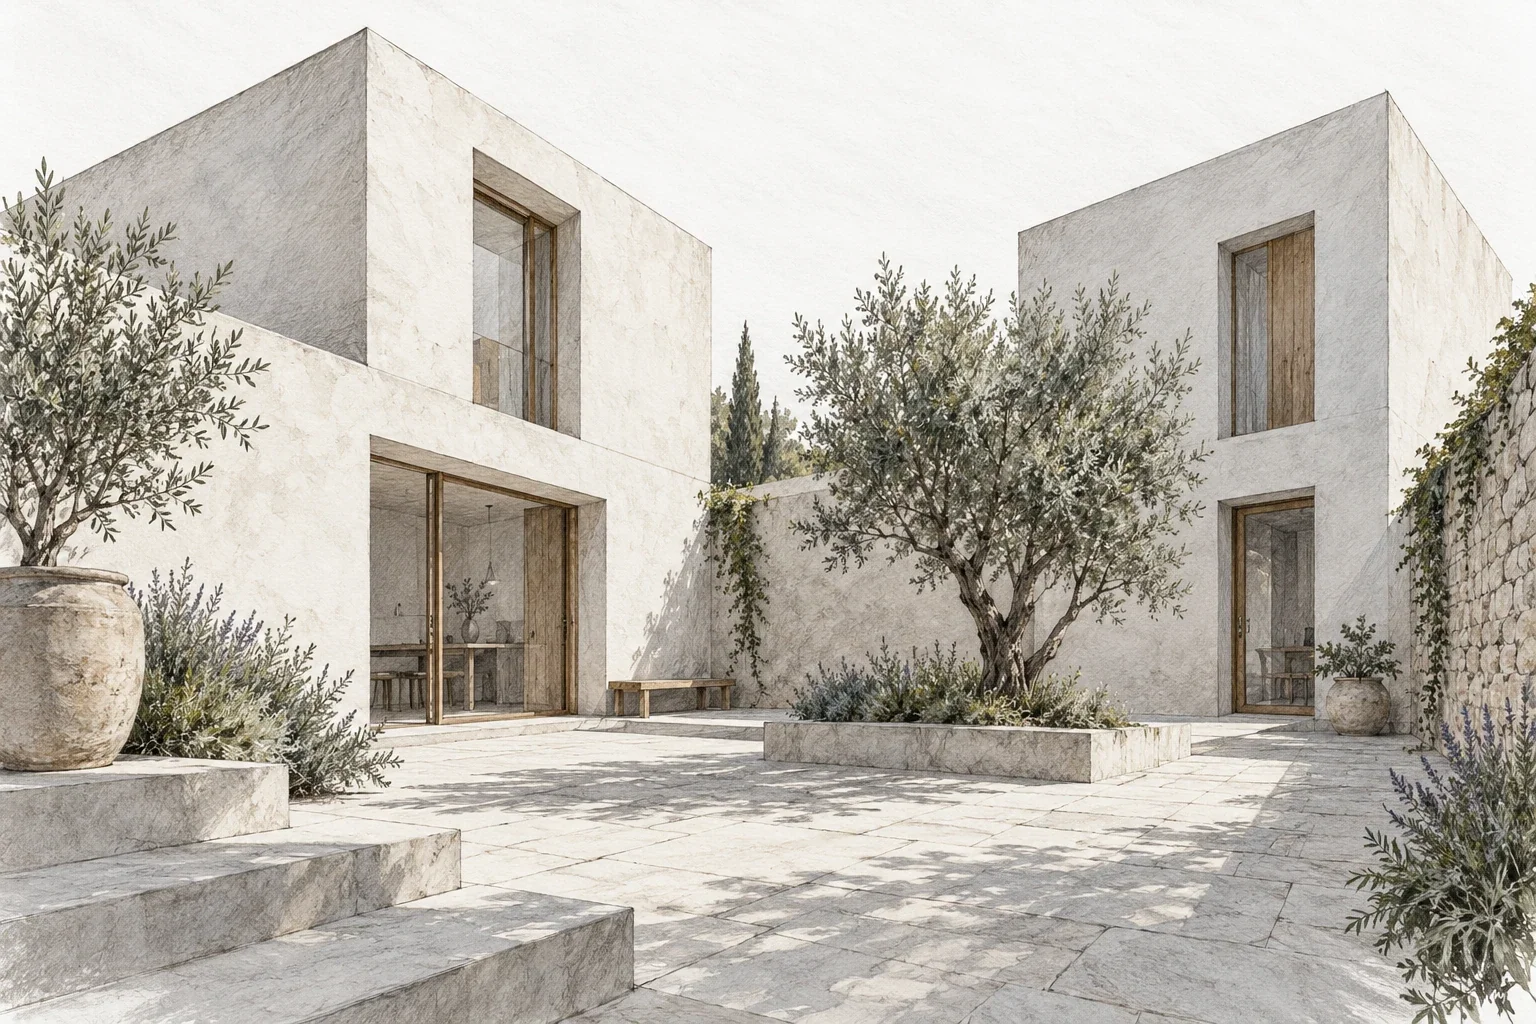
Draw a front-facing room and a box whose receding edges share a vanishing point on the horizon.
Use a view suited to one-point construction
Imagine looking level at a rectangular room's back wall straight on. In this simplified setup, that wall's horizontal and vertical edges stay horizontal and vertical on the page. Edges heading directly into depth share one vanishing point. A view facing a room corner usually needs a different construction.
Use pencil, paper, an eraser, and optionally a ruler. Invent a quiet room for this exercise so you can isolate the geometry. You are not measuring a real building or producing a technical plan. Keep the lines light enough to extend and correct without committing to a dark architectural outline.
Place the horizon and back wall
Draw a horizontal guide for eye level, then choose a vanishing point on it. For the first study, place the point comfortably inside the page. Draw a rectangle for the back wall with the point inside it, keeping that rectangle's sides vertical and its top and bottom horizontal.
The horizon is a construction reference, not necessarily a visible line in the room and not the floor edge. The back wall's size sets how much surrounding space you show. Leave enough page around it for the ceiling, floor, and side walls. A centered point is convenient for comparison, but not required in every composition.
Extend the four depth edges
Draw a light ray through the vanishing point and each corner of the back-wall rectangle. Extend each ray outward beyond its corner toward the page boundary. The visible room edges lie outside the back wall, while the inward extensions let you check their common convergence.
Do not connect each corner to a convenient nearby page corner independently. Those angles may look tidy while failing to share the same point. Check each line with a ruler or extended light stroke. Once the construction agrees, emphasize only the room boundaries you want visible and keep the checking lines quieter.
Add one box without guessing its faces
Draw a small front-facing rectangle on the floor below the horizon and to one side of the vanishing point. Send its corners toward the same point. Choose a back corner on one ray, then use corresponding horizontal and vertical lines to close the back face on the other rays.
Distinguish the visible edges from hidden construction. Which top or side you can see depends on the box's position relative to eye level and the viewing direction. Do not automatically show three faces for every box. Keep the first object simple enough that you can check its depth before adding a lid, legs, or decoration.
Avoid the repeated-spacing trap
Converging lines do not automatically give accurate spacing. Equally spaced floor tiles in the world appear progressively compressed with distance. A row of equally deep strips on the page will not become convincing merely because their side edges point toward the vanishing point.
Leave tiles out of this first drawing. Check that front-facing horizontals remain parallel, verticals remain vertical, and receding edges reach the shared point. If the room feels twisted, correct those relationships before adding furniture or shadows. More detail may hide a construction problem temporarily, but it does not make the geometry consistent.
Change one viewpoint decision
Repeat the room with a lower horizon while keeping the page and back-wall rectangle comparable. Observe how the visible ceiling and floor relationships change. Make a third quick construction with the vanishing point shifted sideways. Compare wall proportions without decorating either study.
Write which lines converged and which stayed parallel. That distinction is more useful than memorizing one room picture. For a worked introduction, consult DrawDojo's one-point perspective lesson. The image above is editorial architecture artwork, not a one-point construction reference; use the labeled schematic and your extended guide lines for this exercise.
A useful next lesson
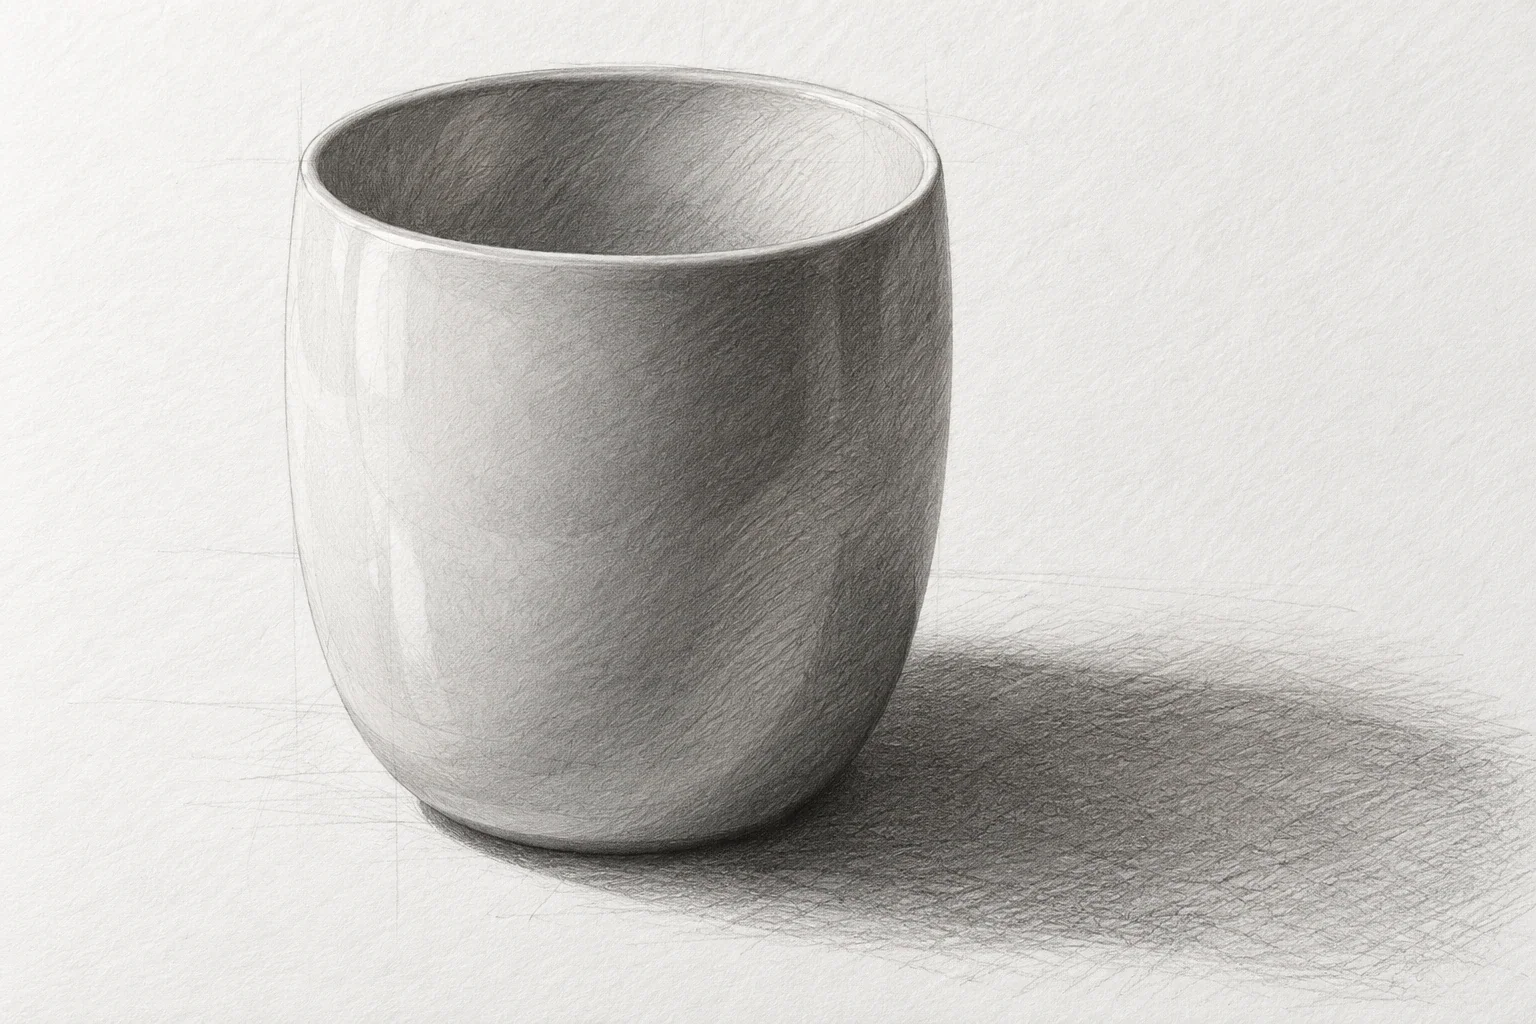
How to Draw a Cup: Proportion, Ellipses & Pencil Shading
A cup is a compact lesson in proportion, ellipses, and value. Work in an order that makes corrections inexpensive: establish the body, check the opening and handle, then add enough shading to explain the form.
3 min read Read the lesson →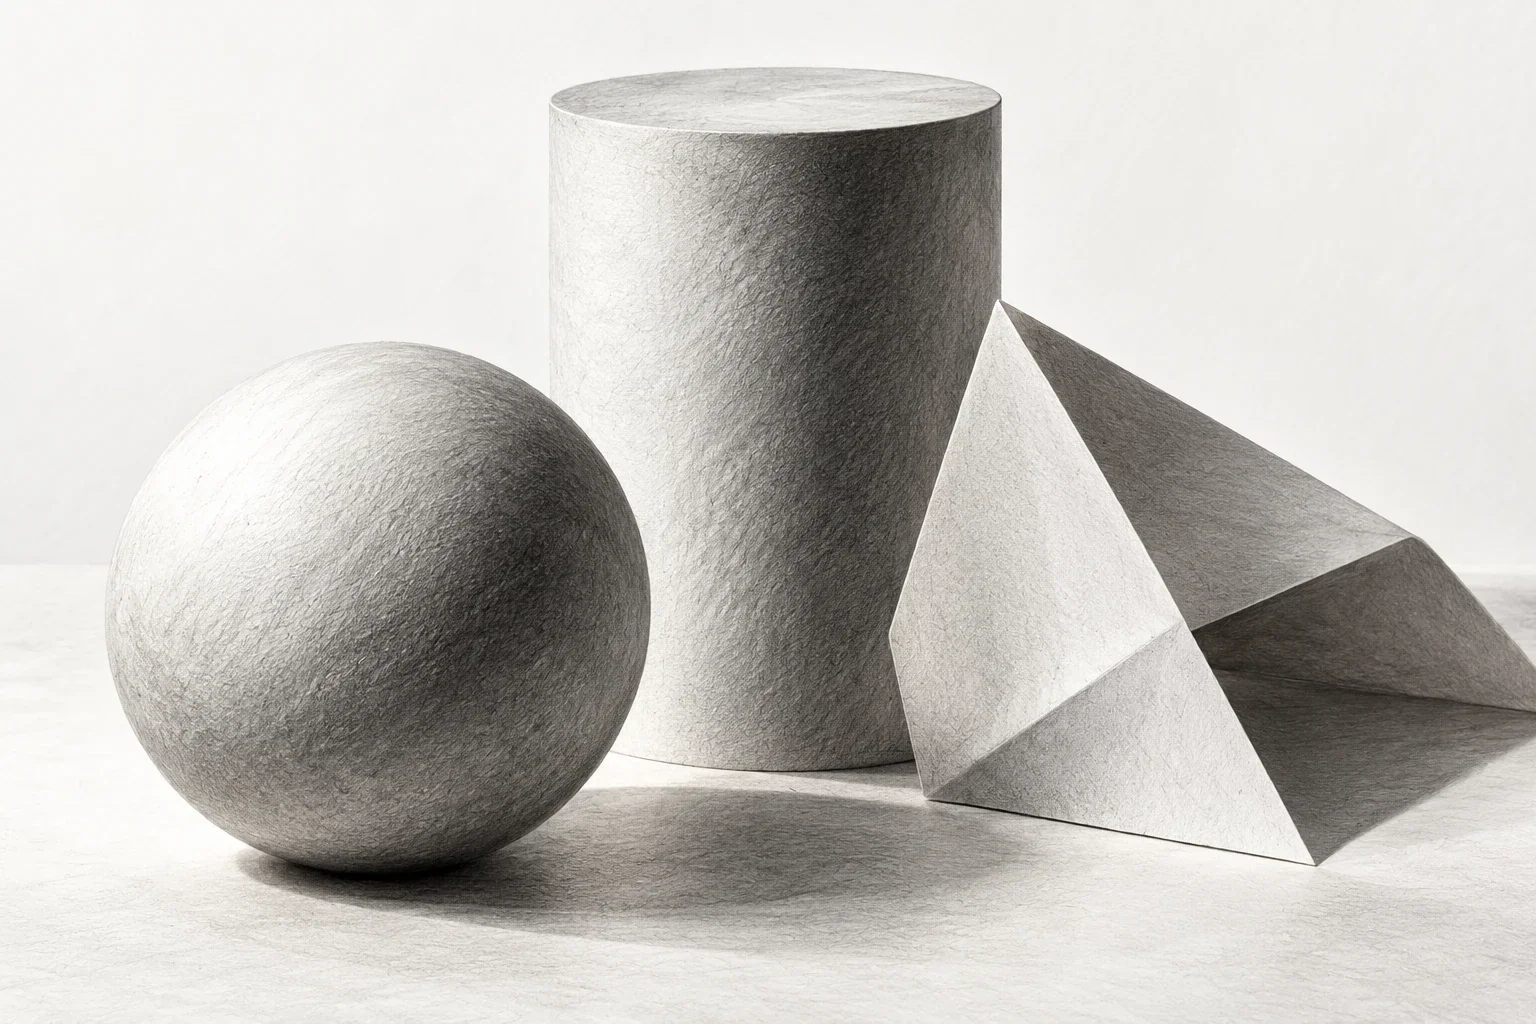
Pencil Shading for Beginners: Values, Pressure & Form
Good pencil shading is not simply smooth shading. Learn to organize light and shadow, control pressure, and choose dark accents so a simple object reads clearly before you blend or add texture.
3 min read Read the lesson →