
Beginner / Original practice lesson
Pencil Textures: Draw Bark, Fur and Stone Without Filling Every Inch
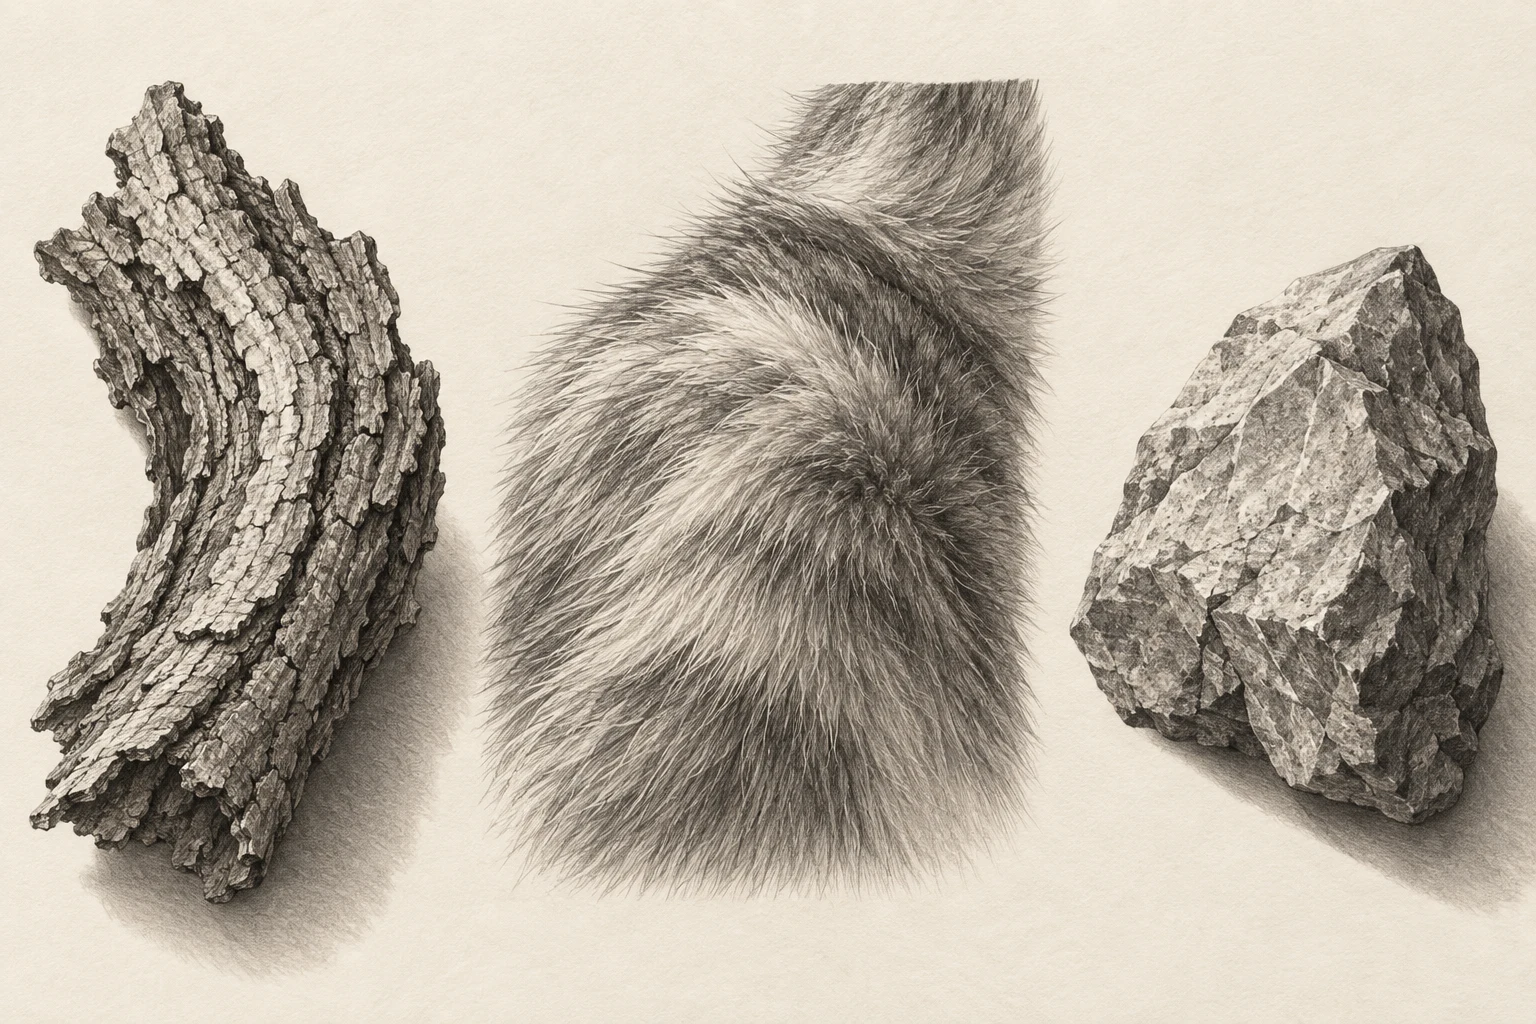
Make three small texture studies whose marks follow the subject’s structure and remain subordinate to its light and shadow.
The idea to understand
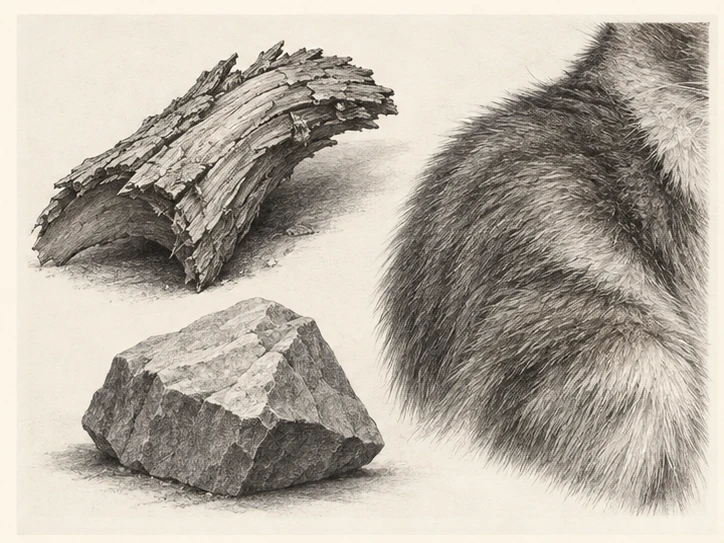
Texture is not a pattern pasted over a shape. Bark ridges, fur groups and stone edges respond differently to form and light. In this original exercise, each sample begins with a broad value plan. The marks then describe the surface; they must not erase the larger structure.
What you need
HB and 2B pencils, drawing paper, eraser, a bark fragment and a stone. For fur, use your own clear animal photograph rather than disturbing an animal.
See the study develop
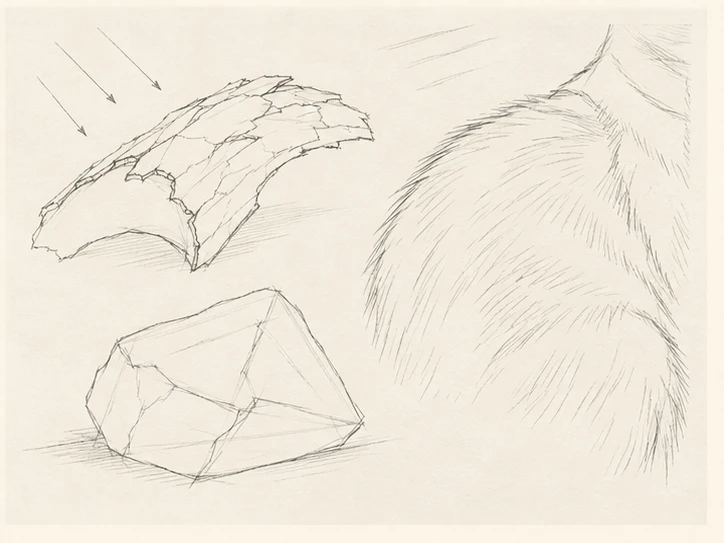
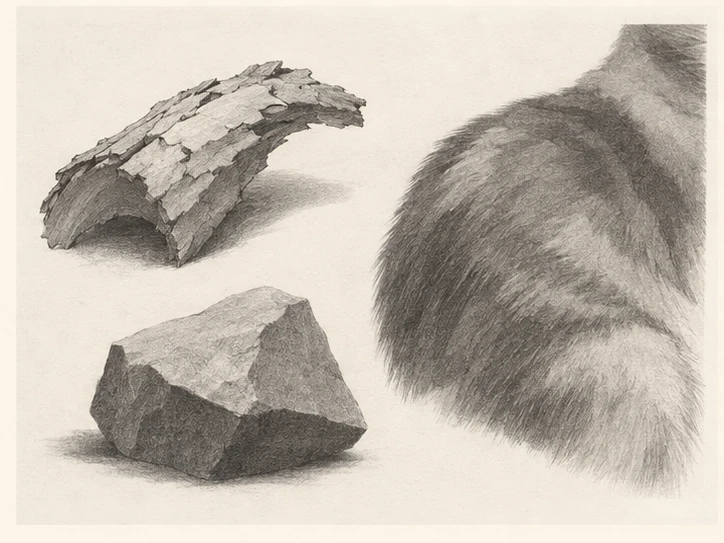
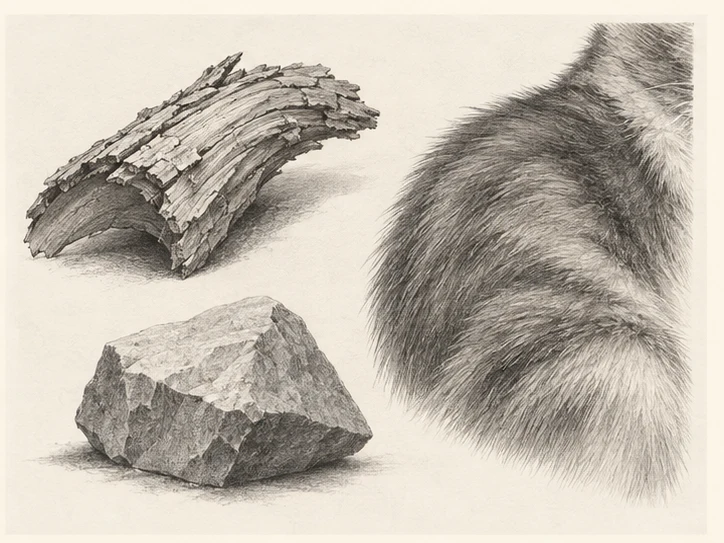
Four original AI-assisted illustrative stages, not photographs of a recorded demonstration. Compare the changing shapes and values; use your own observation and material tests.
Your practice sequence
Choose a shared light
Arrange the bark and stone under one side light. Select a fur reference with a similar direction. Draw three small rectangles. Establish a light, a middle value and a darker region in each before adding surface detail.
Follow bark structure
Look for the main ridge direction and changes around the fragment. Place a few uneven long marks with shorter interruptions. Deepen selected crevices, not every line. Leave a quiet lit area so the ridges have something to contrast against.
Group the fur
Identify the direction of several large tufts. Draw groups of tapered marks that bend with the body. Leave spaces between groups and avoid a field of identical parallel hairs. Keep the darker mass underneath visible.
Describe stone planes
Use angular changes and broken edge accents rather than hairlike marks. Suggest a few pits or grains only after the main planes read. Compare the drawing small and remove detail that makes the stone look uniformly speckled.
Check your result
Cover the surface marks mentally: can the underlying light and dark structure still be read? Do the three samples look different without labels? Circle one area where leaving paper untouched improved the texture.
If the study is not working yet
If texture flattens the form, restore broad values first. If fur looks like wire, vary grouping and lighten the brightest tufts. If bark looks striped, break the spacing. If stone looks furry, replace directional strokes with plane changes.
A useful second attempt
Repeat the weakest sample with half as many marks. Compare clarity rather than counting detail. Texture should help the viewer understand the object, not merely prove that you worked hard.
Further reading
Royal Drawing School: drawing practice resources ↗. This is supporting reading; the exercise above is an original LUREXEN practice plan. Publisher images have not been reused.
An optional practice companion
30 Day Drawing Challenge Workbook on Etsy ↗. The workbook is optional; you can complete this lesson without purchasing anything. Check the listing for its current contents and terms.
Continue with a related lesson
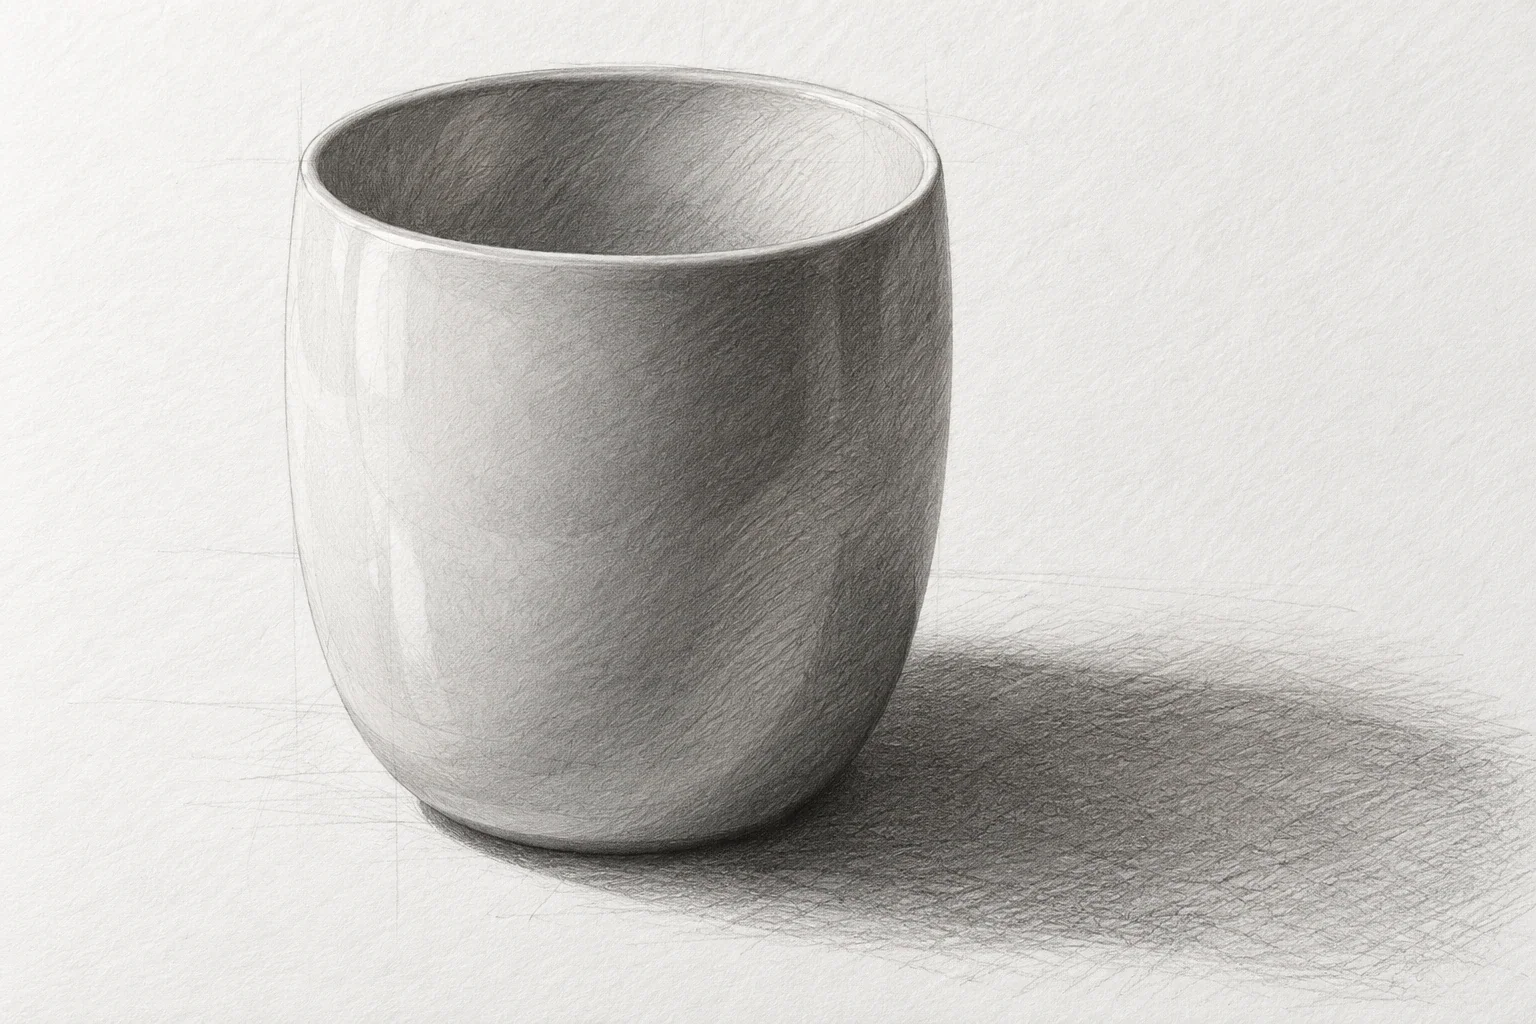
How to Draw a Cup: Proportion, Ellipses & Pencil Shading
A cup is a compact lesson in proportion, ellipses, and value. Work in an order that makes corrections inexpensive: establish the body, check the opening and handle, then add enough shading to explain the form.
3 min read Read the lesson →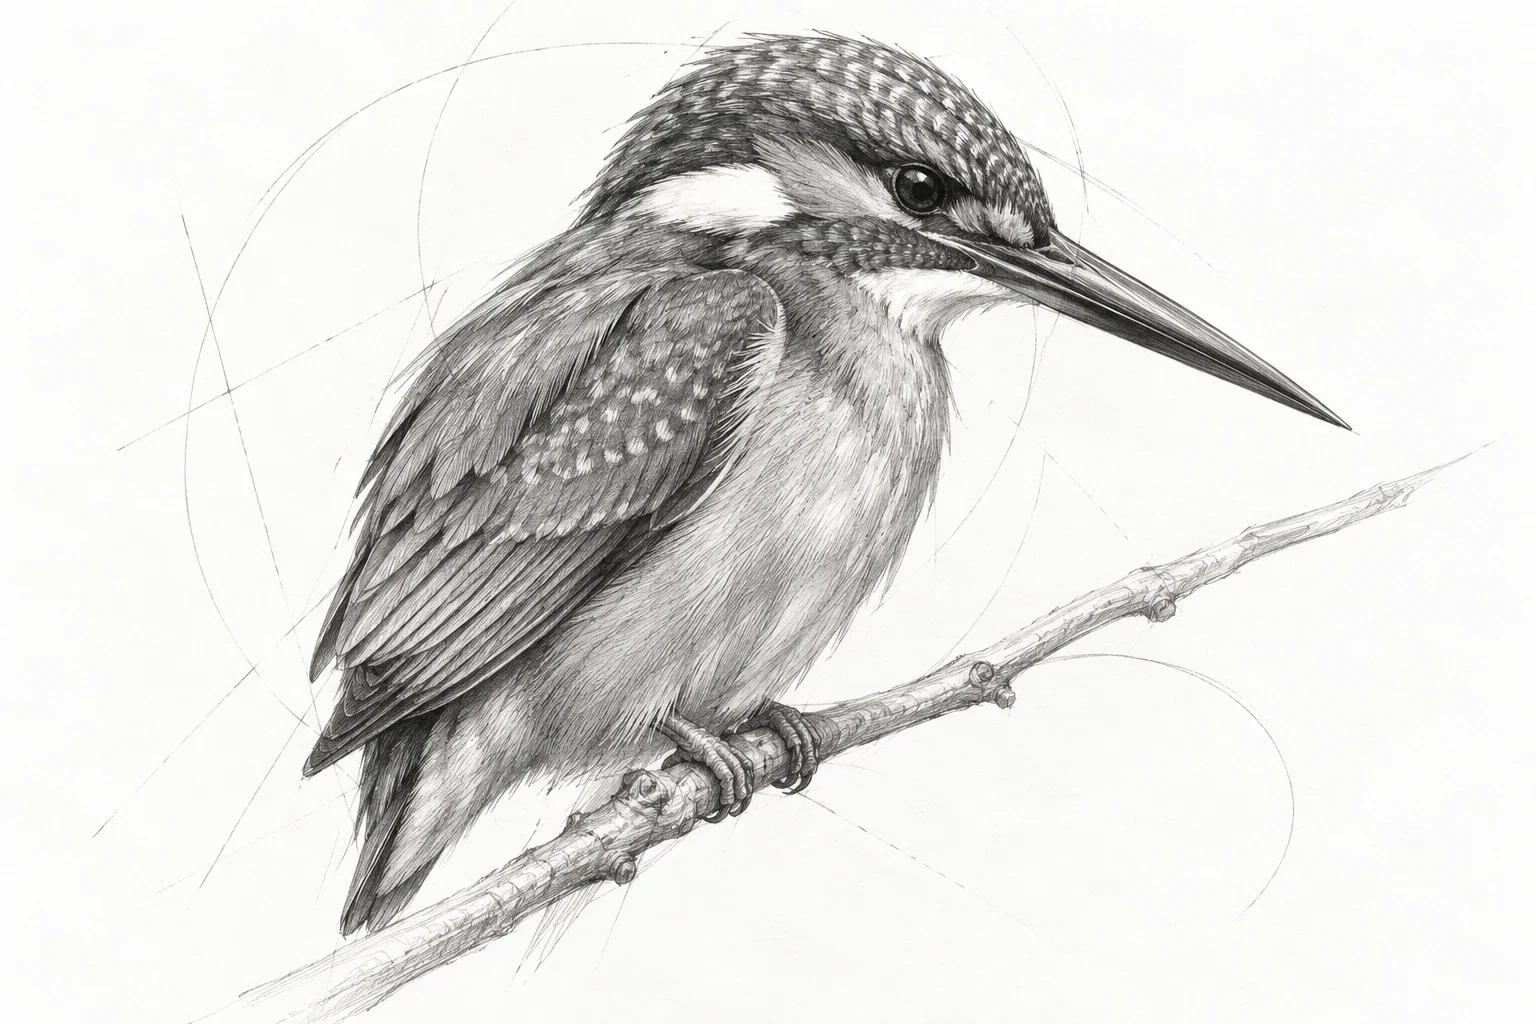
A Guide to Drawing Birds from Observation
A bird sketch becomes convincing through pose, proportion, and support long before it needs individual feathers. Use a short sequence of gesture, main masses, and landmarks to capture a readable bird without getting trapped in tiny details.
3 min read Read the lesson →