
Beginner / Original practice lesson
Negative Space Drawing: Make a Chair More Accurate by Drawing the Gaps
Use the shapes between a chair’s rails and legs to check proportions that familiar object symbols often distort.
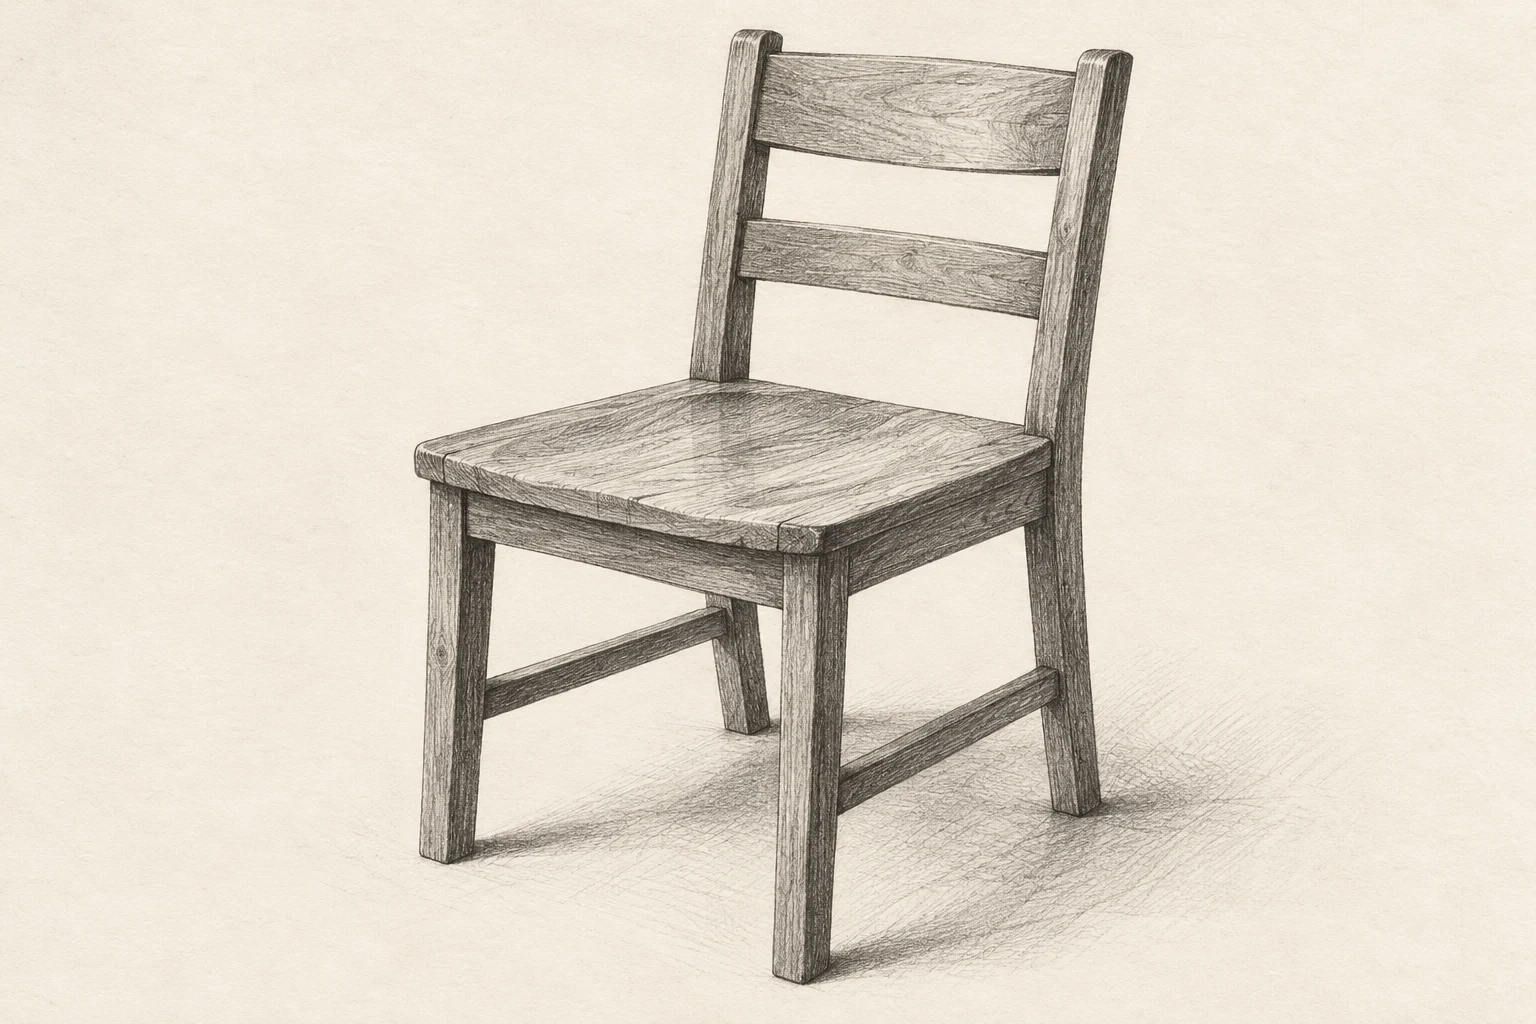
The idea to understand
When you name an object, you may draw what you expect it to look like. Negative-space drawing interrupts that habit. A gap between two legs is an unfamiliar triangle or trapezoid, which is easier to compare honestly. You will still draw the chair, but you will use its openings as measuring tools.
What you need
A simple chair, sketchbook, HB or 2B pencil and eraser. Set the chair at a three-quarter angle and keep your viewing position fixed.
See the study develop
Four original AI-assisted illustrative stages, not photographs of a recorded demonstration. Compare the changing shapes and values; use your own observation and material tests.
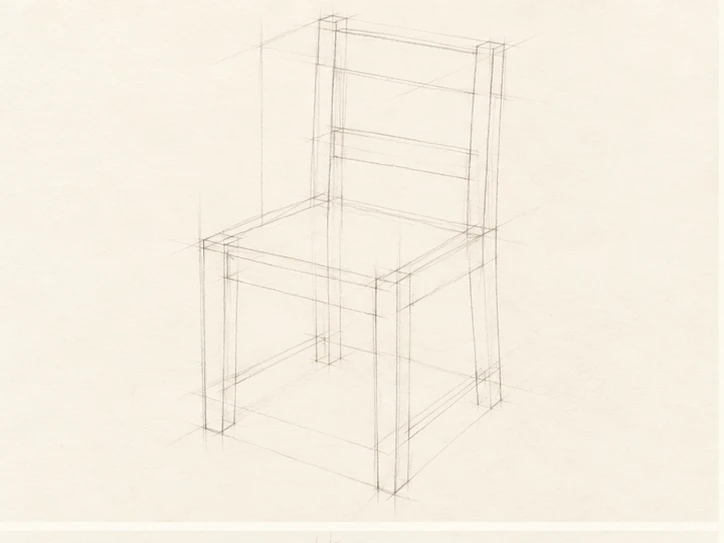
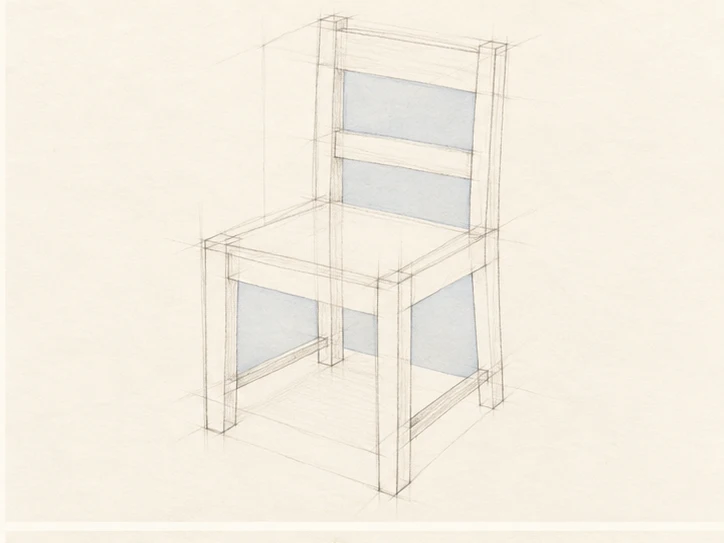
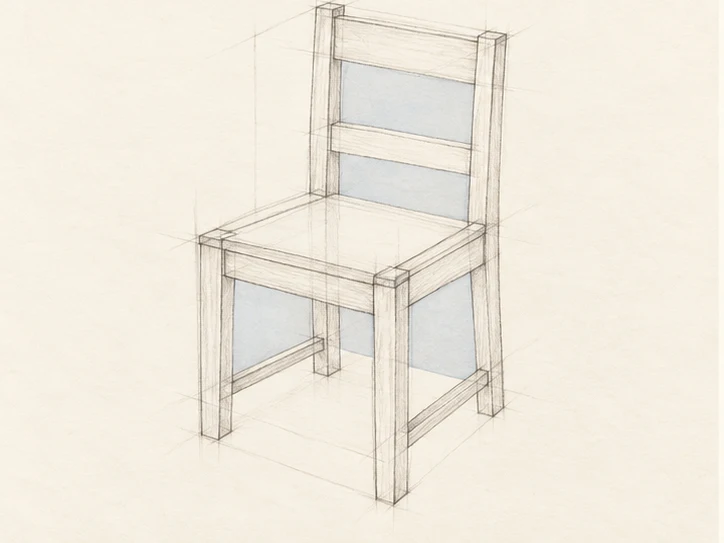
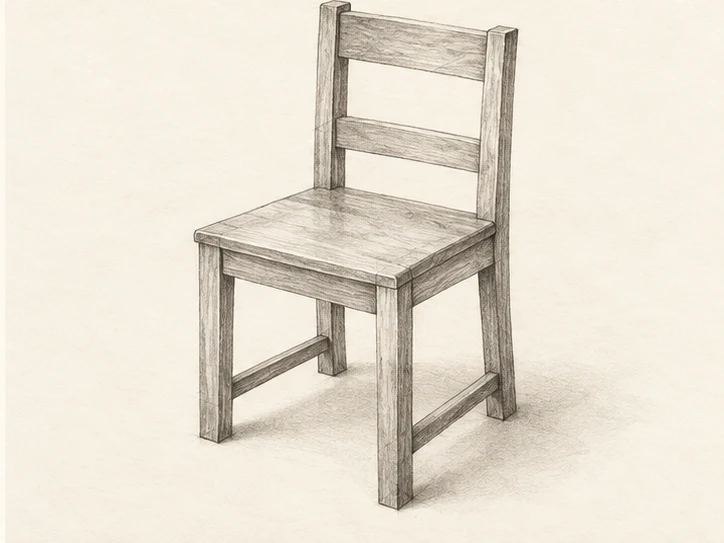
Your practice sequence
Set an outer envelope
Mark the highest, lowest, leftmost and rightmost visible points. Connect them lightly into a rough envelope. Compare height with width before drawing individual rails. Keep the subject comfortably inside the page.
Choose three gaps
Find the opening under the seat, one between back rails and one between the legs. Draw these as flat shapes. Compare their widest points, corner angles and relative sizes. Do not assume the openings are rectangular because the chair was built from straight wood.
Let the chair emerge
Connect the surrounding rails and legs around those gaps. Compare where a seat edge meets a back support. Check overlaps so a far leg does not accidentally become the nearest one. Use light correction lines rather than committing to heavy contours.
Clarify, then shade
Choose the most accurate contour from your construction lines. Add a modest shadow under the seat and on one side of the legs. Leave the spaces clearly readable. Avoid wood grain until the geometry is convincing.
Check your result
Turn the drawing upside down and compare the three gaps again. Is one too wide, too square or too symmetrical? Correct the most obvious mismatch first, then reassess the whole chair.
If the study is not working yet
If the chair looks unstable, compare leg angles and visible endpoints. If every opening looks equal, check the actual view rather than the chair’s construction. If the page becomes muddy, redraw lightly beside the first attempt instead of endlessly erasing.
A useful second attempt
Make a second five-minute study focused only on the openings. Write one measurable difference between the two attempts.
Further reading
Royal Drawing School: positive and negative space ↗. This is supporting reading; the exercise above is an original LUREXEN practice plan. Publisher images have not been reused.
An optional practice companion
30 Day Drawing Challenge Workbook on Etsy ↗. The workbook is optional; you can complete this lesson without purchasing anything. Check the listing for its current contents and terms.
Continue with a related lesson
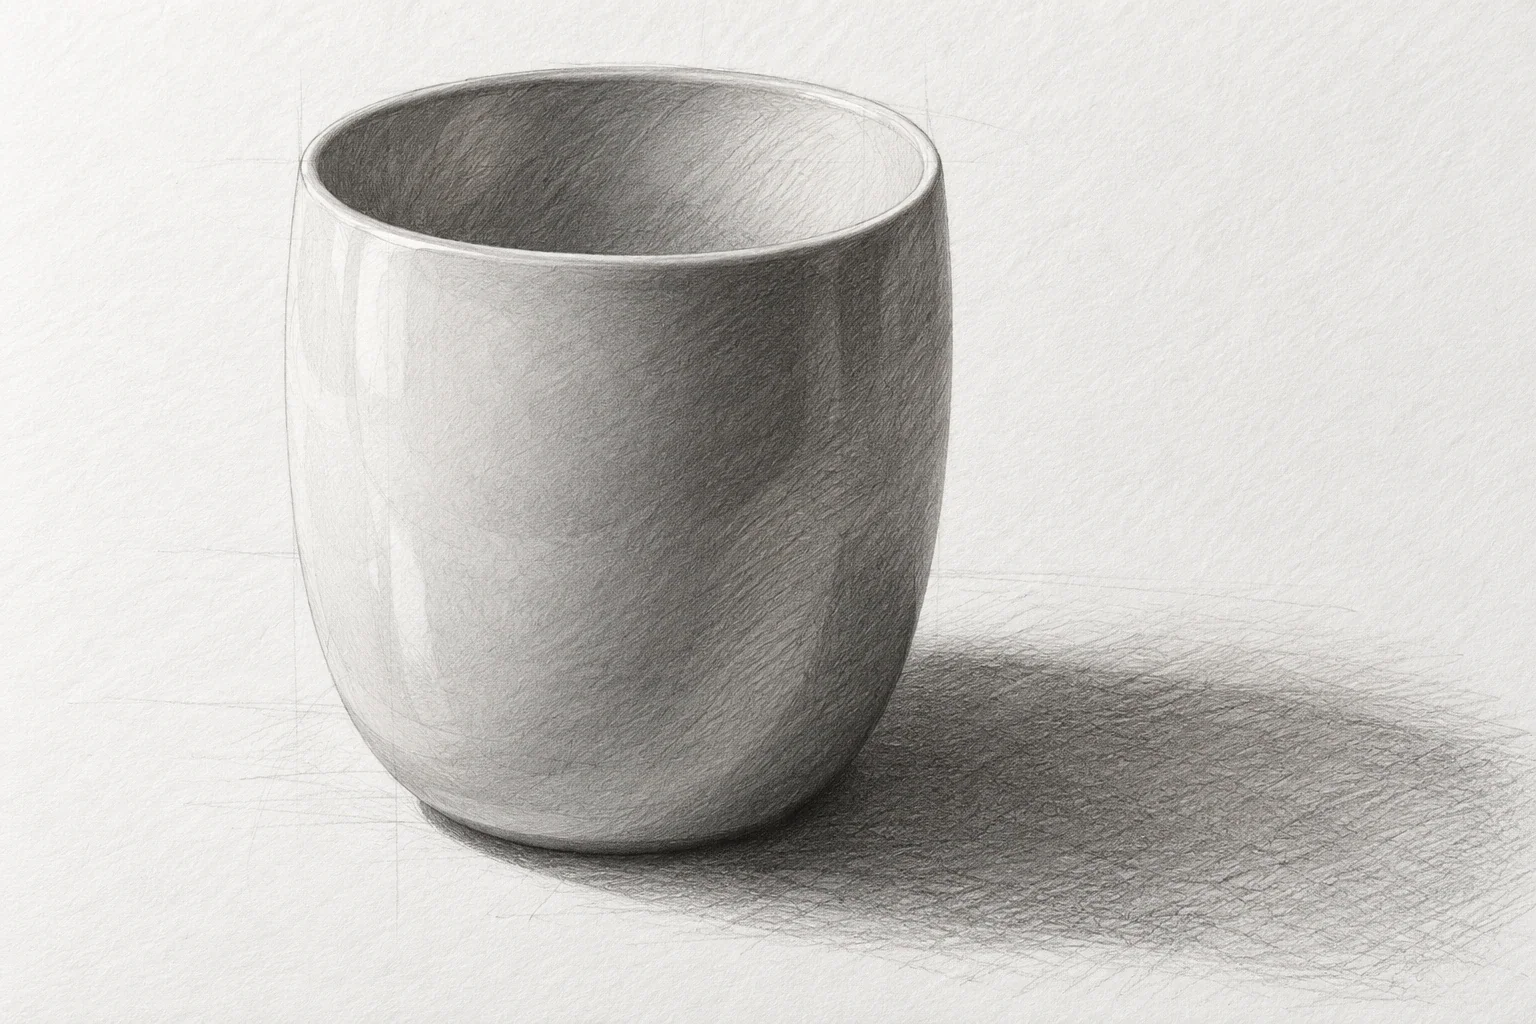
How to Draw a Cup: Proportion, Ellipses & Pencil Shading
A cup is a compact lesson in proportion, ellipses, and value. Work in an order that makes corrections inexpensive: establish the body, check the opening and handle, then add enough shading to explain the form.
3 min read Read the lesson →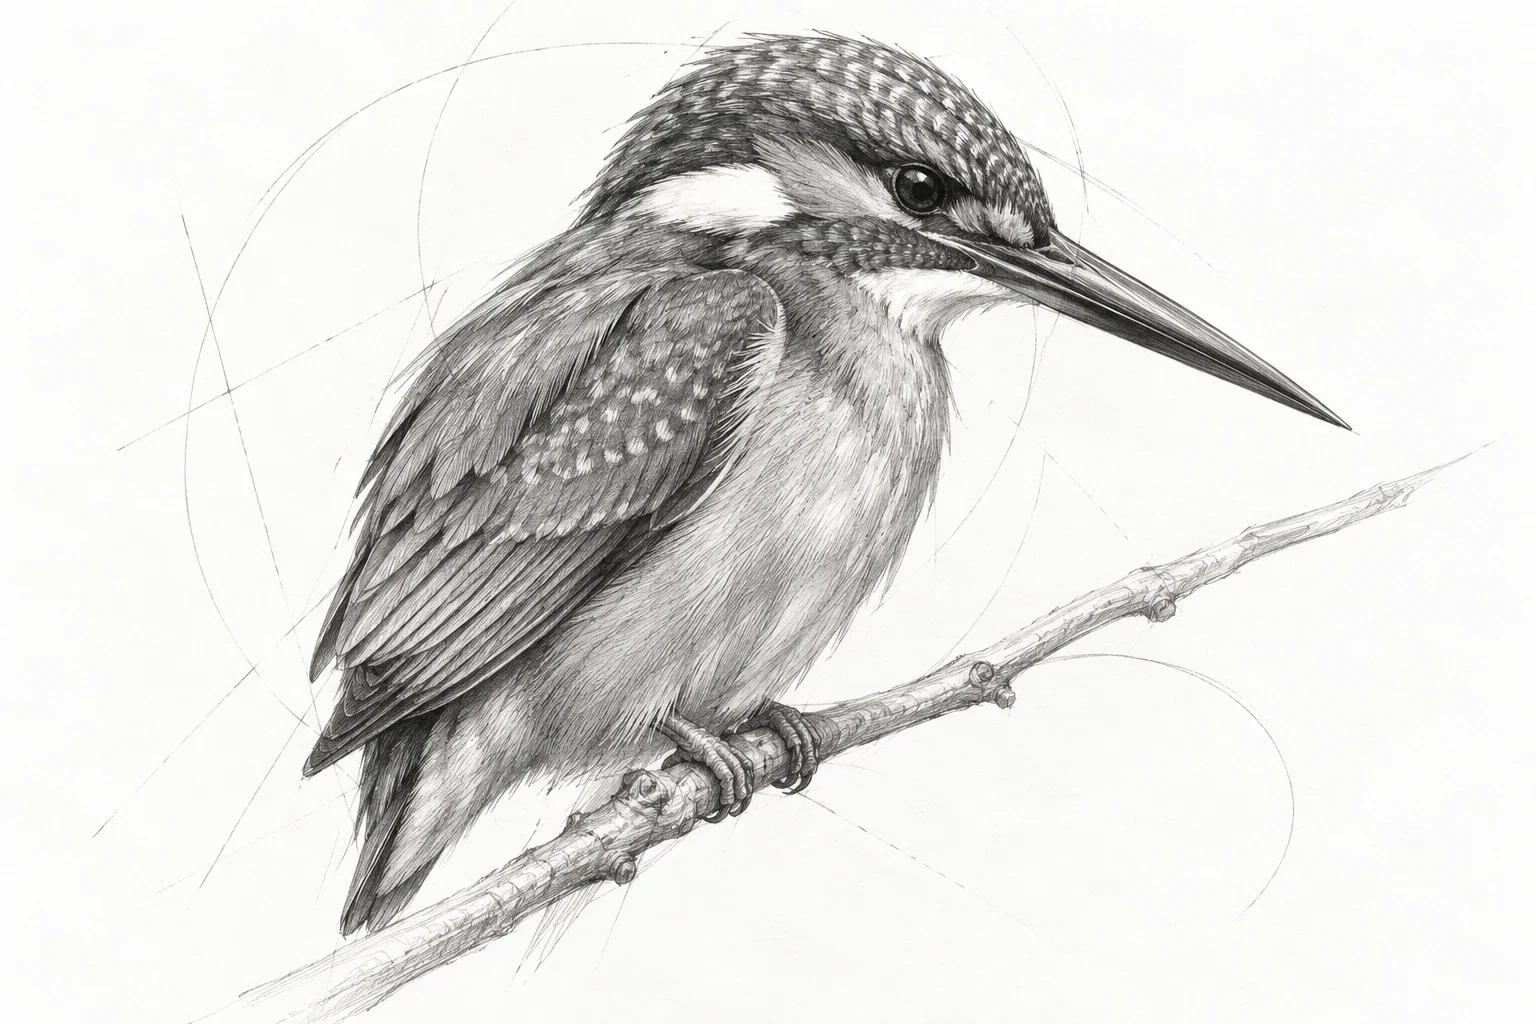
A Guide to Drawing Birds from Observation
A bird sketch becomes convincing through pose, proportion, and support long before it needs individual feathers. Use a short sequence of gesture, main masses, and landmarks to capture a readable bird without getting trapped in tiny details.
3 min read Read the lesson →