
Beginner / Original practice lesson
Watercolor Lake Reflections: Align Shapes Without Painting a Mirror
Make a quiet lake study with reflected masses that belong to the shoreline, interrupted by a few deliberate horizontal marks.
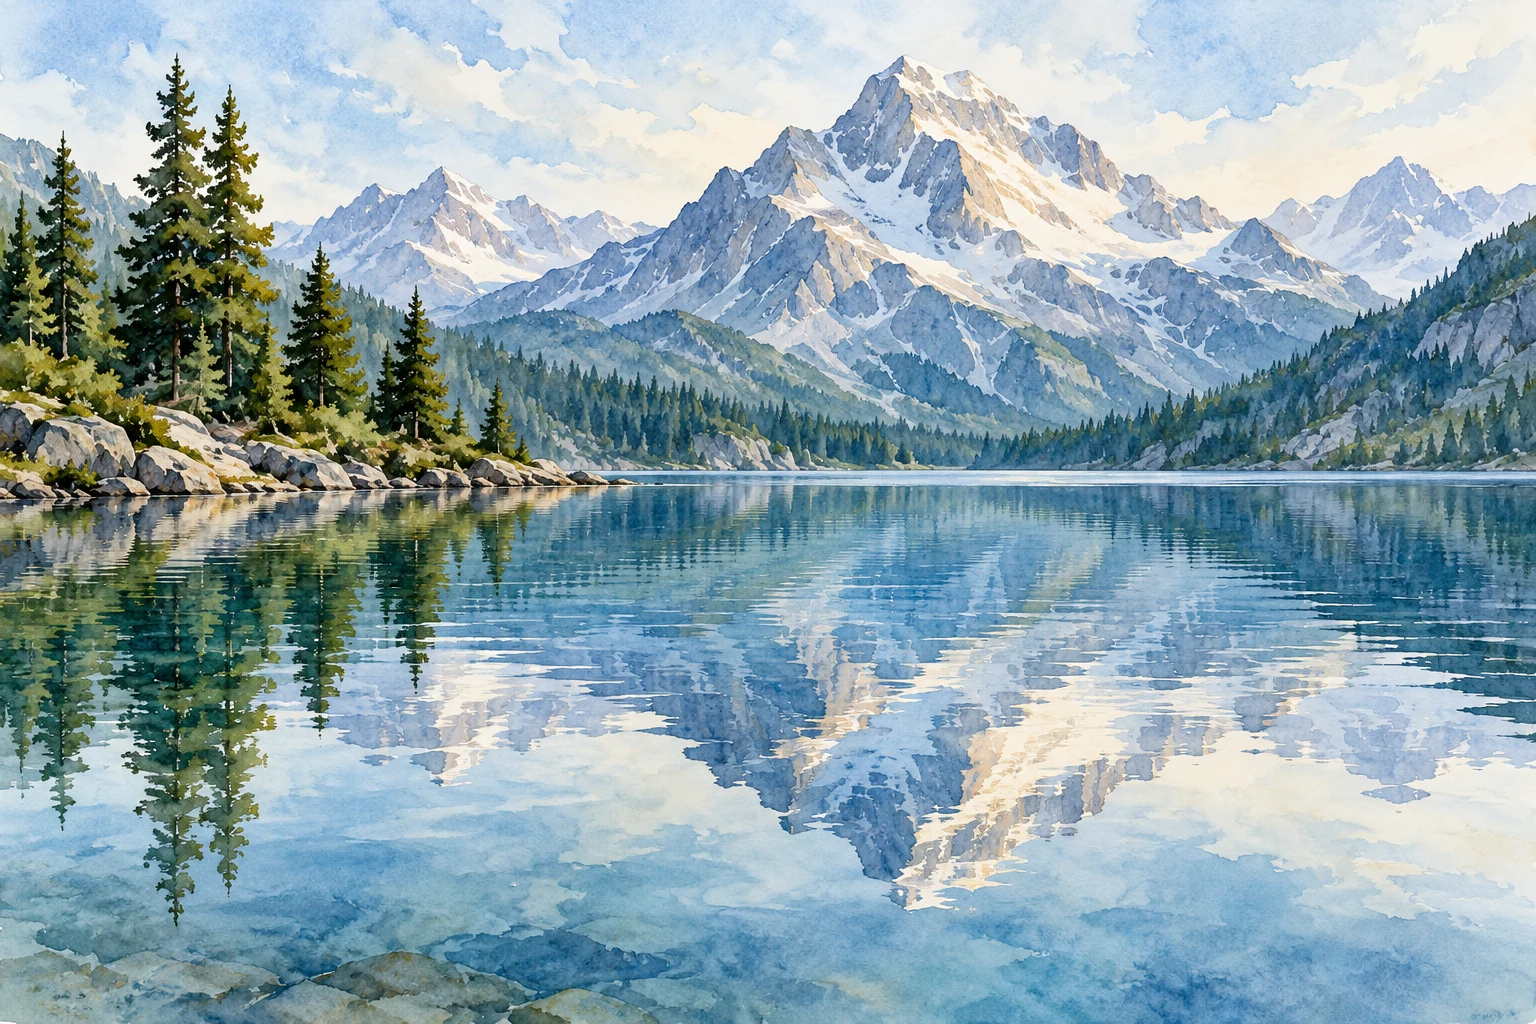
The idea to understand
For this exercise, choose a calm lake seen from a fixed viewpoint. Start with large reflected shapes, not individual trees. Reflection appearance changes with the viewing angle, surface movement and light; do not assume every reflected object must always be darker or exactly the same length as its source.
What you need
Watercolor paper, a round brush, a small flat brush if available, blue and a warm earth color, pencil and scrap paper.
See the study develop
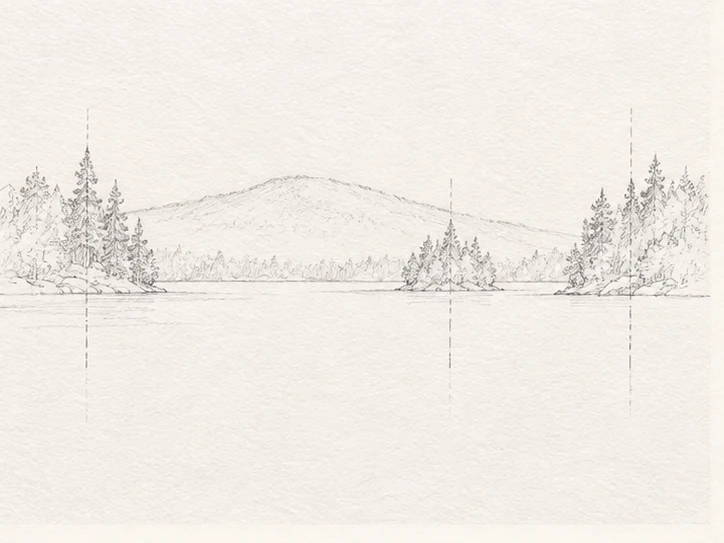
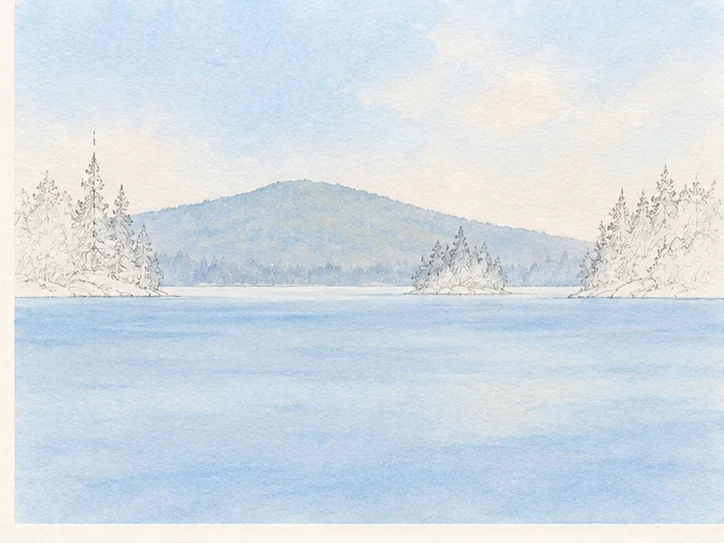
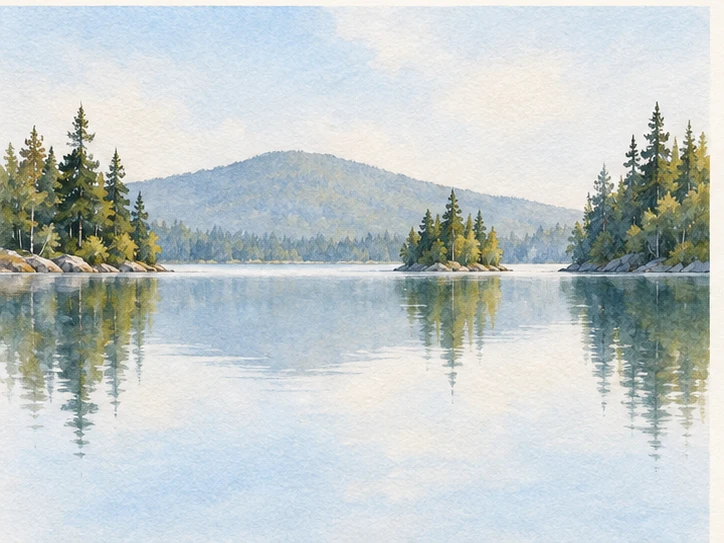
Four original AI-assisted illustrative stages, not photographs of a recorded demonstration. Compare the changing shapes and values; use your own observation and material tests.
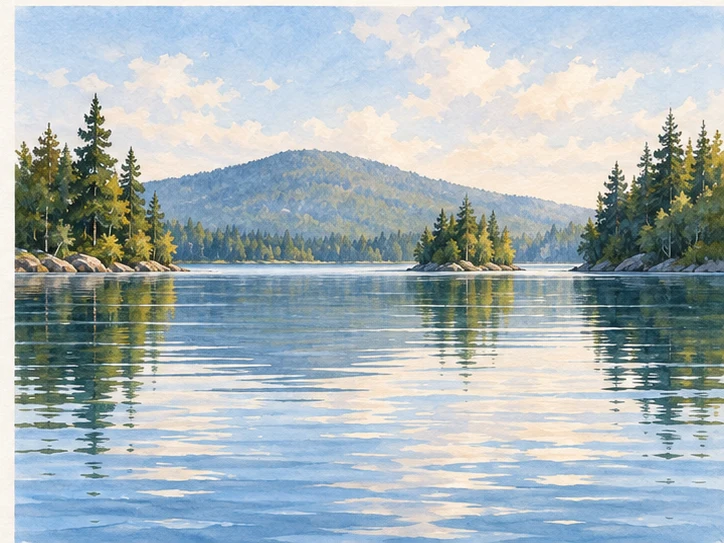
Your practice sequence
Build a simple shoreline
Draw a low hill and three uneven tree masses above a horizontal shore. Mark a few vertical guide points beneath the tallest trees. Keep the lake larger than the strip of land so the reflection has space to read.
Lay a quiet water wash
Paint the sky and lake lightly. Keep the water mostly horizontal in its movement. Leave small paper gaps rather than filling the whole surface with texture. Dry this layer before placing shapes you want to control precisely.
Place reflected masses
Put each major reflection beneath its corresponding source, using the guides for position. Simplify a cluster of trees into one connected color shape. Compare your reference for value; choose a restrained relationship rather than automatically making everything black.
Break the mirror
After drying, add a few thin horizontal interruptions across selected reflections. Vary their length and spacing. Keep the strongest contrast near one focal area, not evenly across the whole lake. Remove or soften the pencil guides if they remain distracting.
Check your result
Cover the trees: can you still see a coherent water surface? Uncover them: do the reflections line up? Count your strongest ripple marks. If every part of the lake competes equally, make a simpler second study.
If the study is not working yet
If a reflection drifts sideways, check its starting position before adding detail. If the lake looks striped, reduce the number and regularity of ripples. If water looks like another hillside, prioritize horizontal interruptions rather than adding more vertical tree marks.
A useful second attempt
Paint the same design with a slightly disturbed surface. Keep the shoreline unchanged and compare how broken shapes alter the mood.
Further reading
Watercolor Learning Center: still water study ↗. This is supporting reading; the exercise above is an original LUREXEN practice plan. Publisher images have not been reused.
An optional practice companion
National Parks Watercolor Workbook on Etsy ↗. The workbook is optional; you can complete this lesson without purchasing anything. Check the listing for its current contents and terms.
Continue with a related lesson
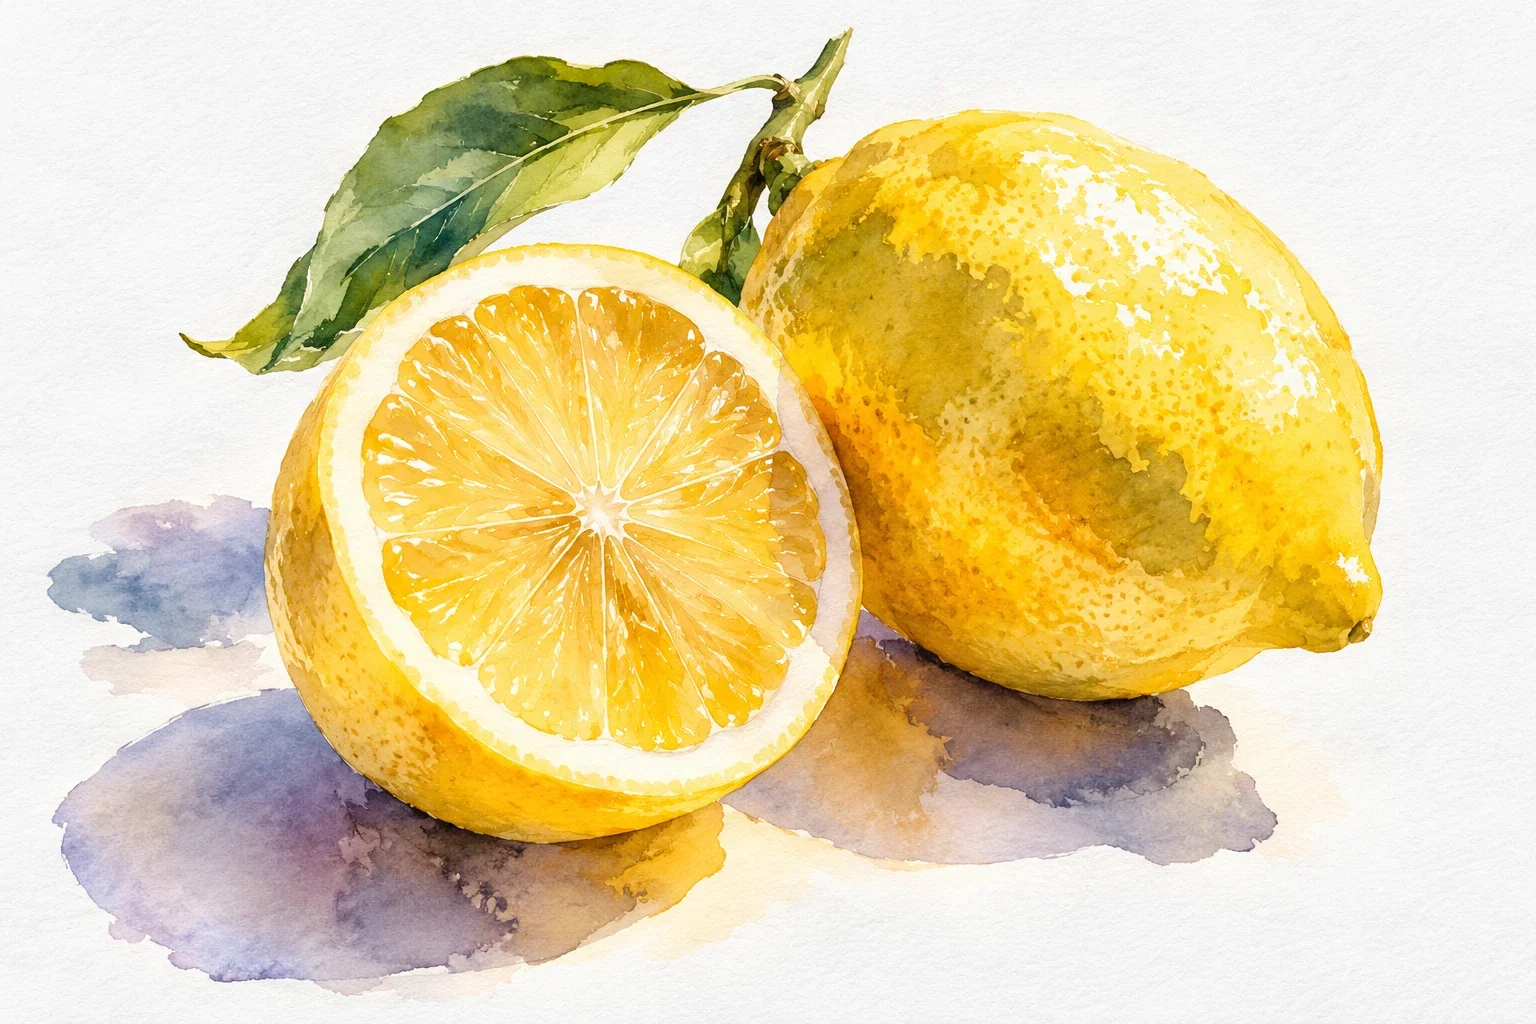
How to Paint Watercolor Lemons: Light, Layers & Shadows
Paint one small lemon to learn how light, transparent layers, and shadows work together. You will plan the highlight, build a rounded form, and avoid the two habits that often dull yellow: a crowded mixture and repeated brushing.
4 min read Read the lesson →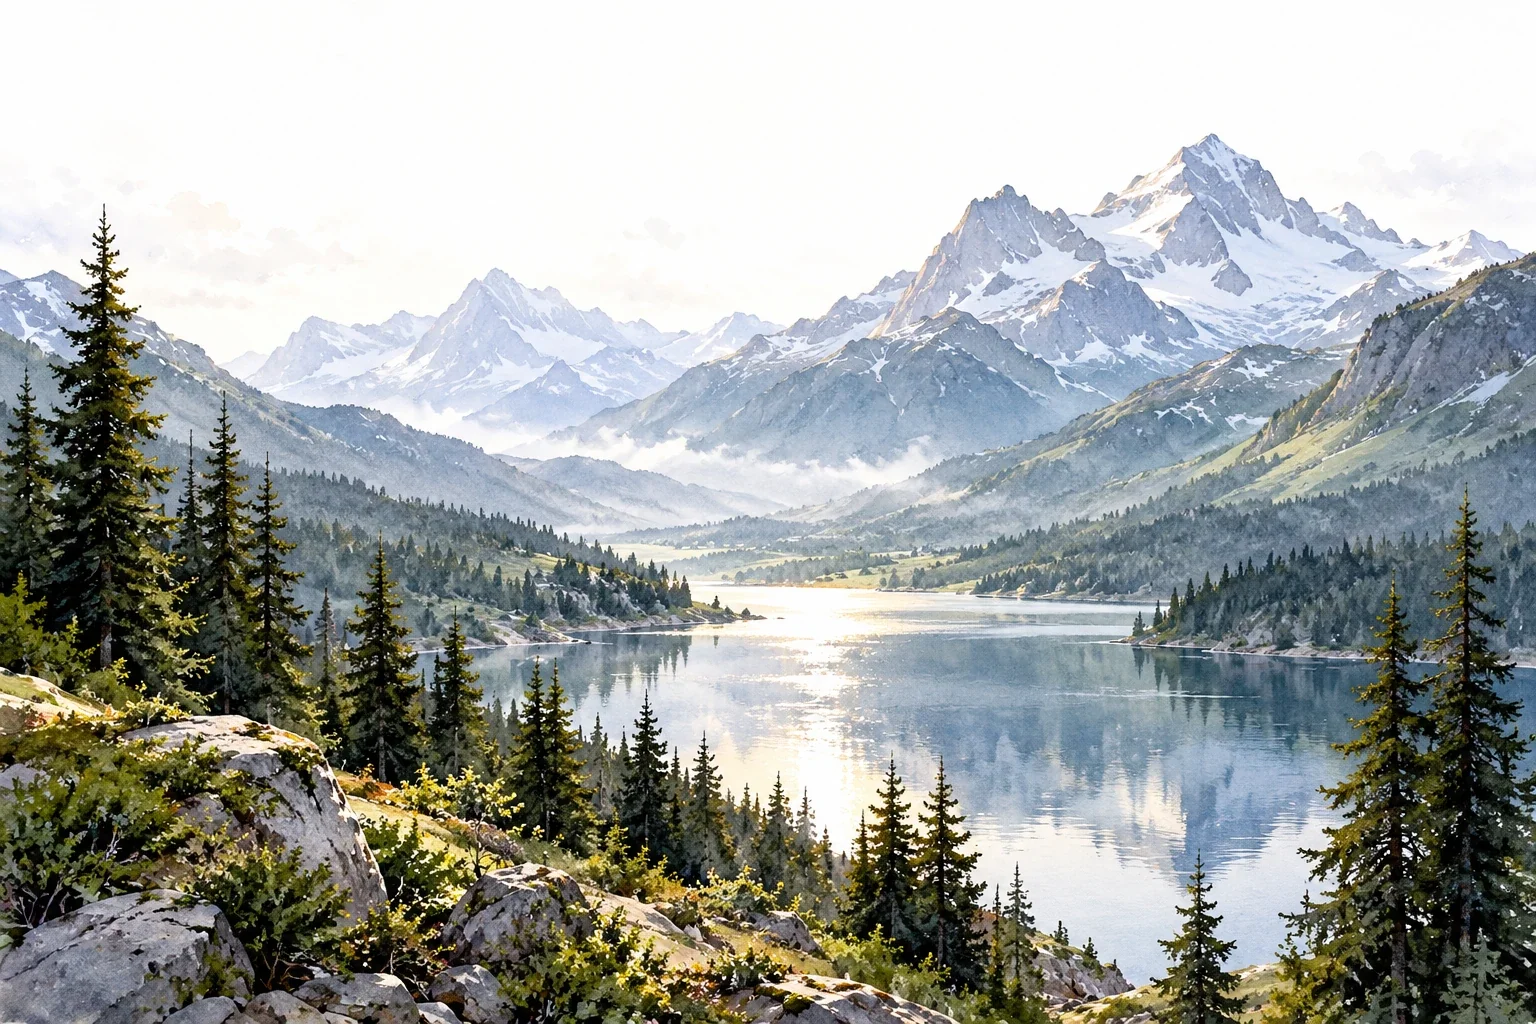
Creating Depth in Watercolor Landscapes
A landscape can look flat even when its individual trees and mountains are carefully painted. This guide shows how to organize depth through overlap, value, edges, and a focal area before investing time in detail.
3 min read Read the lesson →