
Beginner / Original practice lesson
Watercolor Granulation: Create Natural Texture Without Overworking
Learn how granulating watercolor settles into paper texture, then use that behavior deliberately in a small mountain-and-stone study.
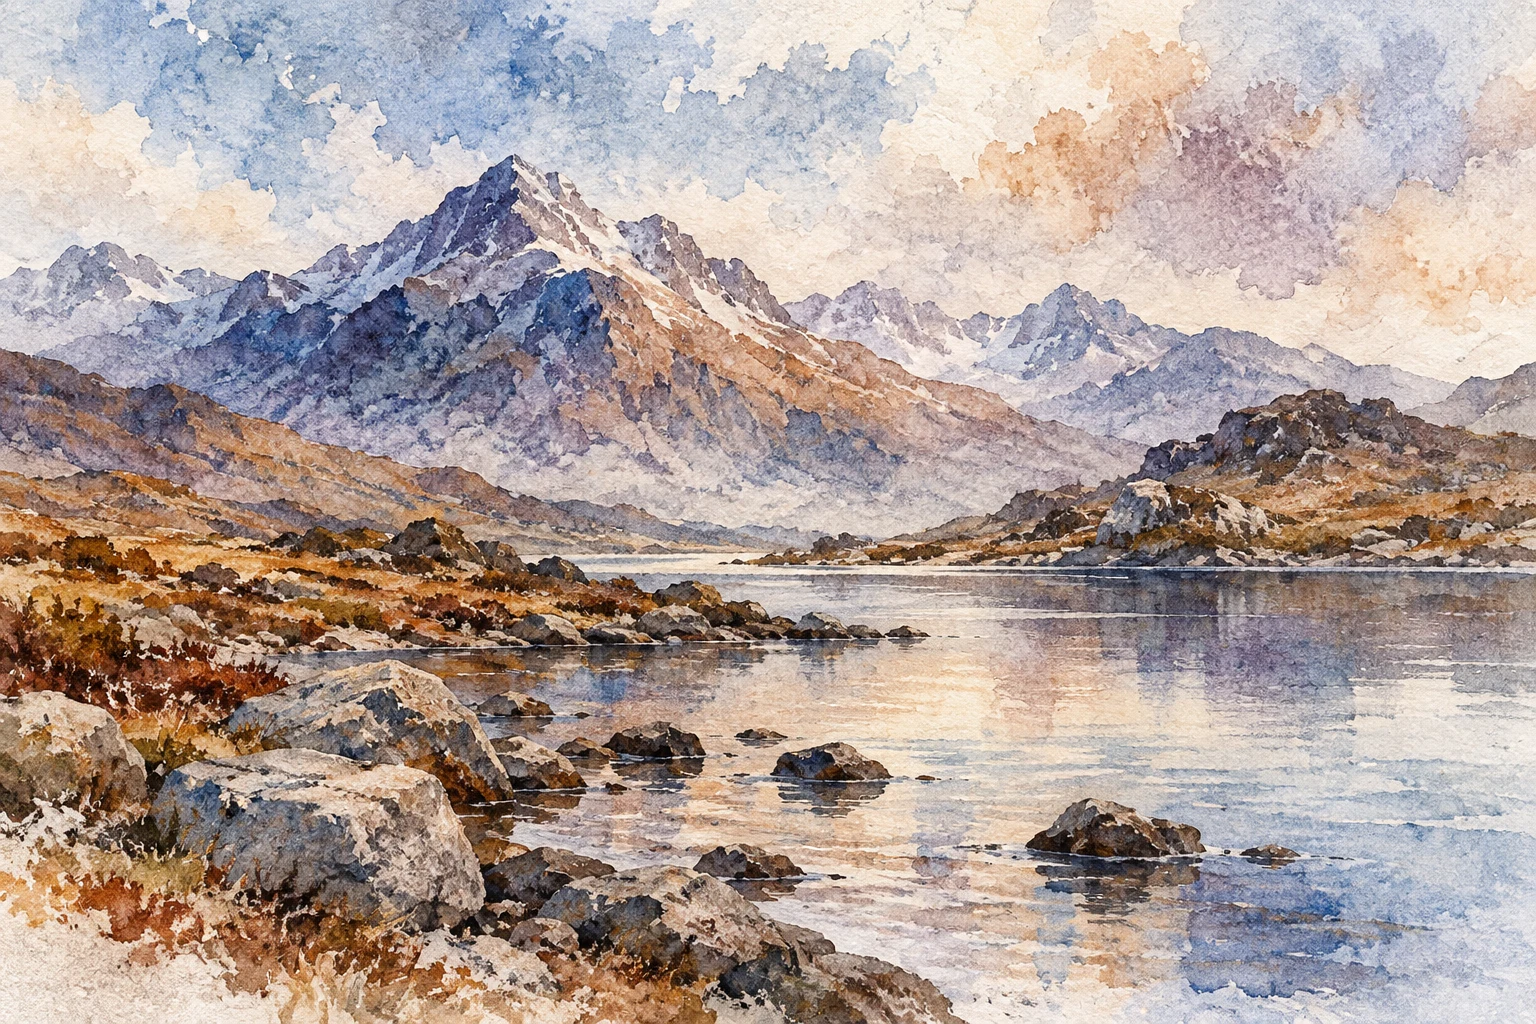
The idea to understand
Granulation is the uneven settling of pigment particles into the texture of watercolor paper. It can suggest stone, weathered walls, clouds and distant land, but it should support a shape rather than replace one. Pigments, paper, water and handling all change the result, so begin with a controlled comparison instead of assuming every color will separate in the same way.
What you need
Cold-pressed or rough watercolor paper, a granulating blue or earth pigment, a non-granulating color for comparison, a round brush, two water jars and scrap paper.
Your practice sequence
Compare two pigments
Paint equal wet rectangles with your granulating and smoother colors. Tilt neither sheet while it dries. Label the pigment, paper and dilution beside each swatch. Observe only after complete drying; wet sparkle can disguise the final texture.
Change the water ratio
Make three more swatches of the granulating color: creamy, medium and very dilute. Use one confident pass in each. Note where particles collect and whether backruns appear. This separates natural granulation from accidental water blooms.
Build a rock shape
Draw three overlapping rock planes. Paint the lightest plane with a pale wash, then place a stronger granulating mixture in the middle and darkest planes. Let paper texture create variation inside each clear silhouette. Avoid scrubbing the settling pigment.
Edit the focal texture
When dry, add one crisp crevice and soften another edge with clean water if the paint permits. Leave a quiet area beside the richest texture. The contrast between active and calm passages makes granulation look intentional rather than uniformly noisy.
Check your result
Can you identify three rock planes before looking closely at the texture? Does the granulation vary with dilution? Is one area clearly more important than the rest? Record the exact pigment and paper so the experiment can be repeated.
If the study is not working yet
If the surface looks flat, test a rougher paper or a pigment known to granulate. If it looks dirty, reduce mixing and brush passes. If blooms dominate, control excess water at the wash edge instead of trying to repair every mark while damp.
A useful second attempt
Repeat the rock study with the same design but a smoother pigment. Compare form first and texture second; the useful difference should be visible without changing the drawing.
Further reading
Winsor & Newton: Granulation Techniques in Watercolour ↗. This is supporting reading; the exercise above is an original LUREXEN practice plan. Publisher images have not been reused.
An optional practice companion
National Parks Watercolor Workbook on Etsy ↗. The workbook is optional; you can complete this lesson without purchasing anything. Check the listing for its current contents and terms.
Continue with a related lesson
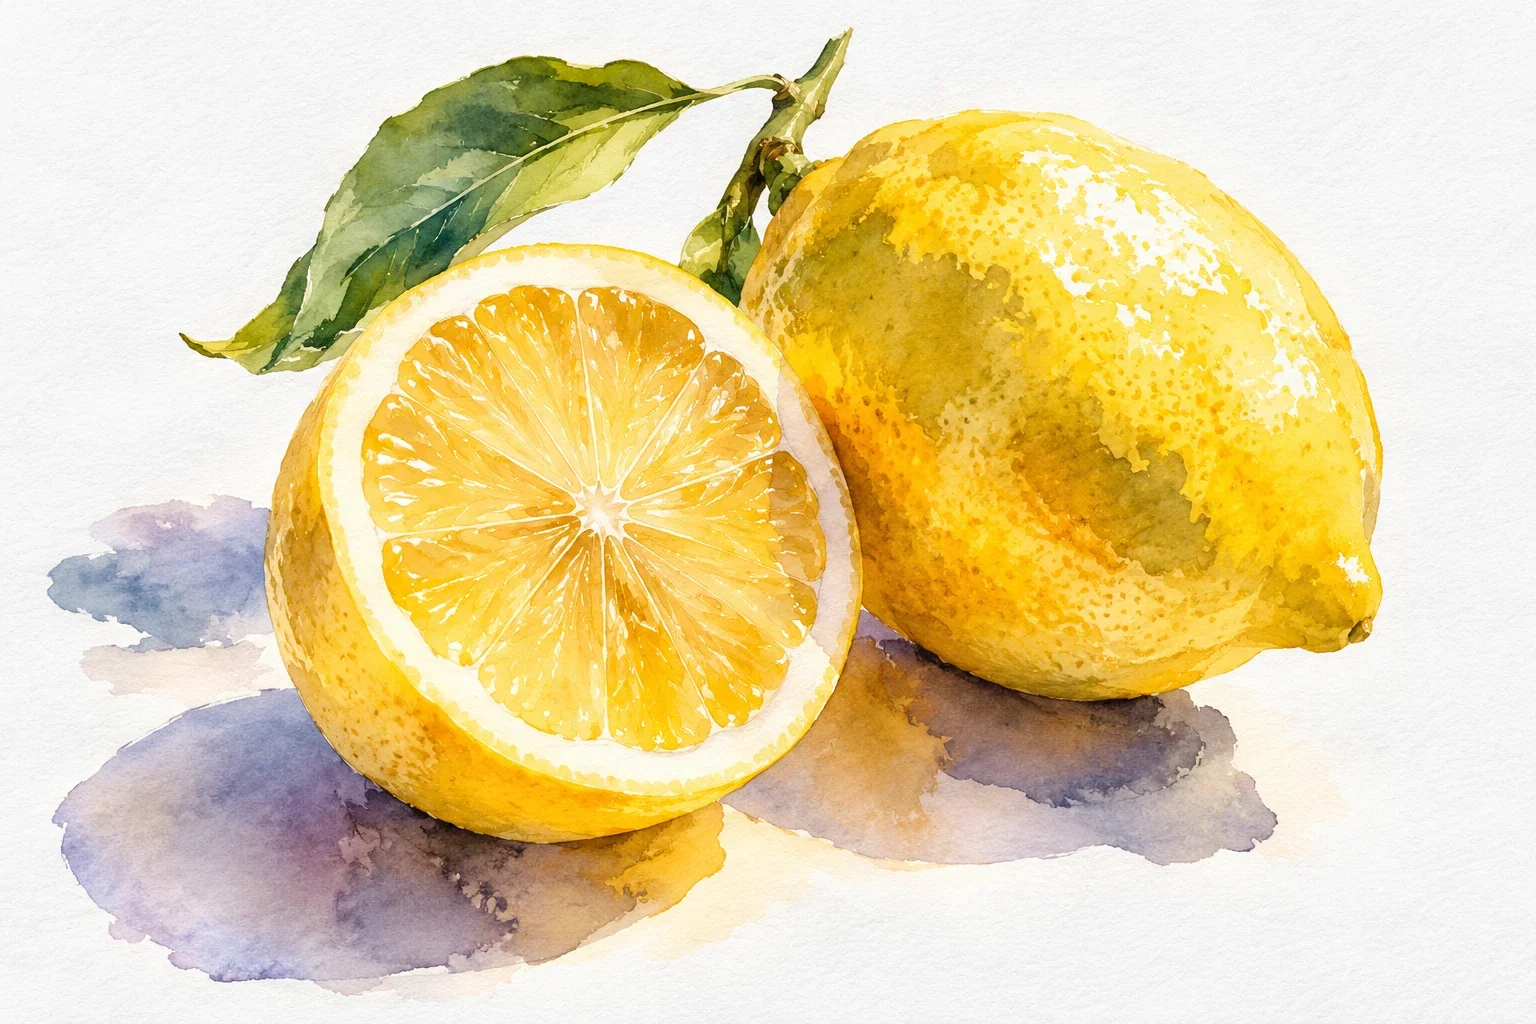
How to Paint Watercolor Lemons: Light, Layers & Shadows
Paint one small lemon to learn how light, transparent layers, and shadows work together. You will plan the highlight, build a rounded form, and avoid the two habits that often dull yellow: a crowded mixture and repeated brushing.
4 min read Read the lesson →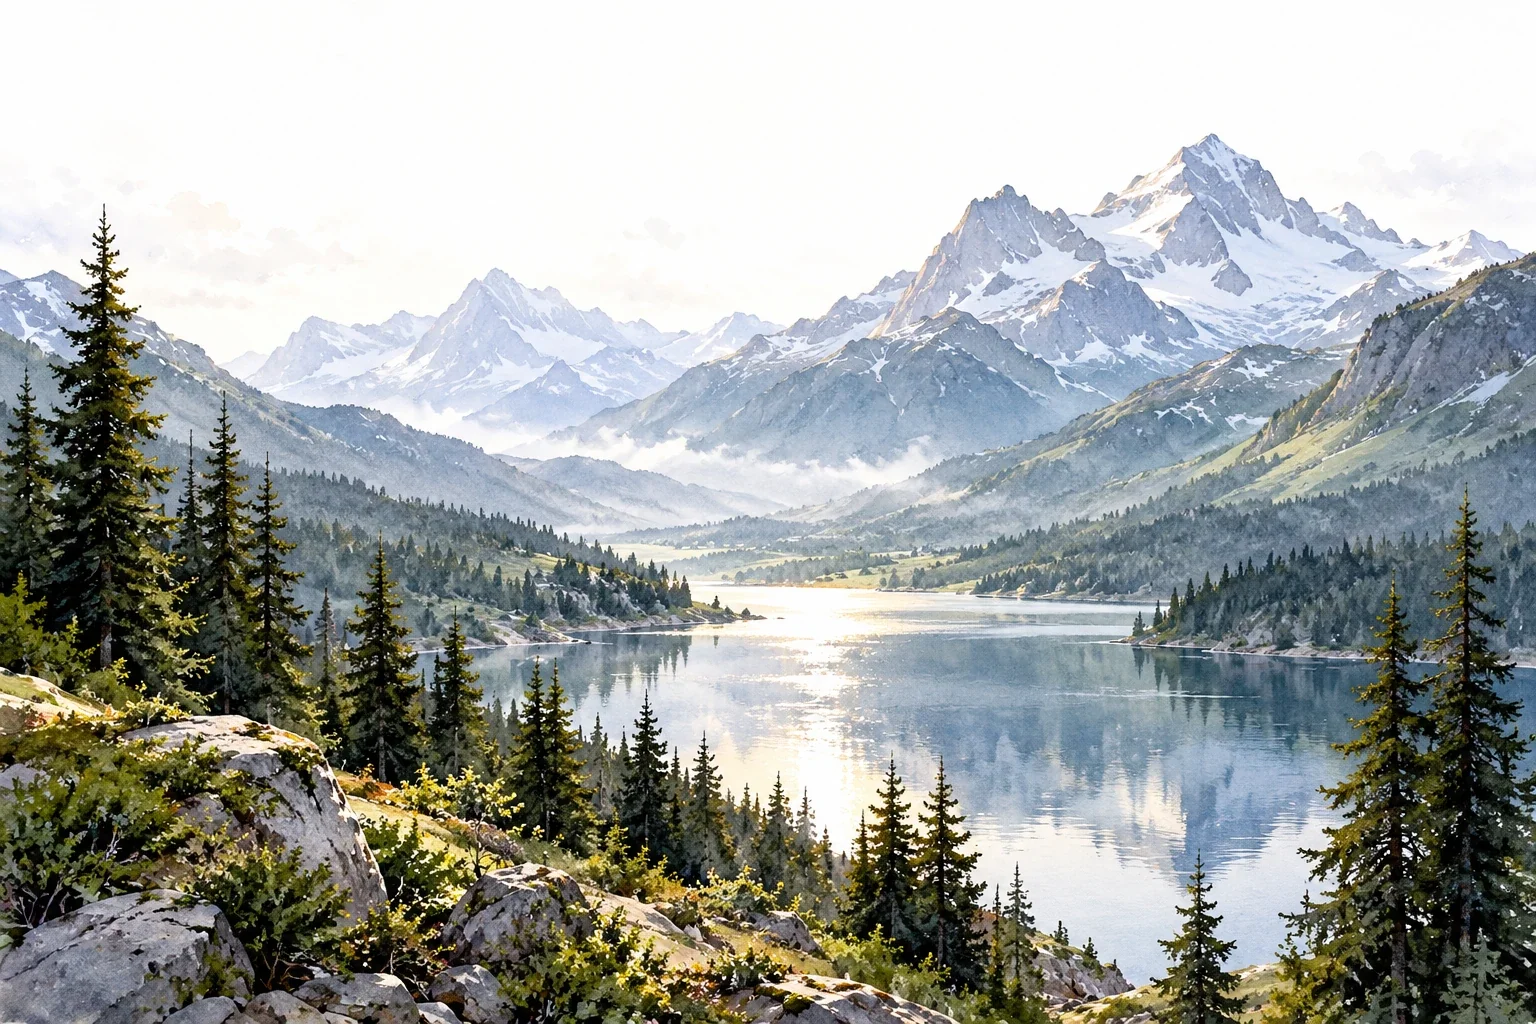
Creating Depth in Watercolor Landscapes
A landscape can look flat even when its individual trees and mountains are carefully painted. This guide shows how to organize depth through overlap, value, edges, and a focal area before investing time in detail.
3 min read Read the lesson →