Watercolor / Beginner
Paint Watercolor Moss in Clusters Instead of Hundreds of Tiny Marks
Suggest a mossy surface with a few connected masses, white gaps and selective dark recesses, then stop before the texture takes over.
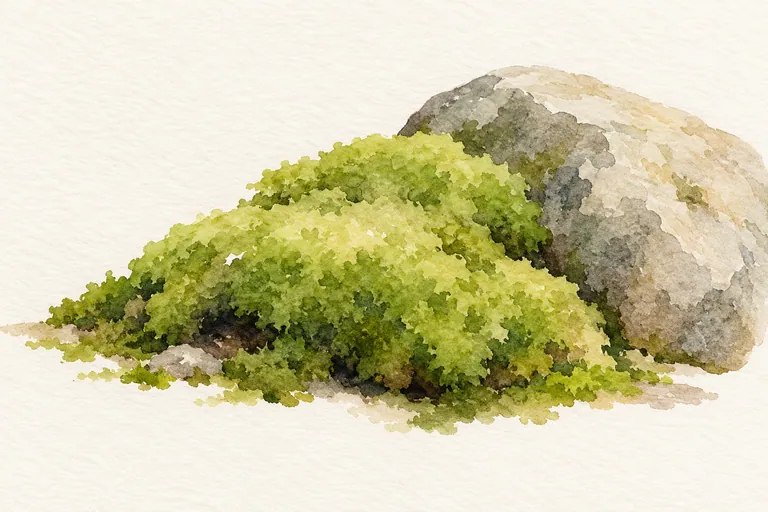
Find the mound before the texture
Look at moss from far enough away that individual shoots disappear. Notice the raised masses, darker pockets and the way the growth meets a rock or piece of wood. Those relationships provide a useful first painting. If every square centimeter receives equal detail, the form can become a flat pattern.
Use your own photograph or observe growth without removing it. The exercise is a painting study, not a botanical identification guide. A simplified subject is useful because it lets you concentrate on shape and value.
Choose three connected masses
On watercolor paper, draw a low overall envelope. Inside it, indicate a larger cluster and two smaller companions. Leave a few irregular channels between them. These gaps may become pale paper, a light wash or a darker crevice according to your reference; do not make every gap the same.
Mix a light green and a darker, quieter green on a separate palette. Test both and inspect them dry. You can use colors already in your kit; an exact named moss mixture is unnecessary.
Work from broad shapes to selected accents
- Place the light masses. Use the body of a round brush for broad marks. Let some marks meet, but keep a few gaps visible.
- Test a softer passage. On scrap, compare paint on dry paper with paint on a damp patch. Use the result to choose where your mound needs a soft interior transition.
- Let the main wash settle. Avoid poking continuously at marks as they dry. Repeated wet touches can create effects you did not plan.
- Place a few recesses. On dry paper, add darker short shapes beneath selected raised clusters and near the rock contact. Keep some interior areas quiet.
Canson's basic wash guidance distinguishes dry-surface control from wet-surface spreading. The cluster plan uses that distinction, but it does not require the whole mound to be either wet or dry at once.
Use a detail budget
Choose one small focal area for sharper marks. In the rest, suggest the texture through the outer silhouette and changes in value. Try placing five accents, then pause. The number is a restraint for this exercise, not a formula for all moss paintings.
View the sheet from across the table. If the mound reads without the little accents, they are supporting the structure. If it reads only when you inspect the marks closely, reconsider the large masses in the next study.
Three common detours
A bright green carpet: compare the value of your light and dark mixtures after drying. Rows of identical dots: vary the size and connection of clusters rather than scattering more dots. A dark outline around everything: break the perimeter with a few light or lost passages where your reference allows them.
Take the idea into another subject
Place a simple mushroom above a second low mound. Paint the mound with fewer details than the mushroom cap. Compare which subject attracts attention first. This turns a texture exercise into a small composition decision.