Watercolor / Beginner
Paint a Watercolor Pebble with Granulation and One Shadow
Let pigment texture suggest a stone surface, then use one darker plane and a short cast shadow to describe its form.

Test the pigment before the pebble
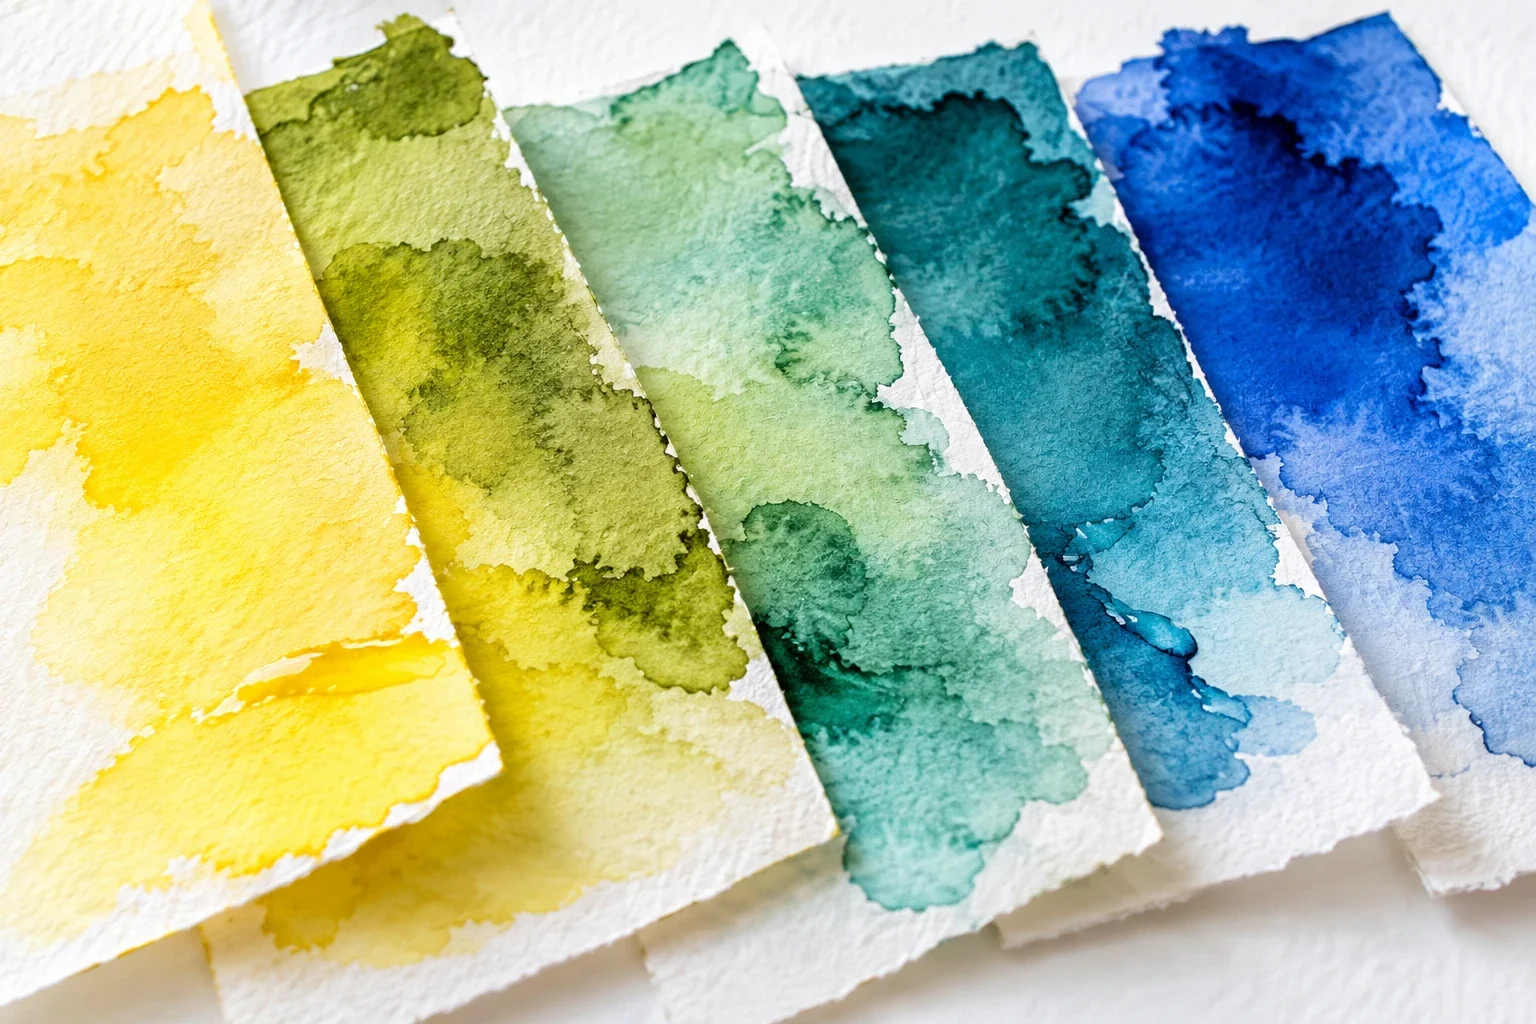
Choose a rounded stone and place it under one clear light source. A window works well when its light stays steady. Use watercolor paper, a round brush and a blue-gray or neutral mixture. If a paint is labeled granulating, try it first in a small swatch on the same sheet.
Granulation is the visible settling of pigment into an uneven texture. Its strength depends on the pigment, paper and handling. The illustrative image suggests a possible appearance; your swatch is the useful evidence for what your own materials will do.
Paint a simple silhouette
Sketch the stone with an uneven rounded outline. Identify a small light area near the top and reserve it as white paper or a very pale wash. Paint the rest in a diluted blue-gray, keeping the outer shape clear. Avoid drawing every surface mark before the basic volume works.
Compare the stone with the empty paper around it. If the outline feels too symmetrical, adjust the drawing in your next study instead of repeatedly pushing a drying wash around.
Let texture settle
For a separate test, dampen the stone shape evenly so it has a light sheen without puddles, then introduce the granulating wash. Tilt the sheet gently once if you want to see how settling changes. Leave it flat to dry. Repeated brushing can redistribute the pigment and remove the quieter texture you were trying to observe.
Make two small stones beside each other: one on dry paper and one on damp paper. Use the same paint mixture. After drying, compare their edges and the distribution of texture. Record which treatment you prefer for this subject.
Give the stone a lower plane
Once the wash is fully dry, add a darker curved area along the side facing away from the light. Keep the transition softer where the surface turns gradually. A crisp edge belongs where the stone has a definite ridge in your reference.
Add a short cast shadow on the table, touching the stone at its base and extending away from the light. Keep the contact area darker and let the far edge soften. The shadow should anchor the stone rather than form a heavy outline around it.
Decide when to stop
Step back and cover the tiny marks with your hand. If the silhouette, light area and shadow still describe a stone, the main structure is working. Add only a few surface accents if they are needed. Keep the spare swatches as a reference for future rocks, paths and landscape studies.