Beginner / Studio practice
Watercolor Salt Texture: A Three-Swatch Timing Test
Compare salt on glossy and damp watercolor with an untreated control. Build a useful texture record without relying on a fixed drying time.
One focused, repeatable study.
Keep the first attempt small enough to repeat. Your own subject, paper and materials are the reference.
- Level
- Beginner
- Practice time
- 20–30 minutes, plus drying
- Skill focus
- Surface moisture, texture placement and a control swatch
- Success looks like
- Produce three labeled swatches and identify which moisture stage gave the most useful texture with your materials.
Materials
- Watercolor paper, one blue watercolor and a brush
- A small amount of ordinary salt of one chosen grain size
- Water, a palette and a pencil for notes
- A dry soft brush for clearing loose grains after drying
Produce three labeled swatches and identify which moisture stage gave the most useful texture with your materials.
Set one question before adding texture
Salt can leave irregular pale patterns in a watercolor wash as it dries. The result depends on the paint, paper, amount of water and when the grains arrive. Treat it as a material test rather than a reliable way to paint an exact snowflake.
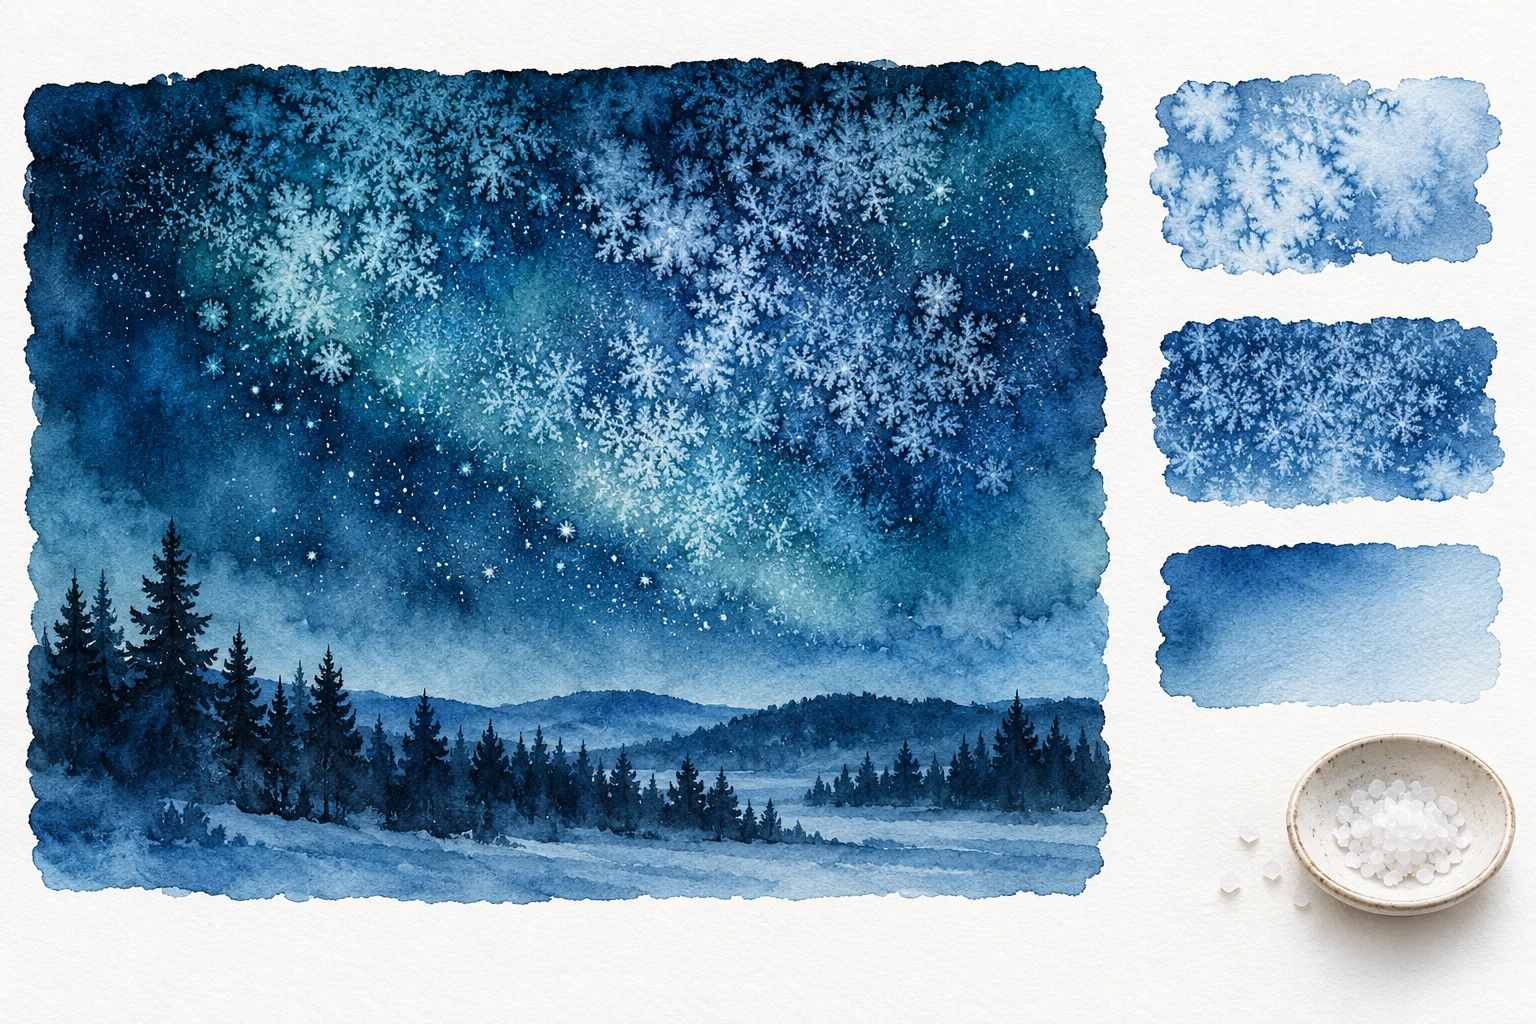
The DANIEL SMITH tutorial linked below discusses timing in relation to surface wetness and changing conditions. This lesson uses separate comparison swatches instead of copying its card design. The editorial picture suggests possible textures; it is not a photograph of the test or evidence that your paint will produce that pattern.
Keep the comparison small and fair
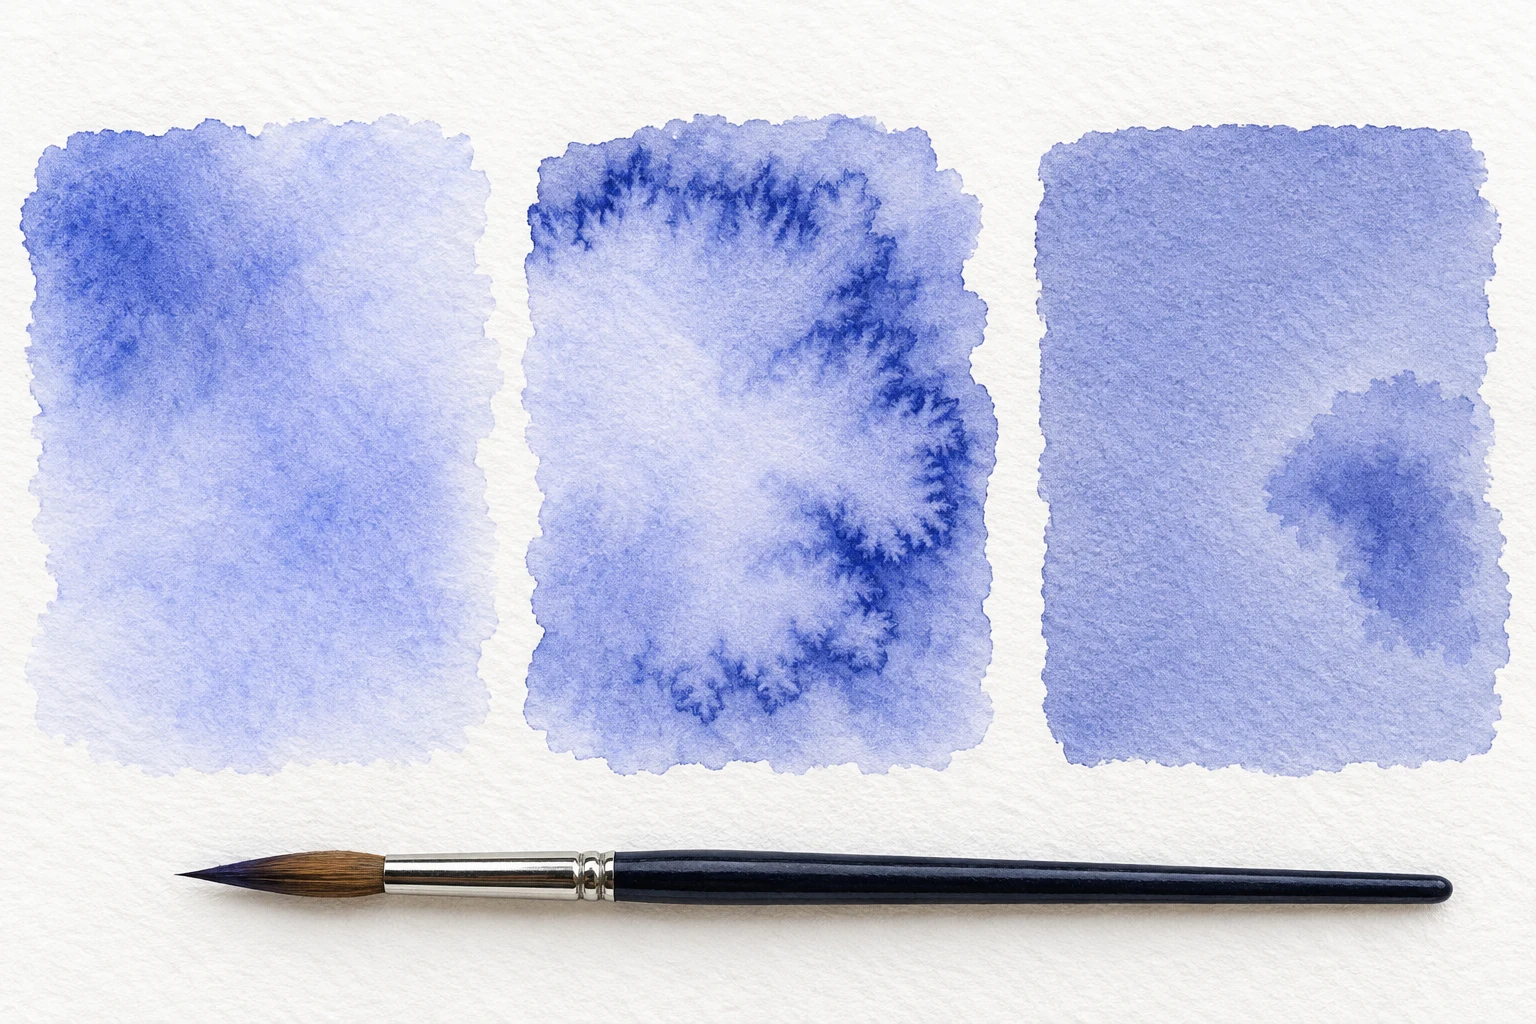
Draw three loose boxes on one sheet, leaving a dry gap between them. Prepare a puddle of blue large enough for all three. Keep the paint, paper and salt grain size the same throughout this first comparison. Changing several ingredients makes the result harder to interpret.
Mark the first box as glossy, the second as damp and the third as control in the margin. Those notes describe the conditions you intend to compare. You are not aiming for identical decorative patterns. Leave enough space to write what actually happened once the washes have dried.
Compare a glossy surface with a settling one
Paint the first box and add a small pinch of salt while the surface is visibly glossy. Paint the second with a similar brush load, then observe it as the shine reduces. Add the same approximate amount of salt while it is still damp, before the wash has become dry.
There is no fixed number of seconds that transfers between rooms and papers. If the second wash dries before you add the grains, label it honestly and repeat on a fresh box. Do not keep rewetting it while calling the result an unchanged timing comparison.
Leave the third swatch untreated
Paint the third box from the same mixture and leave it without salt. This control helps distinguish the paint’s normal drying texture from the salt effect. A granulating pigment may already leave visible variation, so an uneven surface alone does not establish that salt caused every mark.
Let all three boxes dry naturally on a flat surface. Resist brushing through the grainy areas or moving puddles around. Keep a brief note of obvious differences in initial water load; a less-than-perfect comparison can still teach you something if its limitations remain visible.
Clear the dry surface without scraping it
Wait until the swatches are fully dry before gently removing loose salt with a dry soft brush. If grains cling, do not force a sharp tool across the sheet. Avoid pressing or polishing the texture in an attempt to make it cleaner. Use a fresh test when the surface is becoming damaged.
Compare the size, distribution and contrast of the marks. Which swatch has broad pale patches, which has finer variation, and which resembles the untreated control? A weak result is useful information. It may mean that the chosen combination or moisture stage is not effective for the texture you wanted.
Give texture one role in a small study
Choose the most useful swatch as a reference for a separate postcard-sized wash. Concentrate texture in one passage, such as an abstract winter sky, and leave other areas quiet. Add a simple silhouette only after drying and clearing the grains. Do not expect salt marks to describe every branch or snow-covered surface.
Keep the test sheet with the pigment name and timing observation. Next time, vary only one factor, perhaps the grain size. The goal is a record you can learn from, not an archival guarantee or a recipe that works identically with every brand. Use reserved paper or gouache when a precisely placed white mark matters more than chance texture.
Change one decision, not everything.
Common mistakes
A fixed timer replaces observation
Compare the actual glossy and damp surface states.
Every variable changes together
Keep paint, paper and grain size consistent for the first test.
Wet salt is scrubbed away
Let the sheet dry fully and clear grains gently without scraping.
Think it through
Try answering these questions in your own words, then open each answer to compare. Use the self-check below to review your actual study.
Why include an untreated swatch?
Paint the third box from the same mixture and leave it without salt. This control helps distinguish the paint’s normal drying texture from the salt effect. A granulating pigment may already leave visible variation, so an uneven surface alone does not establish that salt caused every mark.
Practice step: Leave the third swatch untreated
How should salt be removed from a dry sample?
Wait until the swatches are fully dry before gently removing loose salt with a dry soft brush. If grains cling, do not force a sharp tool across the sheet. Avoid pressing or polishing the texture in an attempt to make it cleaner. Use a fresh test when the surface is becoming damaged.
Practice step: Clear the dry surface without scraping it
Review your own study
Tick what you can observe in your work. If a point is unclear, open its practice reminder. Choose one point to focus on next.
Tick a point only when you can observe it in your study.
Choose one focus for your next attempt using the circle beside a point.
This is your own reflection, not an assessment of your artwork. Choices are not saved or uploaded and reset when this page reloads.
Further learning and source context
This is an original LUREXEN exercise. The sources below provide material or concept context; they do not document the exact study pictured above. No publisher artwork was reused.
- DANIEL SMITH: Wintry Watercolor Cards Using Salt ↗ — Primary tutorial text supports moisture-sensitive timing and natural drying. The three-swatch comparison is an original LUREXEN exercise.