Beginner / Studio practice
Foreshortening for Beginners: Draw a Turning Tube
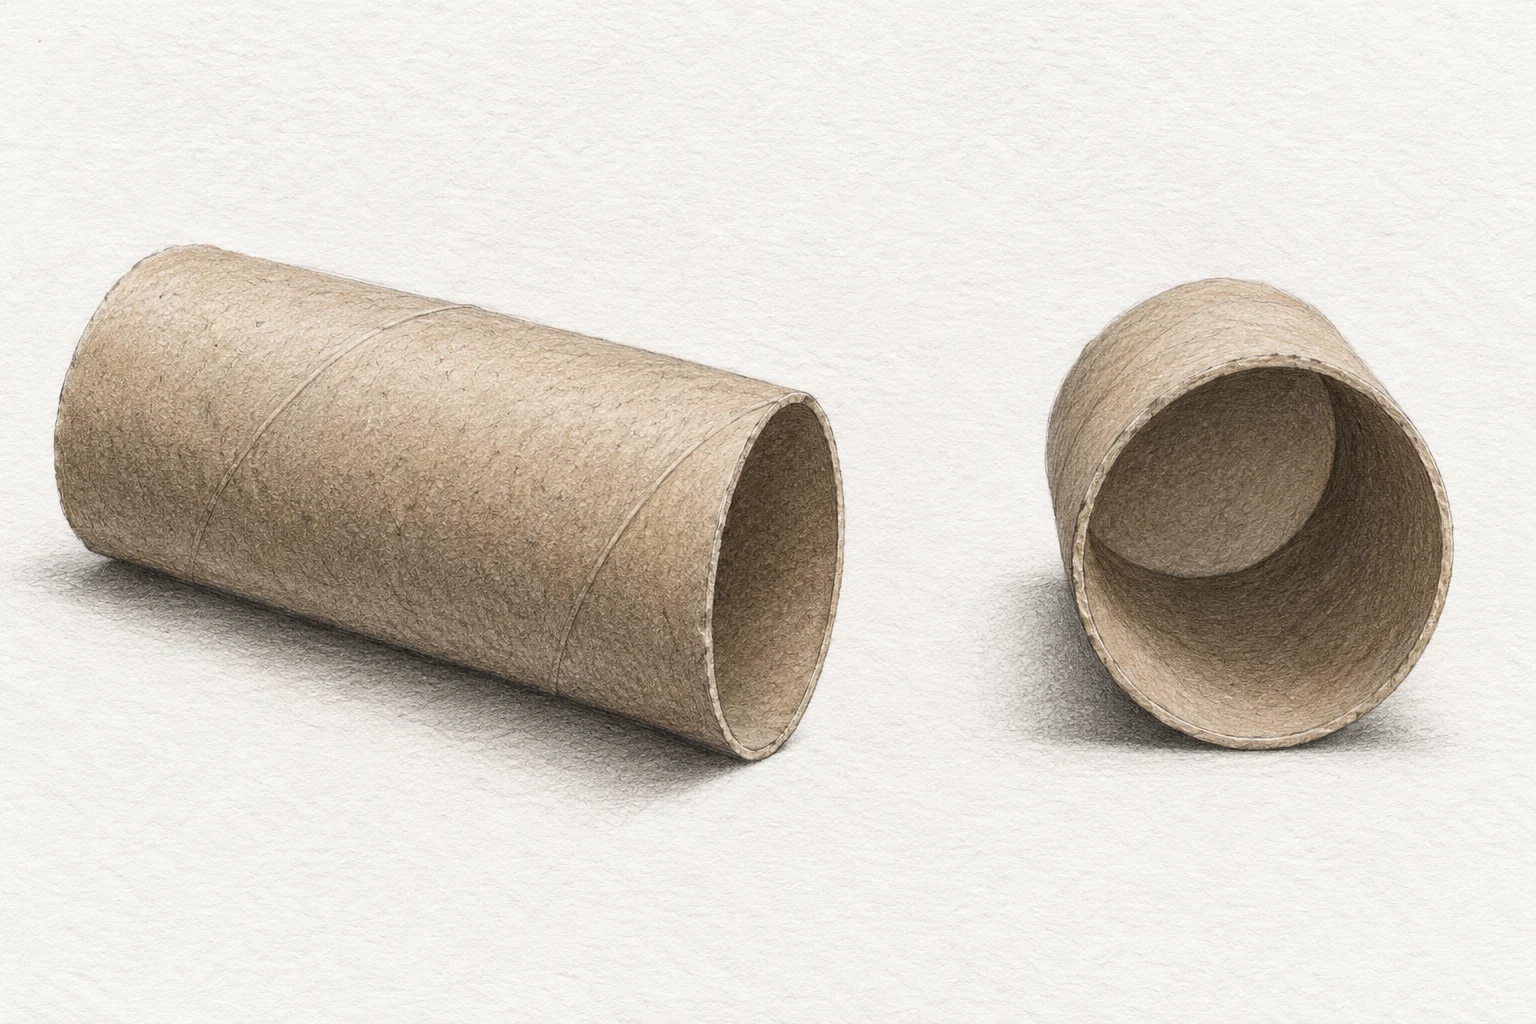
Observe one cardboard tube from two angles. Compare apparent length, the visible opening and overlap instead of drawing its known length from memory.
One focused, repeatable study.
Keep the first attempt small enough to repeat. Your own subject, paper and materials are the reference.
- Level
- Beginner
- Practice time
- 25–35 minutes
- Skill focus
- Apparent proportions, changing viewpoint and rim overlap
- Success looks like
- Draw two views in which the more end-on tube has a visibly shorter projected body relative to its opening.
Materials
- One plain empty cardboard tube
- Drawing paper, an HB or 2B pencil and an eraser
- A stable table and consistent seated viewpoint
- A scrap for a small width-to-length comparison
Draw two views in which the more end-on tube has a visibly shorter projected body relative to its opening.
Separate what you know from what you see
A tube keeps its physical length when it turns, but the length you see across your view changes. Drawing that projected shape rather than the remembered object is the central challenge of foreshortening. Getty’s educational material describes the technique in relation to projecting forms into space.
This tabletop exercise is an original simplified practice, not a complete perspective construction system or an anatomy lesson. The generated illustration is conceptual. Use your own tube and viewpoint to judge its proportions, rather than treating the image as a measured diagram.
Make a mostly side-on first view
Lay the tube on a table at an angle where a substantial length of its body and a narrow opening are visible. Keep your head in a repeatable position. Lightly note the top, bottom and two ends of the overall shape on paper.
Compare the apparent body length with the width of the near opening. A rough ratio note is enough; no universal proportion is required. Draw the opening as the ellipse you observe, not as a fixed symbol for every cylinder. Keep construction light until the overall envelope feels plausible.
Turn it toward you and begin a separate drawing
Rotate the tube so one opening faces more toward your viewpoint. Do not move closer to inspect it while expecting the proportions to stay unchanged. Start a second drawing beside the first, keeping enough space that each view can be read independently.
Compare body length relative to the opening again. In this more end-on view, the visible body should occupy less projected length than in the first setup. Aiming for a universal numerical reduction misses the point. Judge the actual difference produced by your own turn and distance.
Check the near rim and the hidden parts
Observe which rim is closest and which portions of the far end are hidden by the tube. A visible opening has thickness; it is not two unrelated circles. Place only the inner boundary and rear passages that you can actually see.
If lines imply that the far rim passes through the nearer wall, stop and inspect the junction. Hidden construction lines can help you think, but they need not remain dark in the finished study. Do not force both complete ends into view simply because you know that the object has two openings.
Use restrained shading after the proportions
Add a small value difference between the outer wall, rim and interior, following the real lighting. Keep the darkest mark where observation supports it rather than automatically filling the whole opening black. A clean change of plane often explains more than dense texture.
Compare the silhouette again after shading. Dark marks can make a drawing feel finished while the body remains too long. If that happened, correct the light construction on a new small attempt. Do not hide the proportion issue beneath darker pencil or stronger cardboard texture.
Review the change, not the polish
Place both studies together and cover their details with your hand if necessary. Can you tell which tube points more toward you from its apparent length, opening and overlap? If not, return to those three relationships before adding another shadow.
Repeat the pair with a slightly different turn. Keep your notes about what changed and what stayed physically the same. This prepares you to observe more complex objects, but it does not establish a fixed formula for a hand, foot or figure. Continue with cross-contour to explore how marks can describe a surface turning in space.
Change one decision, not everything.
Common mistakes
The remembered tube length overrides observation
Compare apparent body length with the opening in each view.
The same ellipse is copied into both studies
Reobserve how open the near end looks after turning.
Both complete rims are forced into view
Draw visible overlaps; keep hidden construction lines light or omit them.
Think it through
Try answering these questions in your own words, then open each answer to compare. Use the self-check below to review your actual study.
How should I compare the tube from two views?
Lay the tube on a table at an angle where a substantial length of its body and a narrow opening are visible. Keep your head in a repeatable position. Lightly note the top, bottom and two ends of the overall shape on paper.
Practice step: Make a mostly side-on first view
How can I check the near rim and hidden parts?
Observe which rim is closest and which portions of the far end are hidden by the tube. A visible opening has thickness; it is not two unrelated circles. Place only the inner boundary and rear passages that you can actually see.
Practice step: Check the near rim and the hidden parts
Review your own study
Tick what you can observe in your work. If a point is unclear, open its practice reminder. Choose one point to focus on next.
Tick a point only when you can observe it in your study.
Choose one focus for your next attempt using the circle beside a point.
This is your own reflection, not an assessment of your artwork. Choices are not saved or uploaded and reset when this page reloads.
Further learning and source context
This is an original LUREXEN exercise. The sources below provide material or concept context; they do not document the exact study pictured above. No publisher artwork was reused.
- Getty: Visions of Grandeur — drawing and projection into space ↗ — Museum context for foreshortening; it does not document this tube exercise.
- Getty: Anton Raphael Mengs drawing, object 109JB7 ↗ — A historical example discussed by the museum. No collection image has been reused.