Beginner / Technique studio
Watercolor Nature Journaling: Your First Field-Notes Page
Build a watercolor nature journal page with one leaf, a small color study and useful observations. Practice looking closely without needing a perfect botanical illustration.
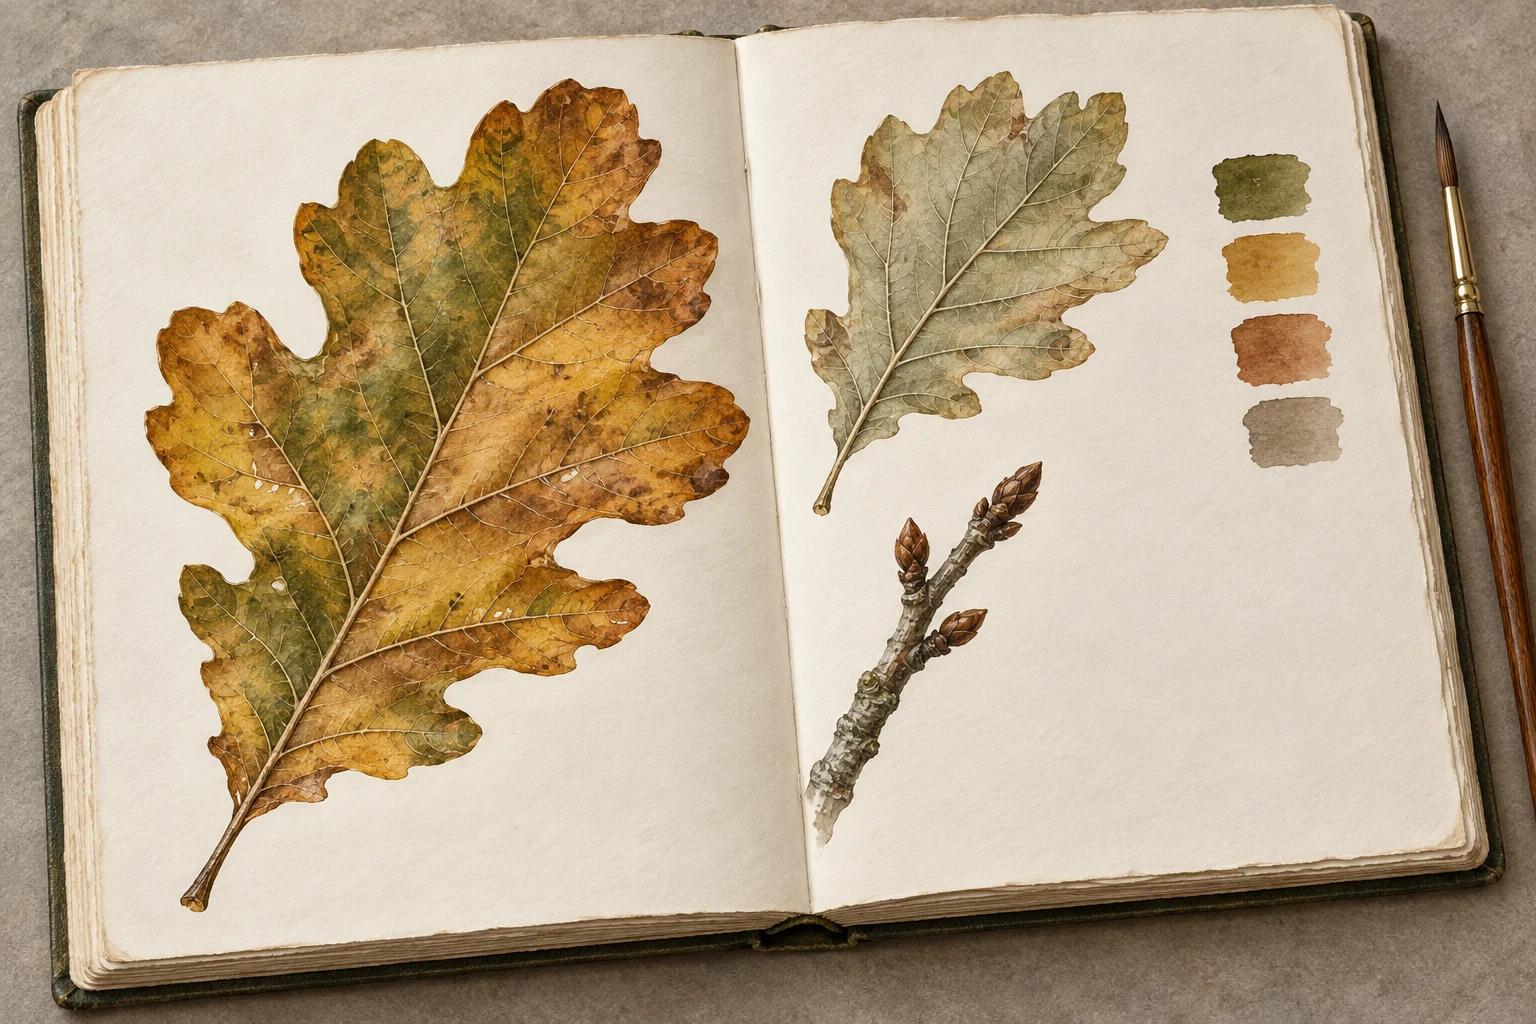
One focused technique study.
Keep the first attempt small enough to repeat. Your own subject, paper and materials are the reference.
- Level
- Beginner
- Practice time
- 25–40 minutes, plus drying
- Skill focus
- Observation, page hierarchy and honest written notes
- Success looks like
- Make a field-notes page that separates what you observed from what you guessed.
Materials
- A watercolor sketchbook or watercolor paper
- A pencil, round brush and a small familiar palette
- Clean water and cloth
- A safely observed leaf or plant; use your own photograph if needed
Make a field-notes page that separates what you observed from what you guessed.
Observe one accessible subject safely
Choose a leaf on a familiar garden plant or a fallen leaf where collecting is allowed. Do not taste plants, handle unknown fungi or enter protected areas for a journal page. A nature journal is an observation exercise, not a reliable identification or foraging guide.
Spend a minute looking before drawing. Compare length and width, the edge shape and the way the stem connects. If you do not know the species, write “unidentified leaf” rather than inventing a name. Your own photograph can provide a reference when outdoor access is impractical.
Give the page one main study and room for notes
Lightly reserve a large area for the leaf, a narrow area for notes and a small corner for color tests. Keep the main study bigger than its supporting marks. You do not need a decorative frame, a perfect heading or a page packed edge to edge.
Record a date and a general setting such as “garden shade.” Do not include a precise location for a sensitive species. Sketch a simple bounding shape for the leaf, then compare its length-to-width relationship before adding veins. Leave enough paper around it to change an edge.
Mix from the subject instead of choosing a generic green
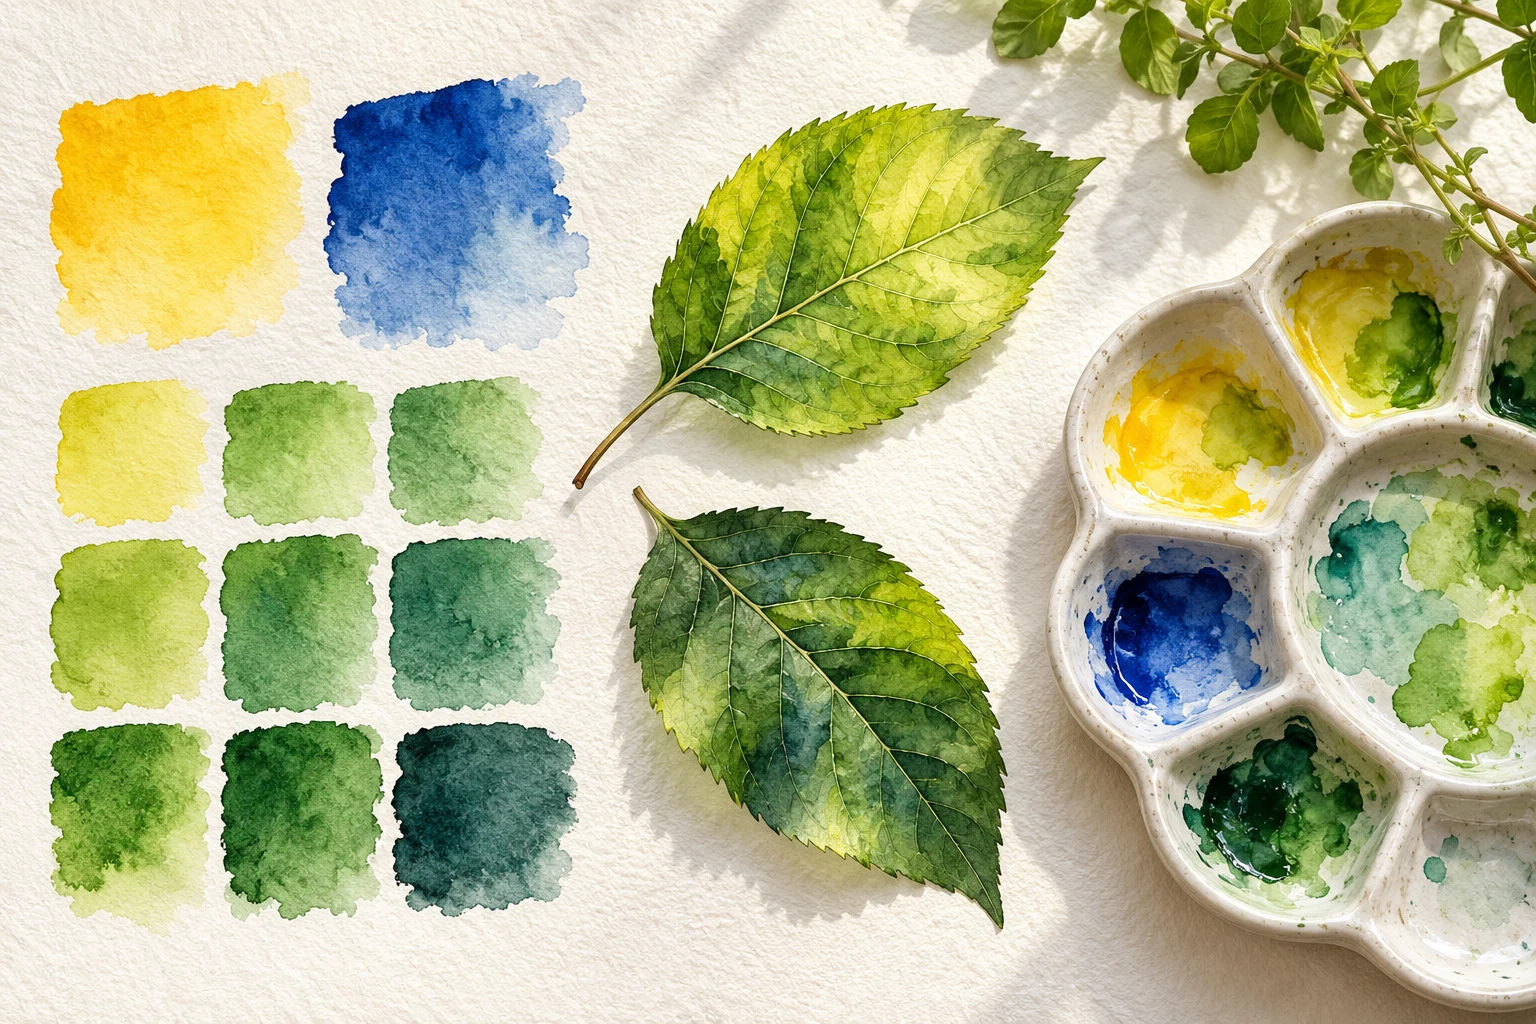
Test two or three small mixtures beside the study. Look for warmer and cooler regions rather than assuming every leaf is one tube green. Label a mixture with the actual paint names you used, not a ratio you cannot reproduce accurately.
Allow the test marks to dry before choosing the main wash. Keep one pale mixture for the first pass. If the subject is brown, red or partly damaged, record that instead of changing it into an ideal green leaf. The journal’s value comes from attention, not from making every specimen look fresh.
Paint the broad shape before selected structure
Place a light wash within the leaf silhouette, leaving a small reserved highlight if you can see one. Let it dry before adding a darker region or a selected vein. Do not draw every vein with equal emphasis: choose the main midrib and a few branches that explain the shape.
Compare the painted edge with the subject. Is it smooth, serrated or partly curled? Change only the parts you can observe clearly. If a wash behaves unexpectedly, make a note about the paper or brush moisture. That is useful information for the next page, not a reason to hide the result.
Write notes that the picture cannot communicate
Add two or three specific observations: “underside paler,” “edge curls toward the stem,” or “one damaged patch near the tip.” Separate these from questions, such as “is the darker area caused by shadow?” You can leave the question unresolved.
Include a small second view only if it answers something: the underside, a stem connection or a magnified edge. Do not add a bird, mushroom and flower merely to fill space. A short, coherent page is more useful than a decorative collage of unrelated observations.
Return to the subject and compare
On another day, make a new small study of the same plant or a comparable leaf. Keep the first page unchanged so you can compare what you noticed. Look for an improved proportion, a more accurate edge or a clearer note rather than a universally “better” illustration.
Pinterest’s Backyard Botanist theme includes watercolor sketchbooks and observational field-guide layouts. Our learning task is narrower: make one honest, repeatable record. You do not need scientific credentials to notice carefully, but do not present a beginner page as verified botanical identification.
Change one decision, not everything.
Common mistakes
The page feels crowded
Reduce supporting studies and preserve space around the main leaf.
Notes only say “green leaf”
Describe a visible difference, edge or connection.
An uncertain species name looks authoritative
Use an unidentified label and keep identification separate.
Think it through
Try answering these questions in your own words, then open each answer to compare. Use the self-check below to review your actual study.
How can I organize the main study and notes?
Lightly reserve a large area for the leaf, a narrow area for notes and a small corner for color tests. Keep the main study bigger than its supporting marks. You do not need a decorative frame, a perfect heading or a page packed edge to edge.
Practice step: Give the page one main study and room for notes
What information belongs in written notes?
Add two or three specific observations: “underside paler,” “edge curls toward the stem,” or “one damaged patch near the tip.” Separate these from questions, such as “is the darker area caused by shadow?” You can leave the question unresolved.
Practice step: Write notes that the picture cannot communicate
Review your own study
Tick what you can observe in your work. If a point is unclear, open its practice reminder. Choose one point to focus on next.
Tick a point only when you can observe it in your study.
Choose one focus for your next attempt using the circle beside a point.
This is your own reflection, not an assessment of your artwork. Choices are not saved or uploaded and reset when this page reloads.
Further learning and source context
This is an original LUREXEN exercise. These sources support general material and technique decisions or explain topic selection; they do not document the exact study pictured above. No publisher artwork was reused.