
Beginner / Original practice lesson
How to Paint a Christmas Wreath in Watercolor: Evergreen, Holly and Berries
Learn how to paint a loose Christmas watercolor wreath with evergreen, eucalyptus, holly and red berries while keeping the circle airy and balanced.

The idea to understand
A convincing Christmas wreath is not a perfect green ring. It is a rhythm of overlapping botanical groups around an implied circle. Begin with spacing and direction, then vary leaf shape, value and edge. The untouched center and the small gaps between clusters are part of the design.
What you need
Watercolor paper, a medium round brush, a smaller pointed brush, pencil, two greens, muted red, a cool neutral and optional masking fluid tested on scrap paper.
Your practice sequence
Map an imperfect circle
Lightly trace a plate or draw a loose circle, then mark five uneven anchor points. Leave a deliberate opening for a ribbon or a quieter area. Keep the pencil pale so it will not compete with transparent color.
Place the evergreen rhythm
Paint several curved stems that follow the circle. Add pine needles with tapered strokes, changing their length and angle. Work in clusters instead of a continuous hedge. Let some branches overlap the guide and others fall inside it.
Add leaf and berry contrast
Introduce eucalyptus discs and a few angular holly leaves to change the silhouette. Place berries in small groups of different sizes. Reserve tiny highlights in selected berries rather than dotting every one identically. Dry before adding deeper overlaps.
Connect and edit
Use a darker green in a few inner gaps to connect the wreath. Add a restrained ribbon if desired. Step back and soften or leave quiet any section that becomes too dense. Erase remaining guide marks only after the paper is completely dry.
Check your result
Does the wreath still read as a circle without a hard outline? Are the botanical shapes varied but related? Is there a clear quiet area or focal cluster? Turn the page upside down to spot one side that feels heavier.
If the study is not working yet
If the wreath looks like a solid donut, reopen small paper gaps in the next study. If berries dominate, reduce their number and saturation. If one side feels empty, extend one branch before adding many new leaves.
A useful second attempt
Paint a second wreath using only two botanical shapes and one berry cluster. Compare whether the simpler version has stronger rhythm and negative space.
Further reading
Winsor & Newton: How to use Art Masking Fluid ↗. This is supporting reading; the exercise above is an original LUREXEN practice plan. Publisher images have not been reused.
An optional practice companion
Botanical Watercolor Workbook on Etsy ↗. The workbook is optional; you can complete this lesson without purchasing anything. Check the listing for its current contents and terms.
Continue with a related lesson
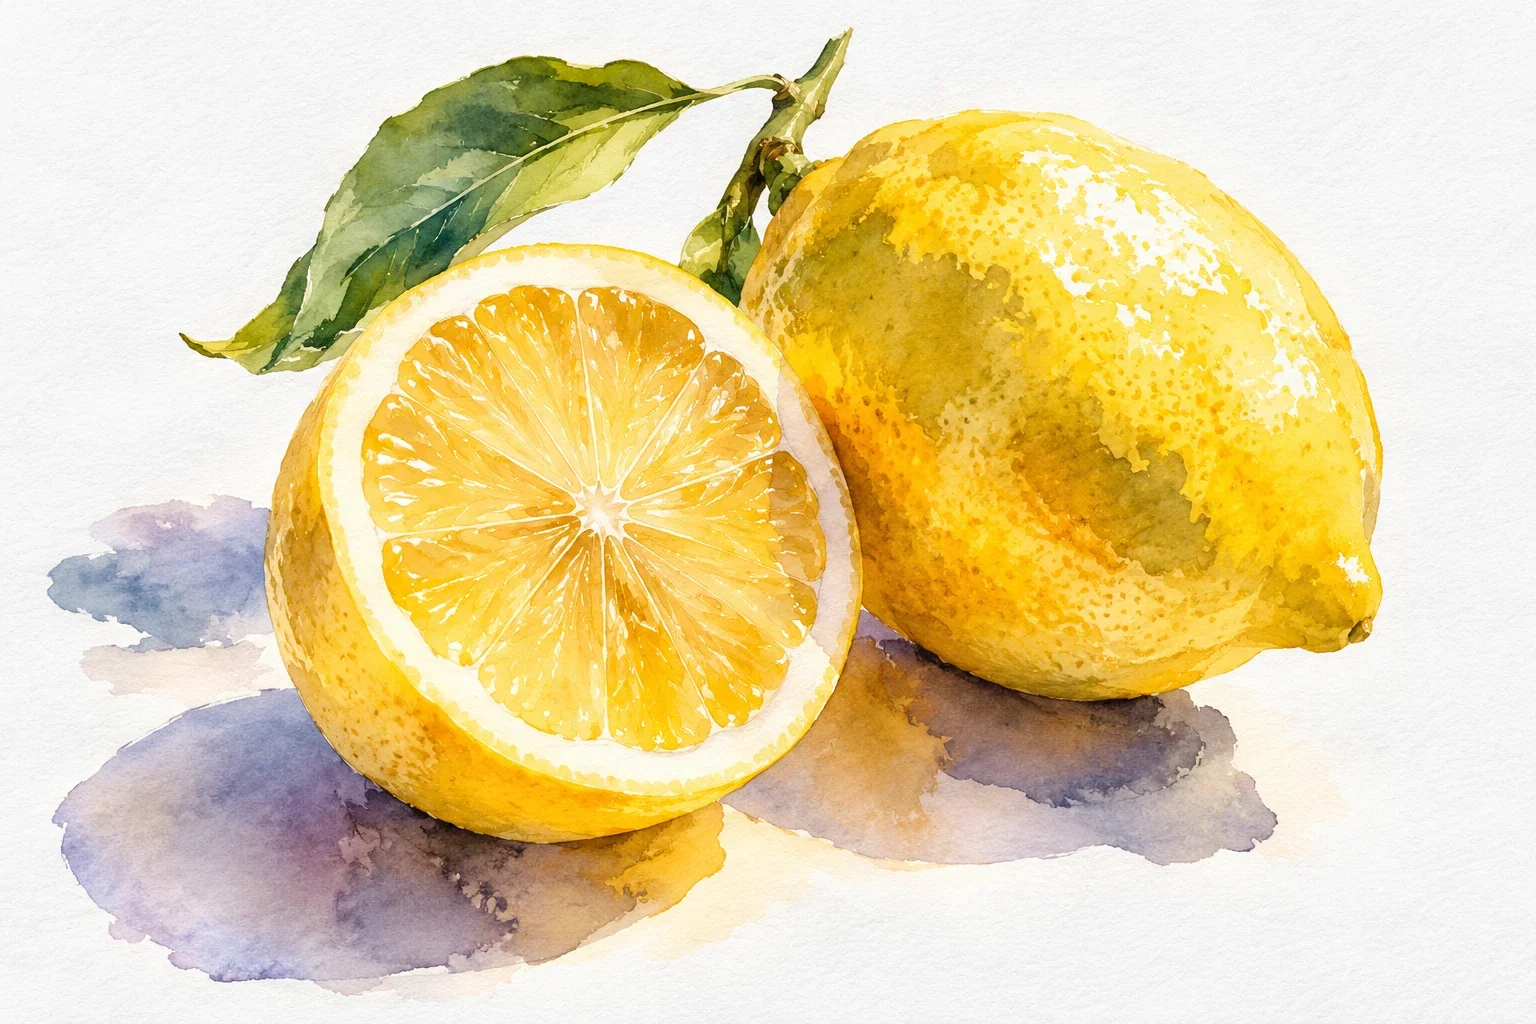
How to Paint Watercolor Lemons: Light, Layers & Shadows
Paint one small lemon to learn how light, transparent layers, and shadows work together. You will plan the highlight, build a rounded form, and avoid the two habits that often dull yellow: a crowded mixture and repeated brushing.
4 min read Read the lesson →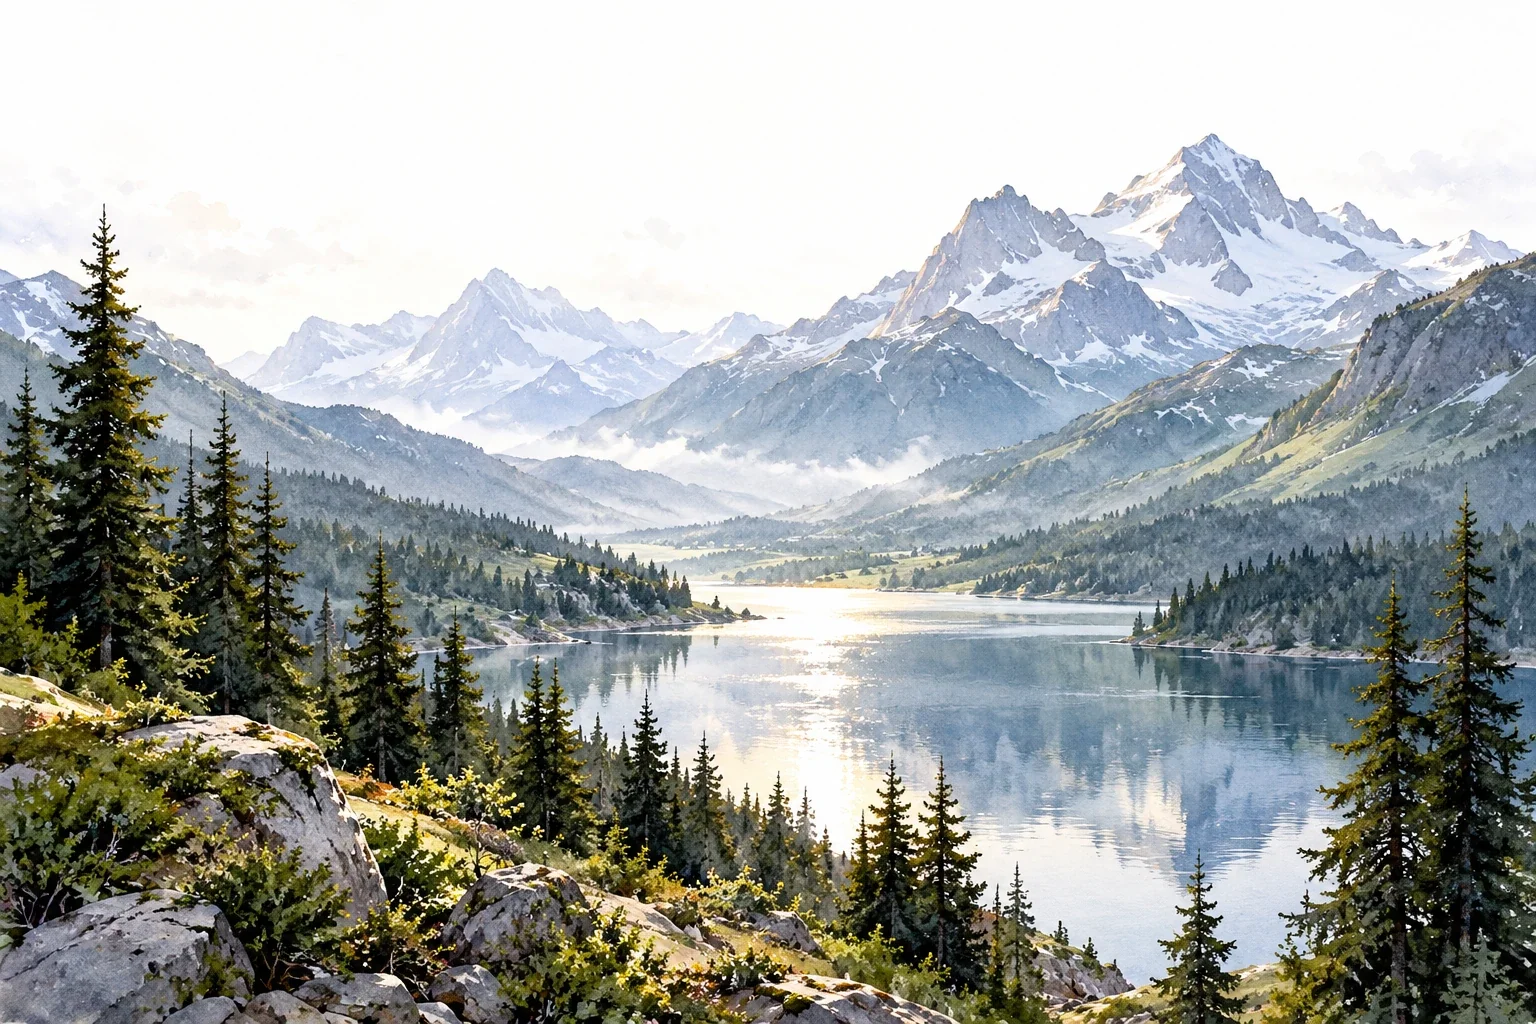
Creating Depth in Watercolor Landscapes
A landscape can look flat even when its individual trees and mountains are carefully painted. This guide shows how to organize depth through overlap, value, edges, and a focal area before investing time in detail.
3 min read Read the lesson →